6.3 km away
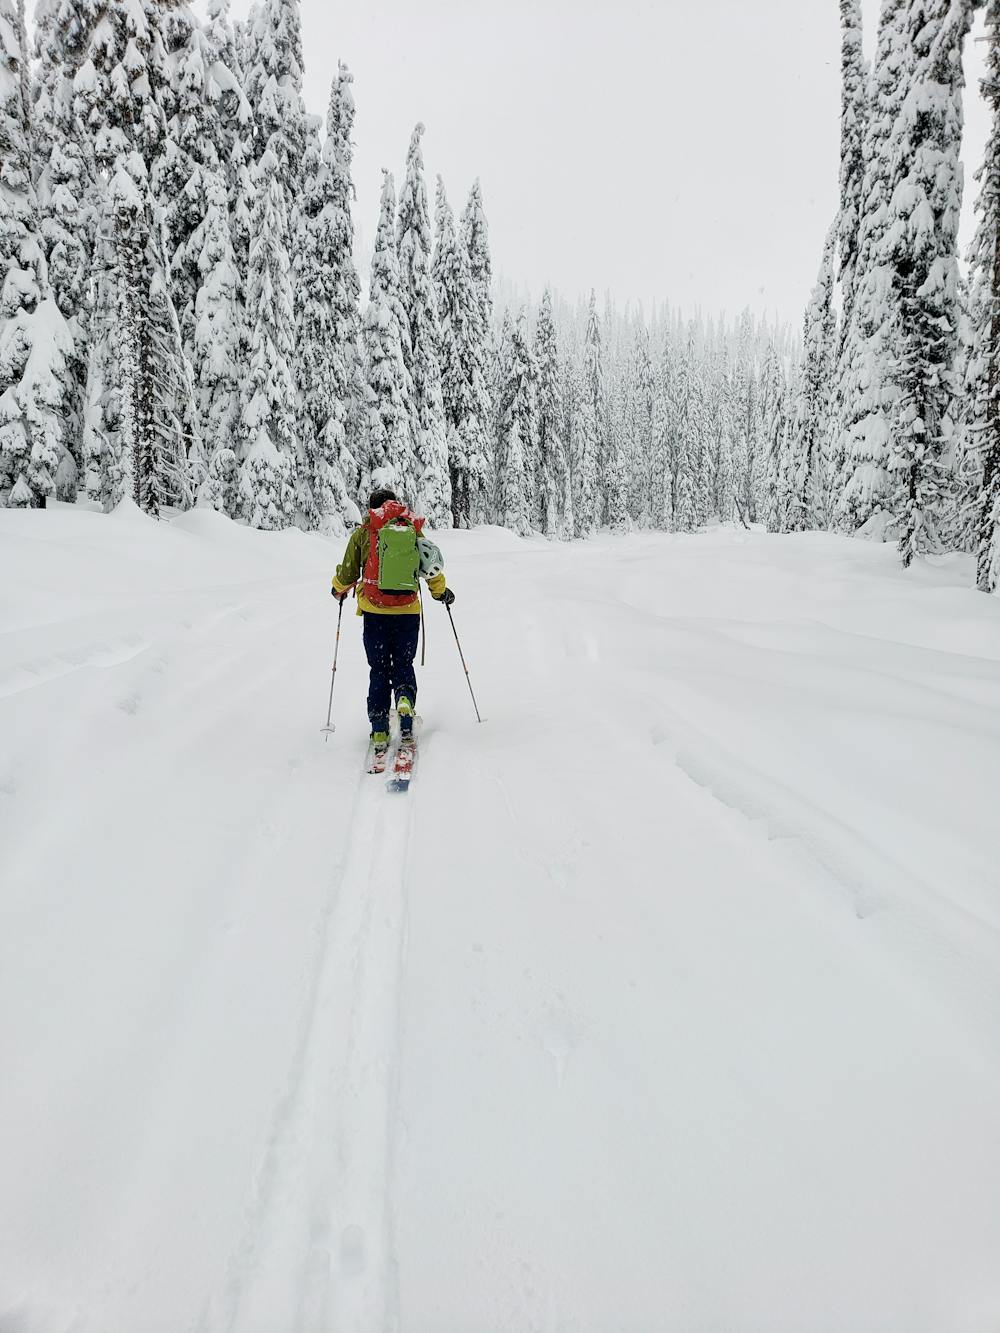
Bonningtons Ski Traverse Day 1 - Bombi Summit to Grassy Hut

A positioning day which ends at a superb hut
Moderate Ski Touring
- Distance
- 10 km
- Ascent
- 821 m
- Descent
- 143 m
A beautiful journey through rolling terrain
Ski Touring Difficult

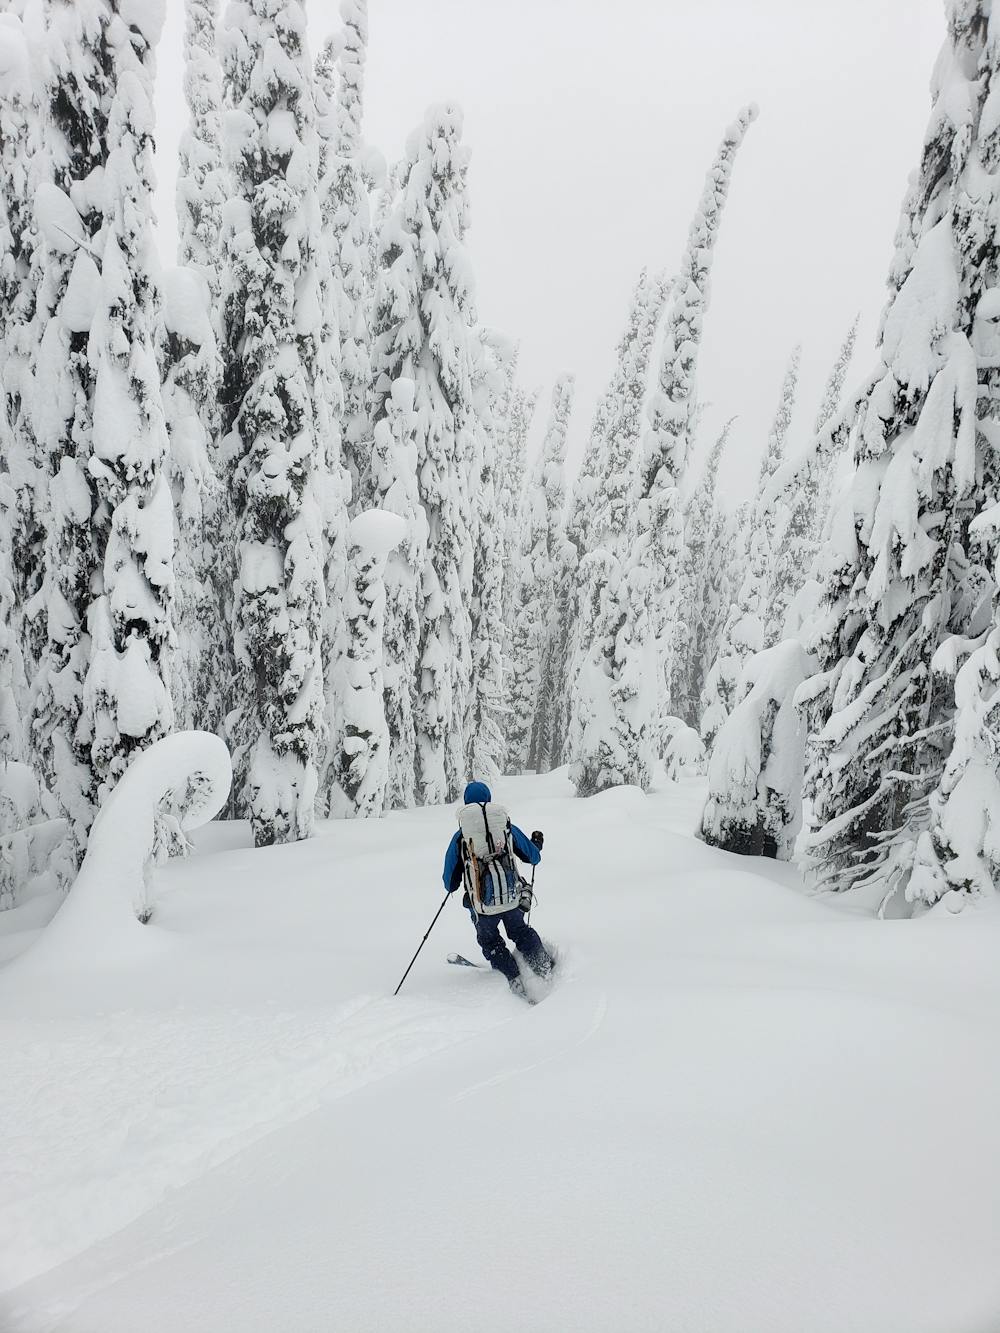
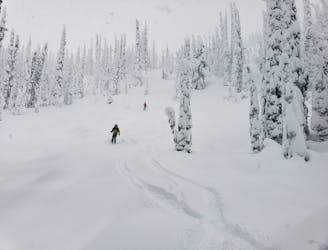
With ridges, bowls and some epic tree skiing, this is a day that has a bit of everything. It starts at the newly renovated Grassy Hut and ends at the notoriously hard-to-find Steed Hut in a remote bowl.
The first task of the day is to reascend up to the col you crossed en route to the Grassy Hut and then follow the blunt ridge which leads up towards Grassy Mountain. Once the ridge swings east there are multiple ways off it but the safest and lowest angled way off it is to go due north down a wide ridge from the mini-summit immediately west of Grassy Mountain itself. Follow the ridge down then climb over a small rounded summit before dropping down to a snow-covered road which is used by snowmobilers. If you need to bail on the Boningtons traverse then turning left and following this road back to Bombi Summit is a simple way of doing so. If you push on then bail options become trickier, so consider this the last place from which you can easily escape back to civilisation.
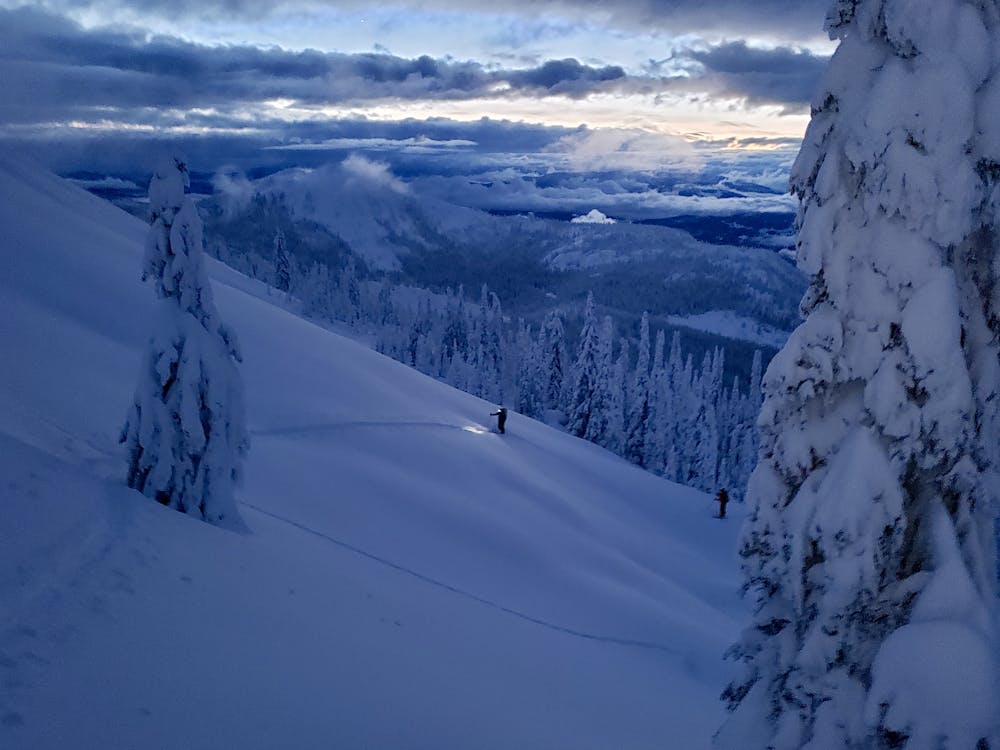
Continue northwards and skin up and over a couple of rounded tops. The views on the climb to these little summits become increasingly spectacular and the skiing off them is fabulous too. There are multiple ways to get off them but we've once again drawn the lowest angle route. If conditions and skills allow then you can seek out some steeper terrain than that shown here. Regardless of which line you choose you need to get onto a snowy road which climbs up towards a col overlooking Glade Creek.
Skin up to the col and, having reached it, branch rightwards and make the somewhat awkward climb to a narrow col south of Siwash Mountain. The ascent is never overly steep but it's full of mini terrain features which make it vert difficult to make efficient progress. Follow our line as a vague guide but be prepared to make your own micro-navigation decisions all the way up.
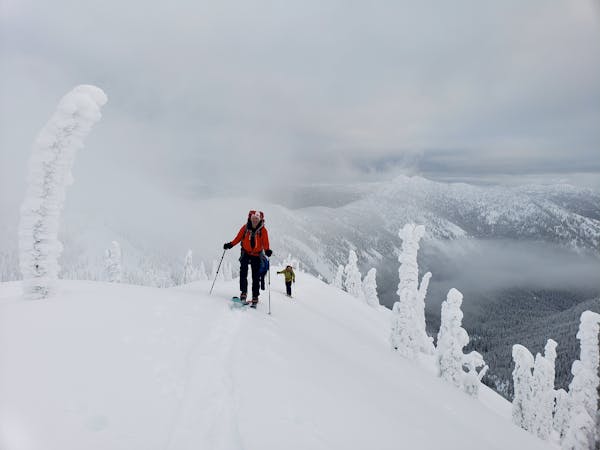
The final ascent to the col is steeper than what precedes it, and the trees thin out too, so manage potential avalanche danger carefully. The panorama from the col is wonderful, and feels even better because from here it's downhill to the hut!
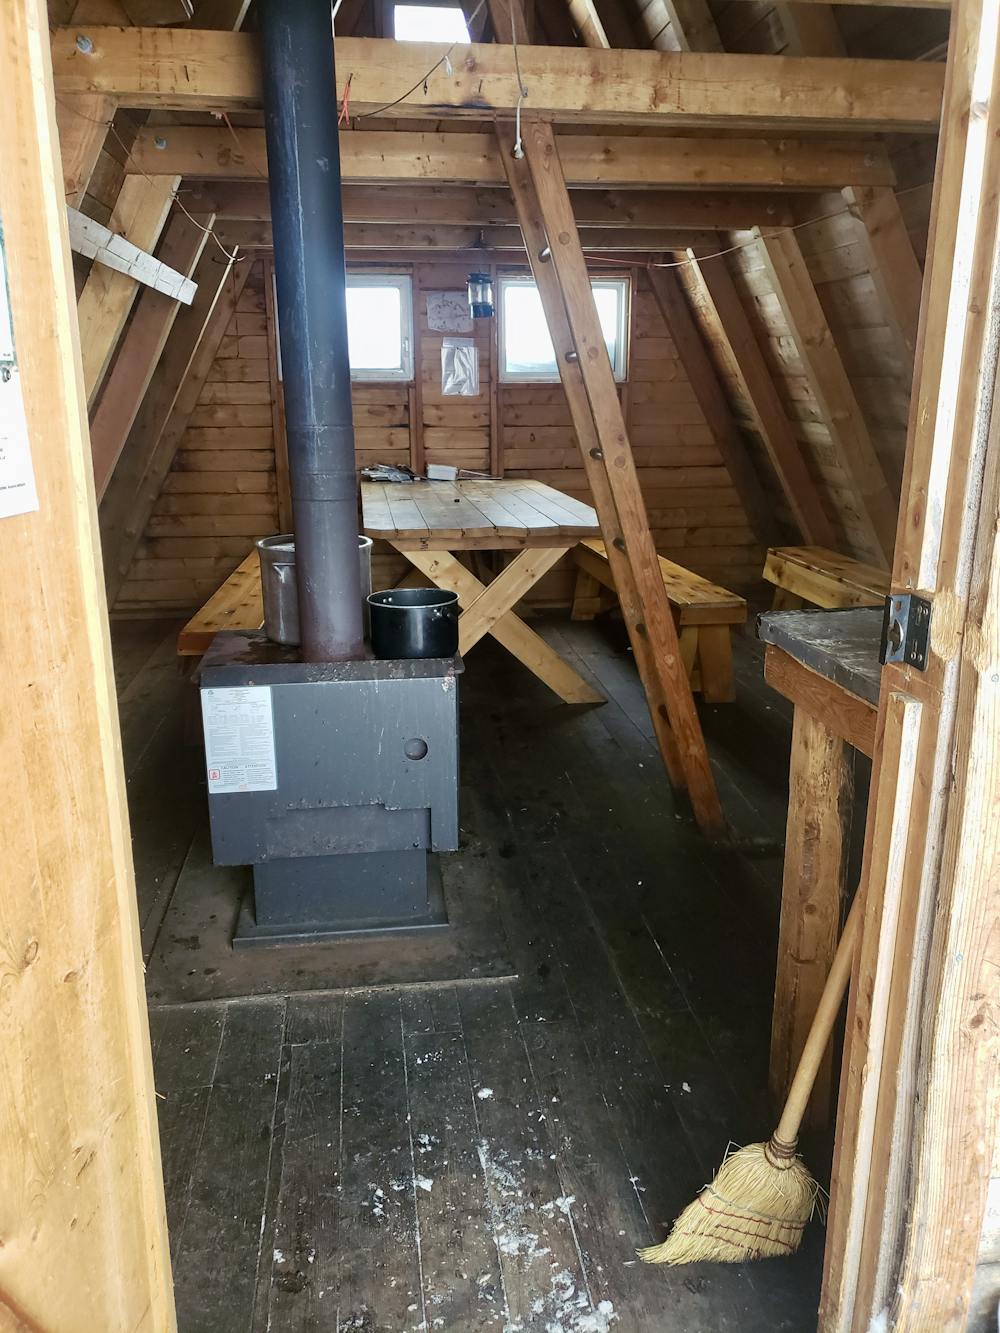
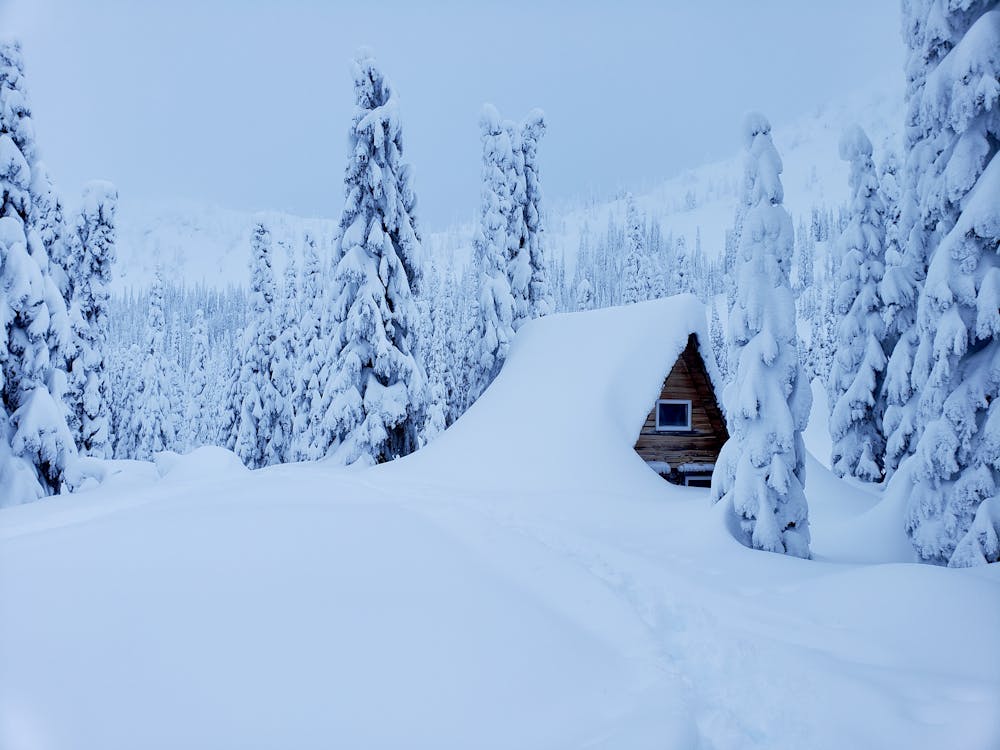
The terrain off the back of the col is quite steep and needs to be managed carefully, but it quickly mellows out as you approach the Steed Hut. The hut is notoriously difficult to find and is hidden in amongst a cluster of tall trees around 100 metres north-northeast of a small lake. When we were there we way-pointed it and the line on this route should finish right at the hut, but the vagaries of GPS signal and electronic mapping mean that you may still have to do some searching of your own. Arriving here with a bit of daylight in hand is highly recommended!
The Steed Hut is small but cosy, and officially sleeps 6, but 4 feels tight - 6 really would be a squeeze!
Difficult
Serious gradient of 30-38 degrees where a real risk of slipping exists.

As well as the slope itself, there are some obstacles (such as rock outcrops) which could aggravate injury.

Little chance of being seen or helped in case of an accident.
6.3 km away
A positioning day which ends at a superb hut
Moderate Ski Touring
7.1 km away
Great skiing and big views make this a classic day
Difficult Ski Touring
4 routes · Ski Touring