5 routes · Hiking · Trail Running
A little known alpine hiking traverse which deserves more traffic!
Hiking Extreme

Tenquille Lake is a popular Sea-to-Sky hiking location, but lesser known is the traverse that extends from Owl Lake Recreation area through the alpine, and down the Tenquille. It is a spectacular hike through meadows and boulder fields, and you spend a good chunk of the trip in the alpine. The route has very little actual trail, so it is recommended you have solid navigation fundamentals, especially in the fall. It can be done with one overnight camp, though two nights allows for more margin of error and better enjoyment of the scenery.


Pre-Trip: This trip can be done from north to south from Tenquille Lakes Trailhead or the Branch 12 Trailhead. The south to north is more common going from Owl Creek or Reid Road trailheads. Branch 12 requires at least a high clearance vehicle, 4WD is recommended; it is also a 1.5 hour long drive from Pemberton at least. The traverse requires leaving cars at either end as neither route is on common hitch-hiking routes. If you wanted to hitch hike it would be easier to catch a lift from the southern end up to Pemberton.
There are two possible trailheads. The main trailhead is up the Owl Creek Forest Service road which has been improved in recent years (as of 2020) and is suitable for cautiously driven 2WD vehicles. The other trailhead begins 1.2km up Reid Road, just past the power lines, and doesn’t require going up any Forest Service roads. It climbs steeply up the south ridge of Mount Fraser, and follows up and down the first sub peak, before descending down towards Owl Lake, to meet the normal trailhead. This alternative option adds a short day to the trip.
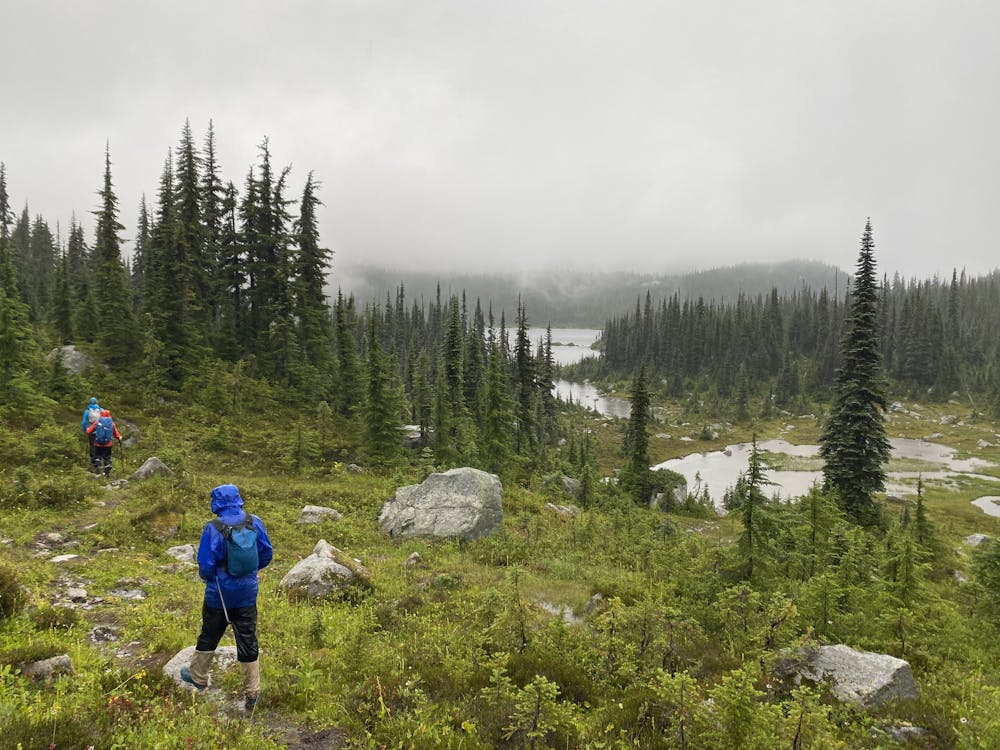
There are numerous map resources that show a trail; it’s better to think of this description as a general guide. The hike requires lots of route-finding with few proper markers. If you’re someone who relies on cairns, trail markers and GPS, it might be worth building those skills first or taking a course. The routes online are vague suggestions at best. Especially in the fall this area gets a lot of low hanging clouds, so whiteouts in bland grey talus fields are to be expected. There are cairns, but they are not always accurate.
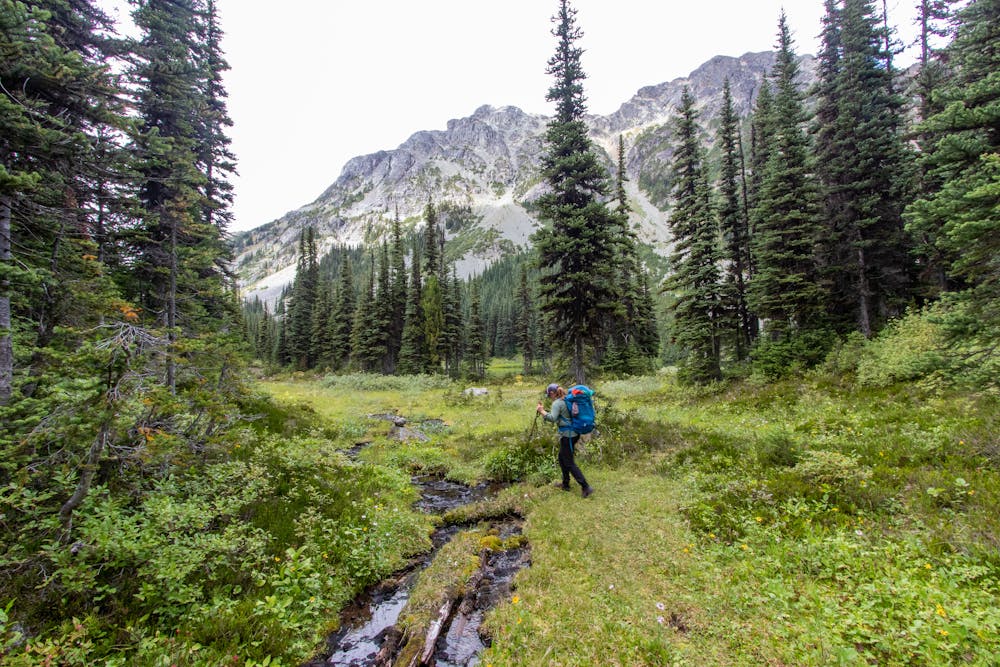
The trail begins gently, within mountain woodland, as it passes the first lake. Leaving the lake the trail steepens. The trail is fairly good, but as you crest the steeper hill there is a series of small ponds and lakes. The trail can get swallowed here, so keep an eye on the trail. Eventually it opens up to Lower Fowl Lake. Here the trail appears and disappears, but it generally sticks fairly close to the waters edge. There are several excellent spots to set up camp here.
Some of the other resources for this route show the trail heading uphill along the flanks of the peak, up towards Upper Fowl Lake. The best trail, however, is beside the waterfall that feeds into Lower Fowl Lake's northwestern edge. The trail then heads straight toward Upper Fowl Lakes. There is no one right way through the boulder fields beyond, so it’s a good spot to get your bearings and try and discern the best way to gain the col. The col is the most challenging part of the trip.
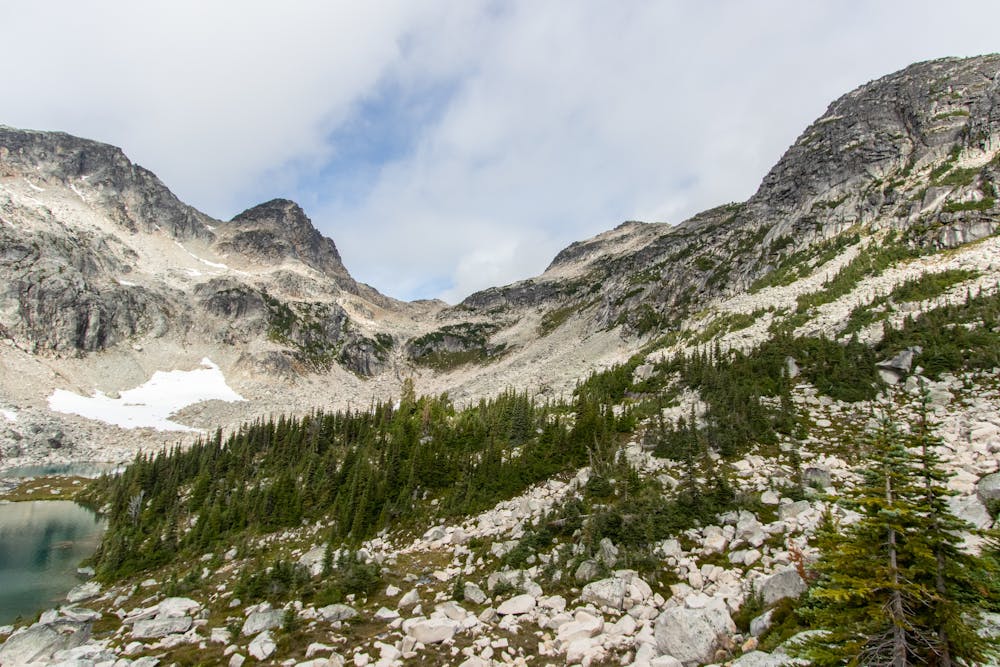
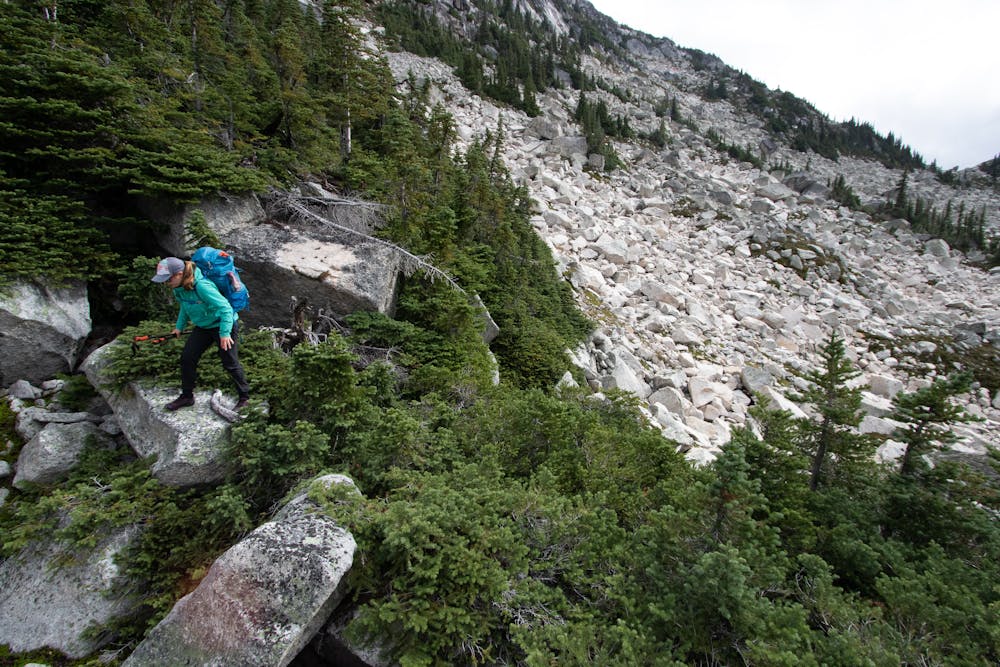
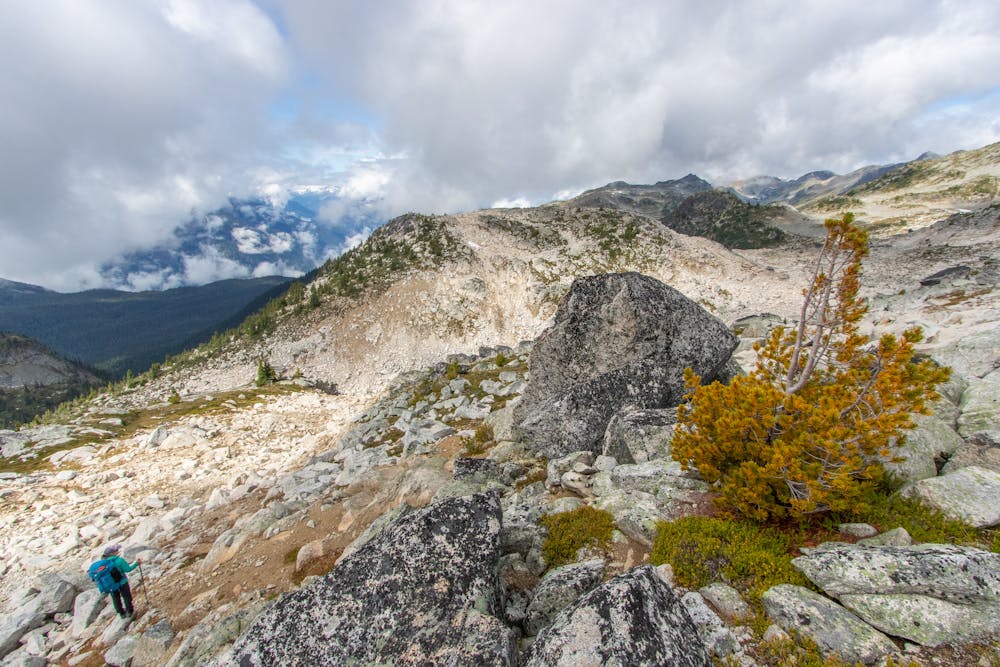
The trail skips between the lakes, over the outflow, and along the eastern edge. Gradually there are more and more boulders, and the trail just peters out between the trees. The easiest way appears to be following the lines of least resistance, which ramp upwards, above the cliff sections. At each stage have a look around and you will see there is often a less steep angle to some of the boulder field. You often have to cross scree slopes to get to these sections. Without a trail there is no one right path, and the details are too numerous to lay out. Such is the nature of this traverse. Travel here is extremely slow, with some 3rd to 4th class scrambling between boulders. With a pack it can be awkward, and high risk for injuries. Without any exposure, this won’t feel technically hard, but it will challenge you.
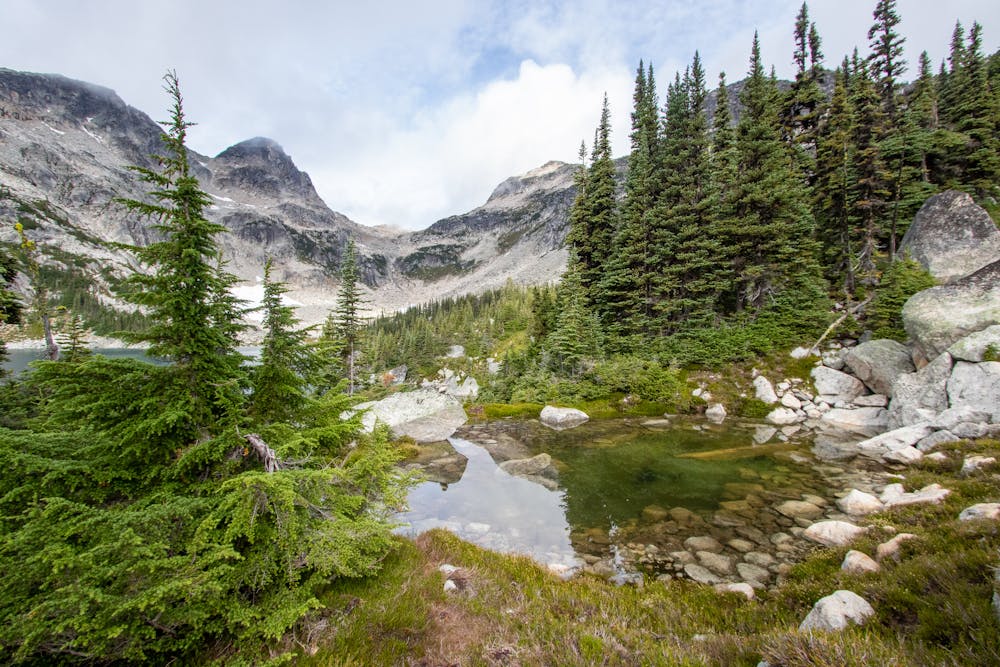
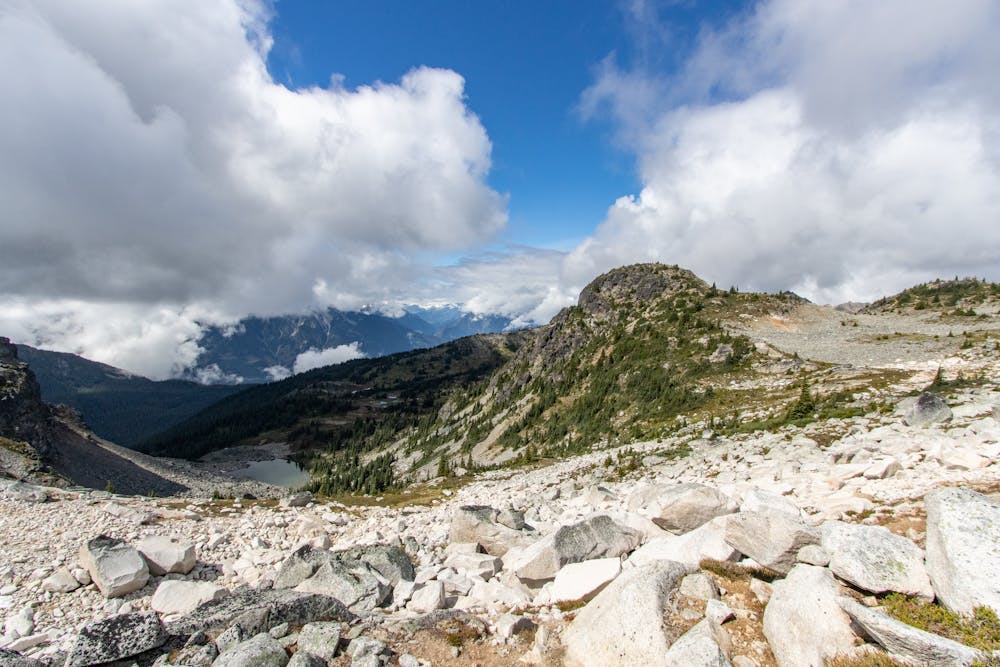
What appears to be a col, is in fact a talus bowl, with another short col to the Northwest. Here again, there is no wrong way, though the right side is a bit more efficient. Once here you get a beautiful view of Mt Royane, and further off in the distance, Mount Barbour. This is an excellent spot if the weather is clear to take stock of the route in its entirety. From here follow the flanks of the mountain, traversing towards Mt Royane, passing a tarn (a great swim spot) and between a first, then second small sub-peak.
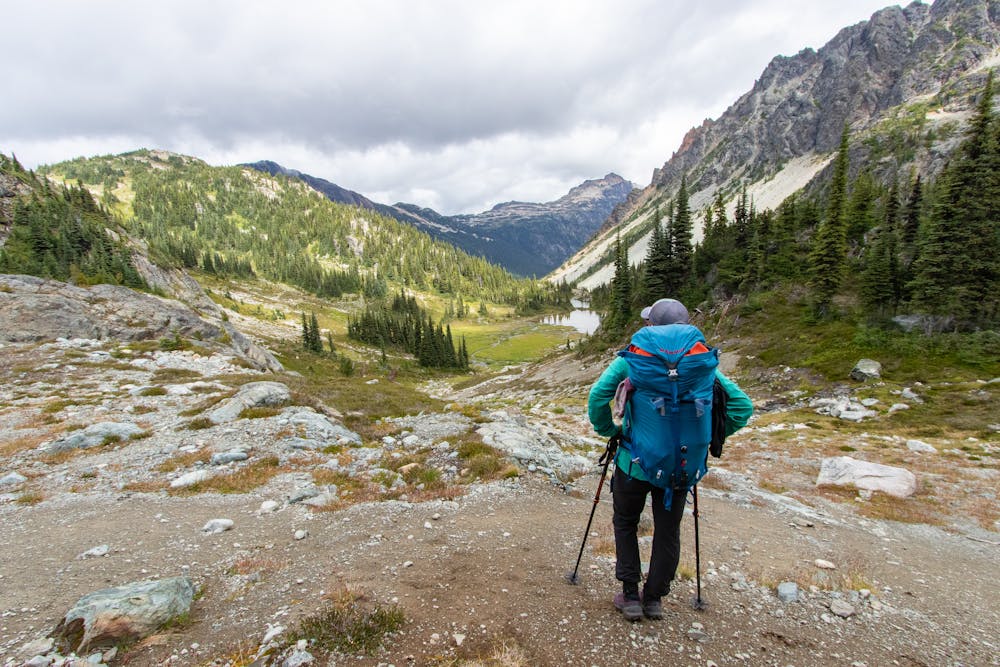
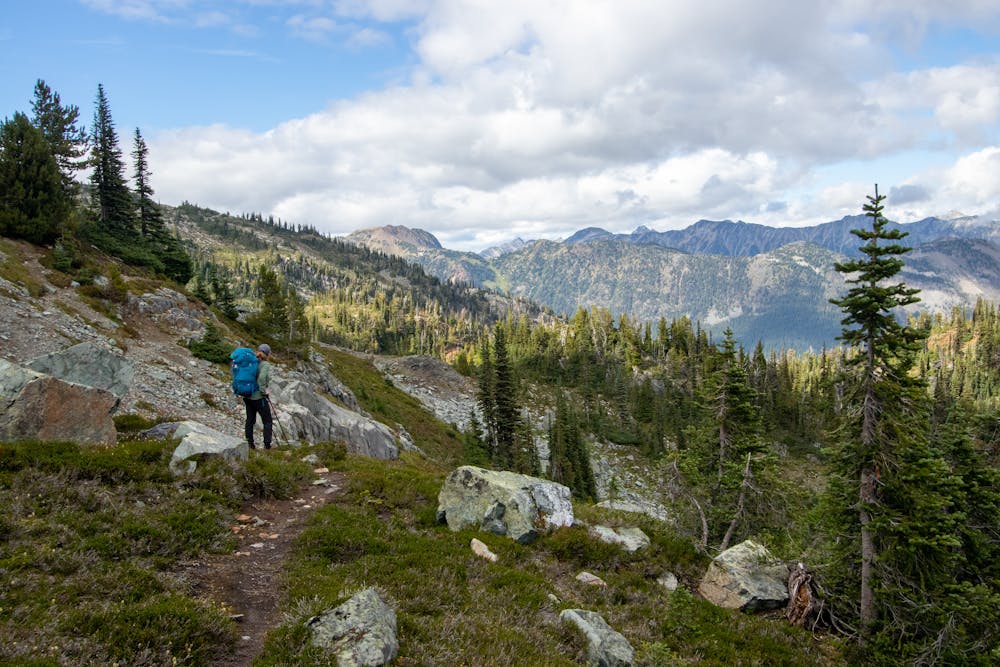
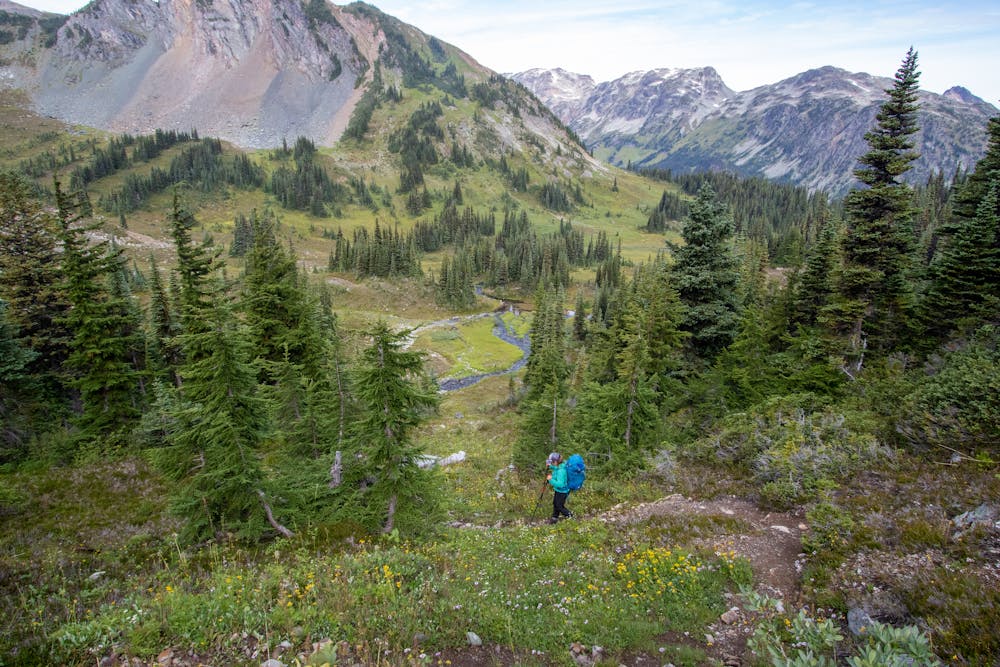
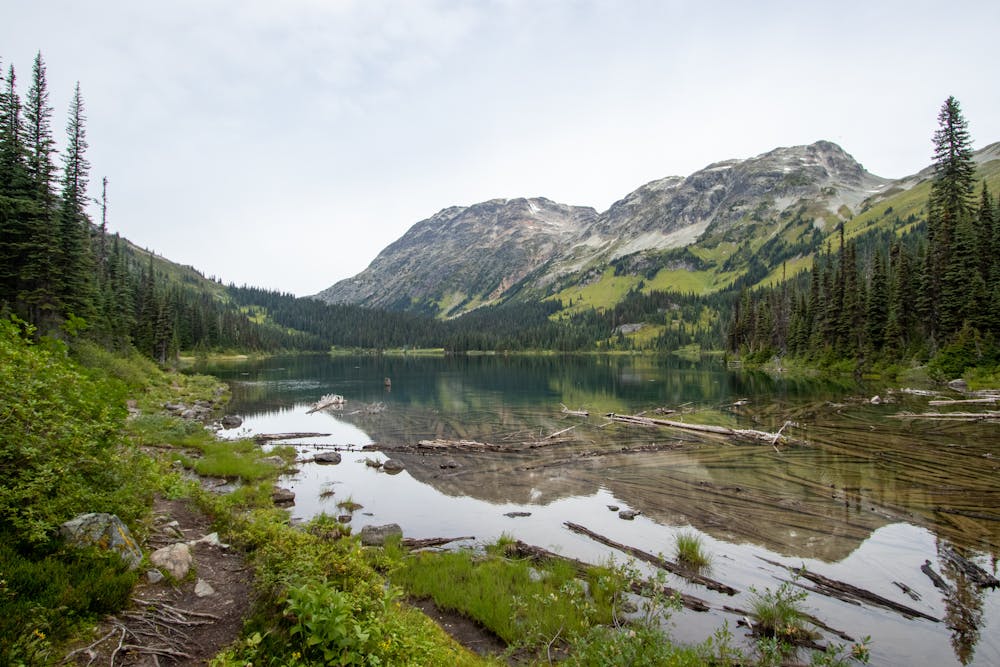
From here the route begins a descent into a valley. Again there is no trail, and even cairns become sparse. Head for the lake at the bottom. You can stay to the east side and take the scree path down, which is the most direct route. If your feet are tired of scree the meadows make for more pleasant walking. Alongside the creek that feeds off of the lake at the base of the meadows is a large talus field. Several groups of trees weave through the scree field, where you can find cairns. Follow this until suddenly a well formed trail through the talus fields appears in the trees at about 1700m, about 150m west of the river. This trail traverses across the next few talus slopes before a short climb into the woods. Flat trail through woodland meanders to a brilliant spot at Ogre Lake. There is good camping here, as well as a canoe stashed in the woods.
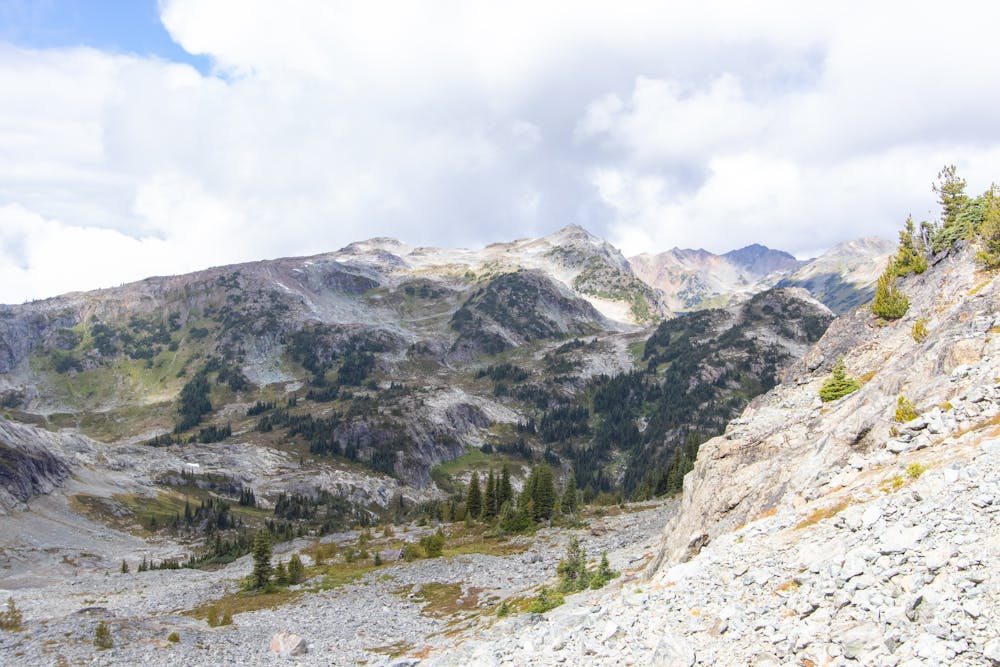
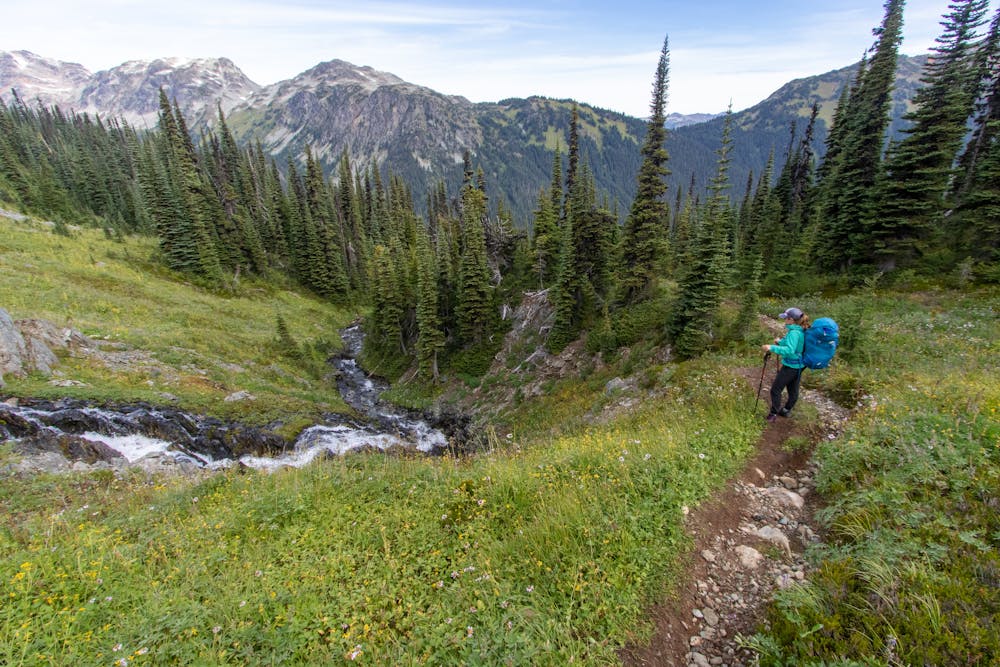
The trail then follows the northeastern edge of the lake, where it climbs fairly gently upwards through meadows. As you get into flatter broad meadows the trail disappears. Numerous cairns are visible, though they appear a bit random at times. The trail heads upwards and around the corner to the northeast where you climb a short col, before descending a scree slope. Again this is another spot where the trail is tricky, but cairns are dense here. There is some marking tape, too. At about 1880m the route traverses across the face, past a small tarn, and then up a short ridge. Here you will get a good glimpse of the last major climb of the route.
The trail zigs and zags up a very steep slope. At the top there's a stunning view of the Tenquille valley, and all the peaks present themselves before you. While passing by next to the lake below looks tempting, the best trail is to the northwest of the lake up on a ridge made of rock. It’s best to descend by following the ridge that runs northwest from the col. If you do end up by the lake head due west from the lake's southern shore and search for the cairn. The trail is faint at first, but becomes clear as soon as you start descending the steep sections into the meadow below. From here onwards is a gentle descent to Tenquille Lake (with a very short uphill section). The trail reaches the lakeside trail at Tenquille, where you follow the main Tenquille trail out. The trail weaves past a hut and through meadows before descending to a fork. The east fork goes to Branch 12, and the west fork goes to the trailhead at the start of the Hurley. The western option includes a little more descent, and much harder on the knees, but you avoid driving the hard roads of the Hurley and Branch 12 (Branch 12 is much flatter and goes by a little quicker).
Gear: Ultralight gear is highly recommended for this route. The first col is a big scramble and a carrying a large, heavy pack will be quite challenging. If you decide to to do this route, solid boots and trekking poles are highly recommended.
A map, compass, GPS and altimeter are also highly recommended for the tricky navigation. If you’re using your phone an extra power pack/charger will be essential.
Extreme
Scrambling up mountains and along technical trails with moderate fall exposure. Handholds are necessary to navigate the trail in its entirety, although they are not necessary at all times. Some obstacles can be very large and difficult to navigate, and the grades can often be near-vertical. The challenge of the trail and the steepness of the grade results in very strenuous hiking. Hikes of this difficulty blur the lines between "hiking" and "climbing".

The trail contains some obstacles such as outcroppings and rock which could cause injury.

Little chance of being seen or helped in case of an accident.
5 routes · Hiking · Trail Running