Gnar Wall: Short Ride
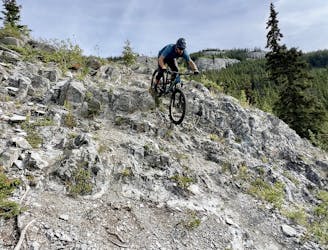
One of Grey Mountain's famous double black diamond tech trails.
Extreme Mountain Biking
- Distance
- 8 km
- Ascent
- 293 m
- Descent
- 293 m

Pair beautiful views and fast ripping with a challenging double black diamond tech trail.
Mountain Biking Extreme

This figure-8 route is a rewarding ride on Grey Mountain that combines steep climbing, stunning views, high-speed ripping, and challenging double black diamond tech trails.
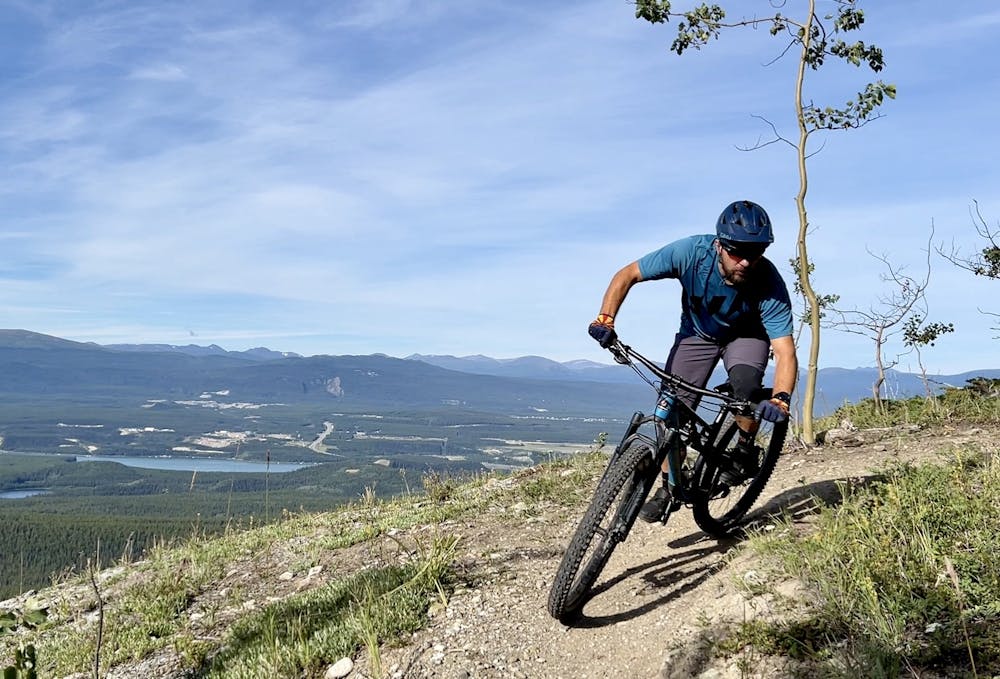
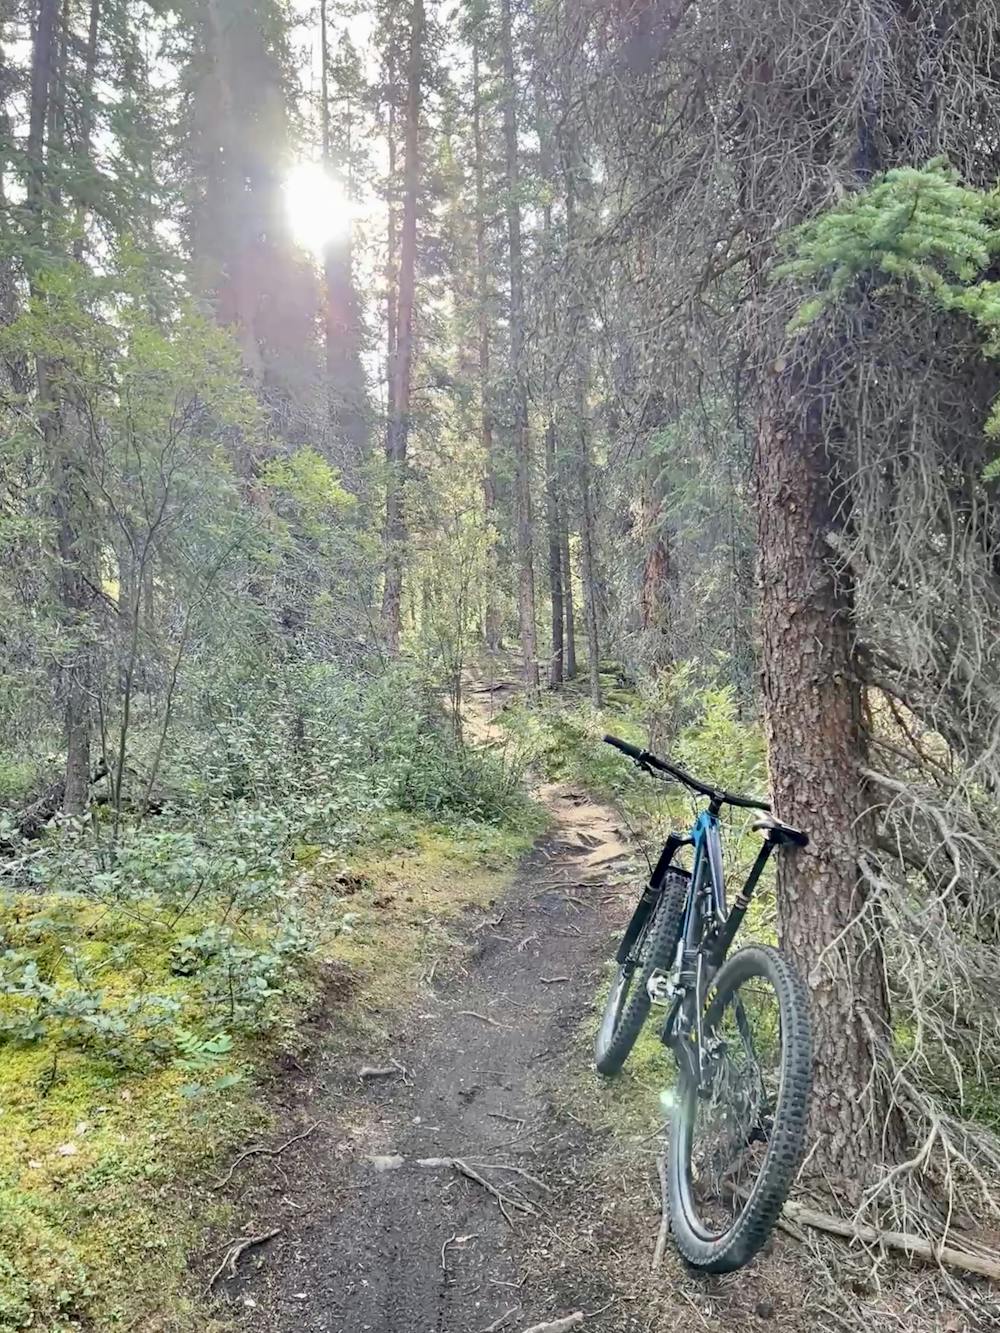
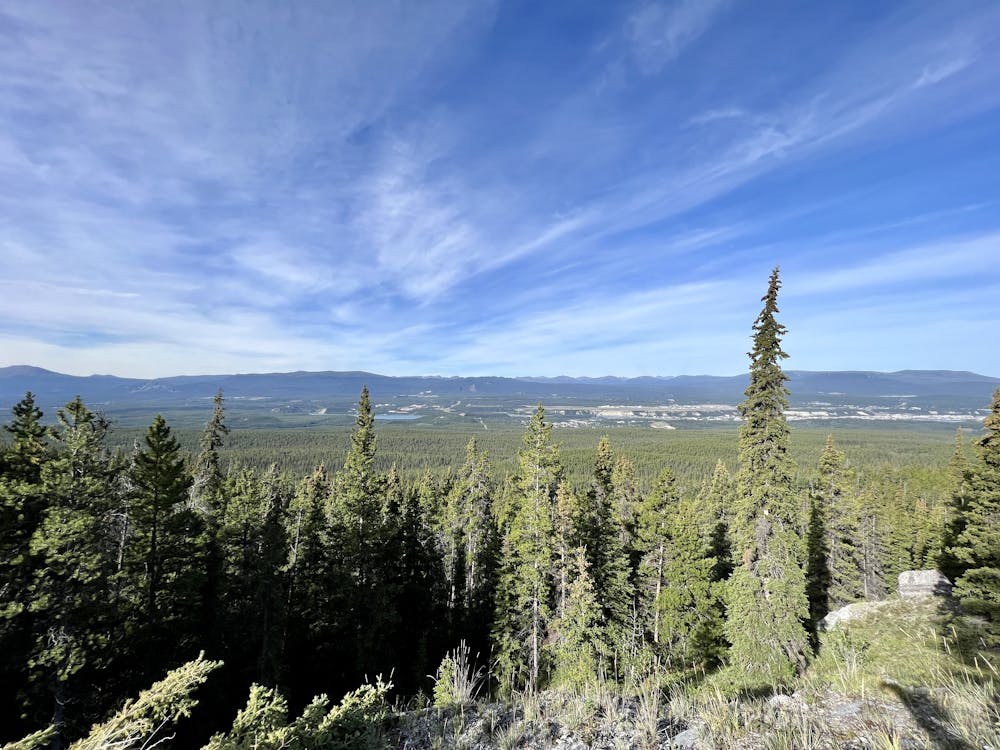
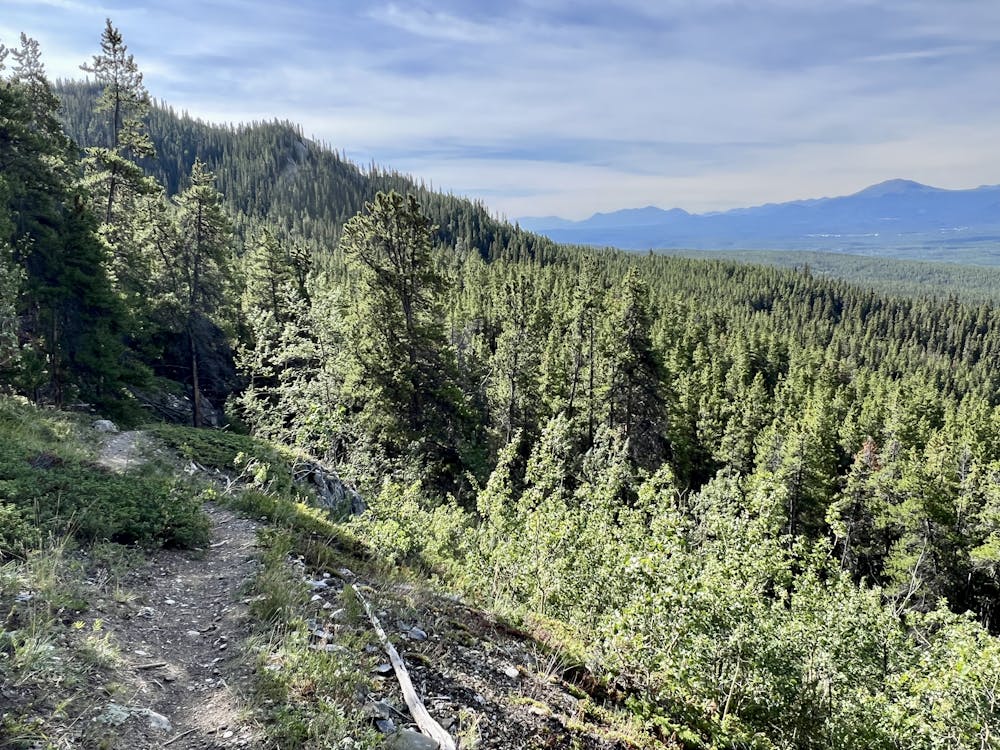
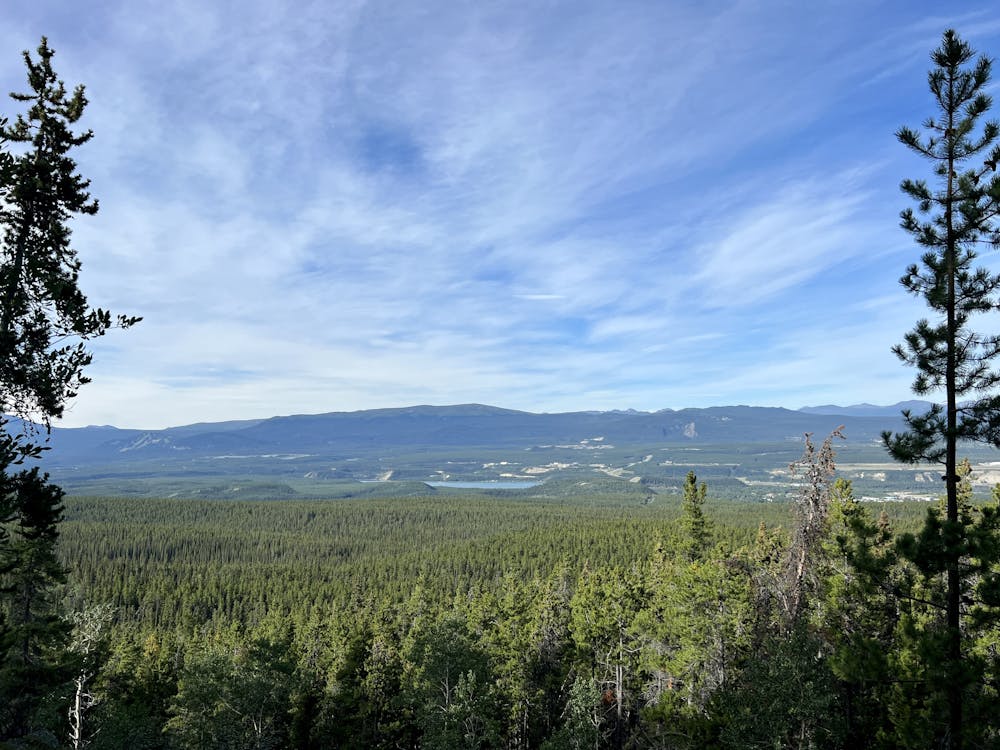
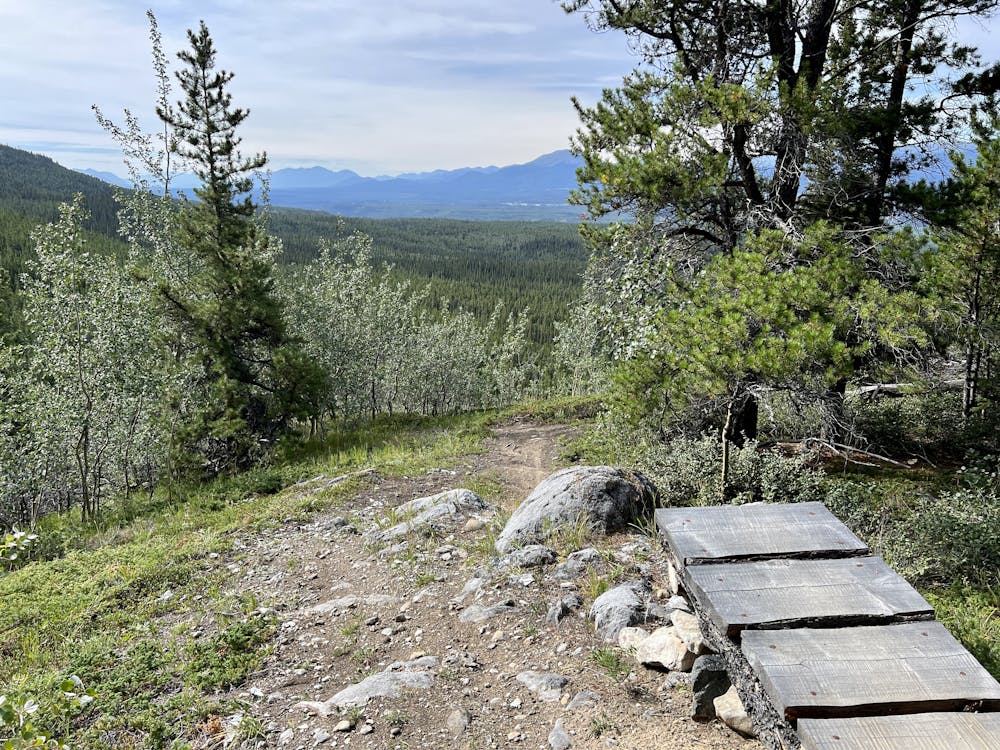
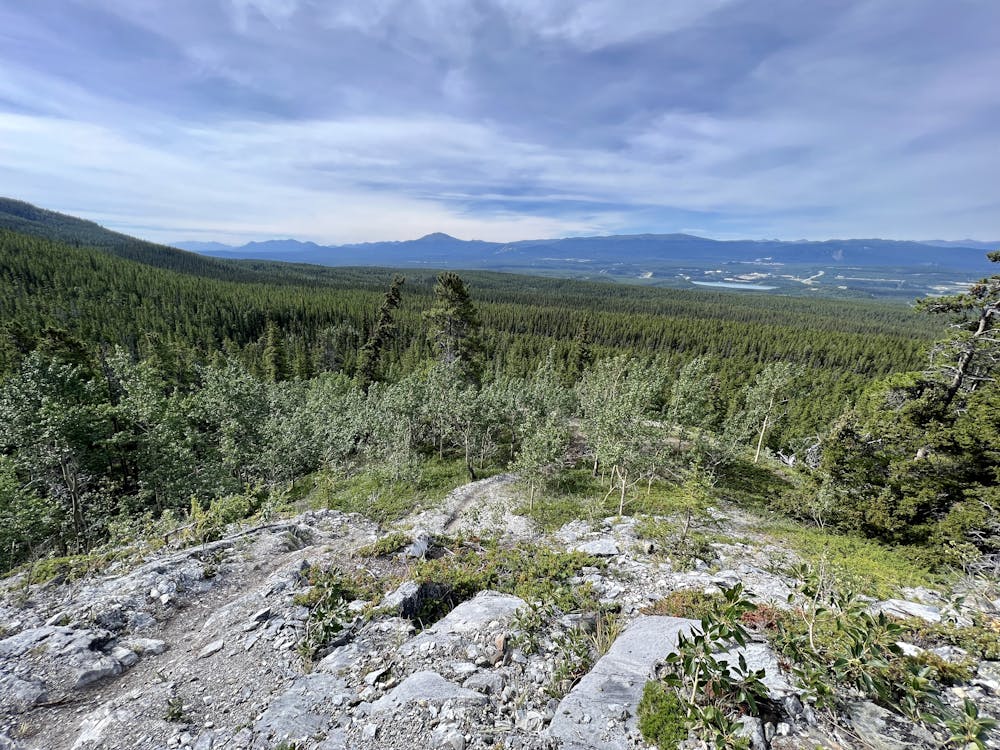
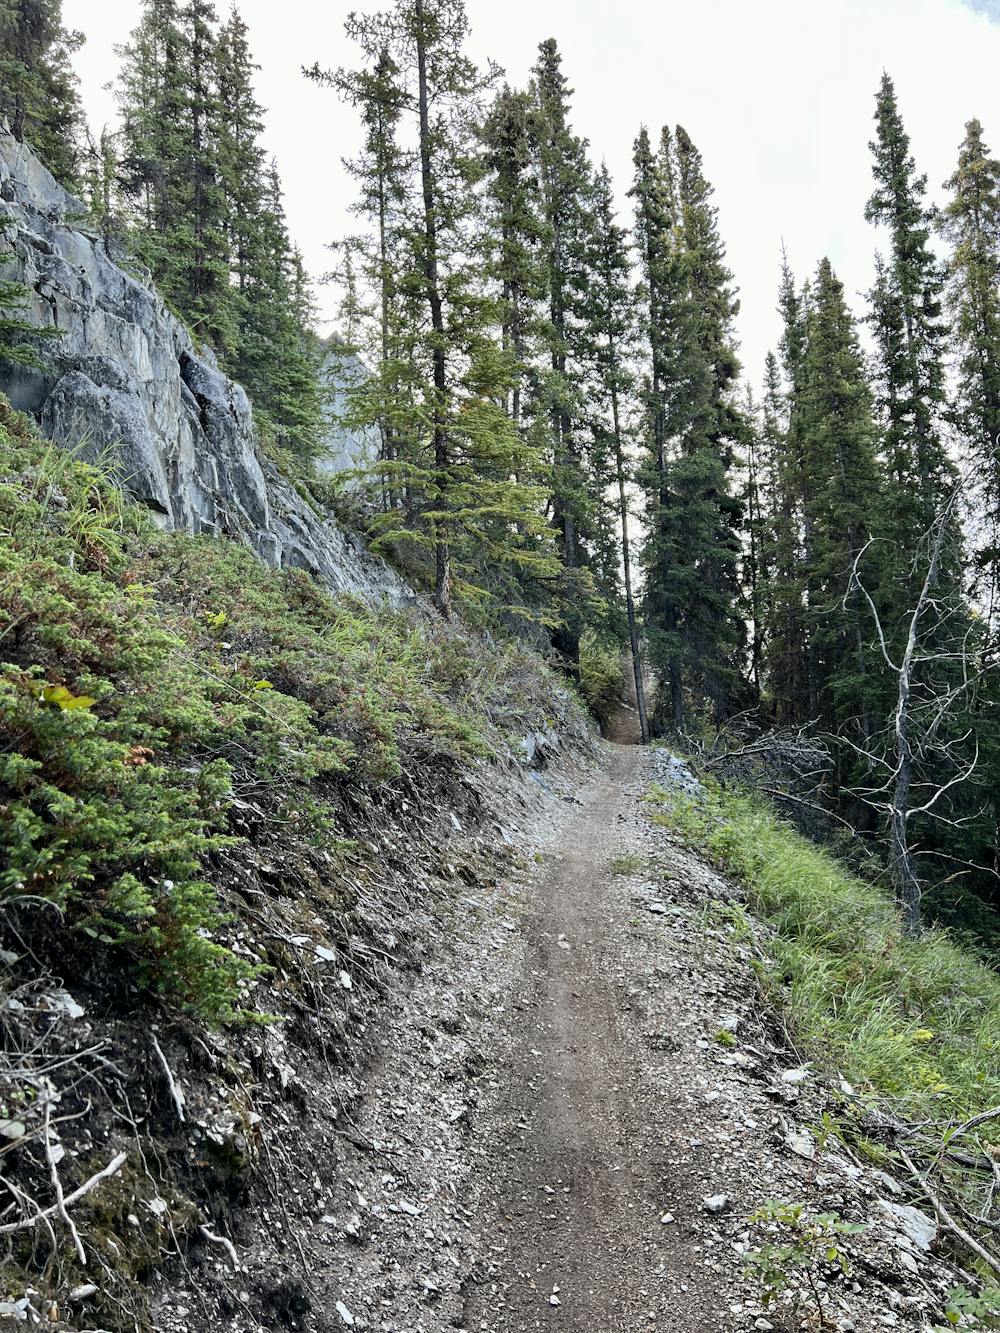
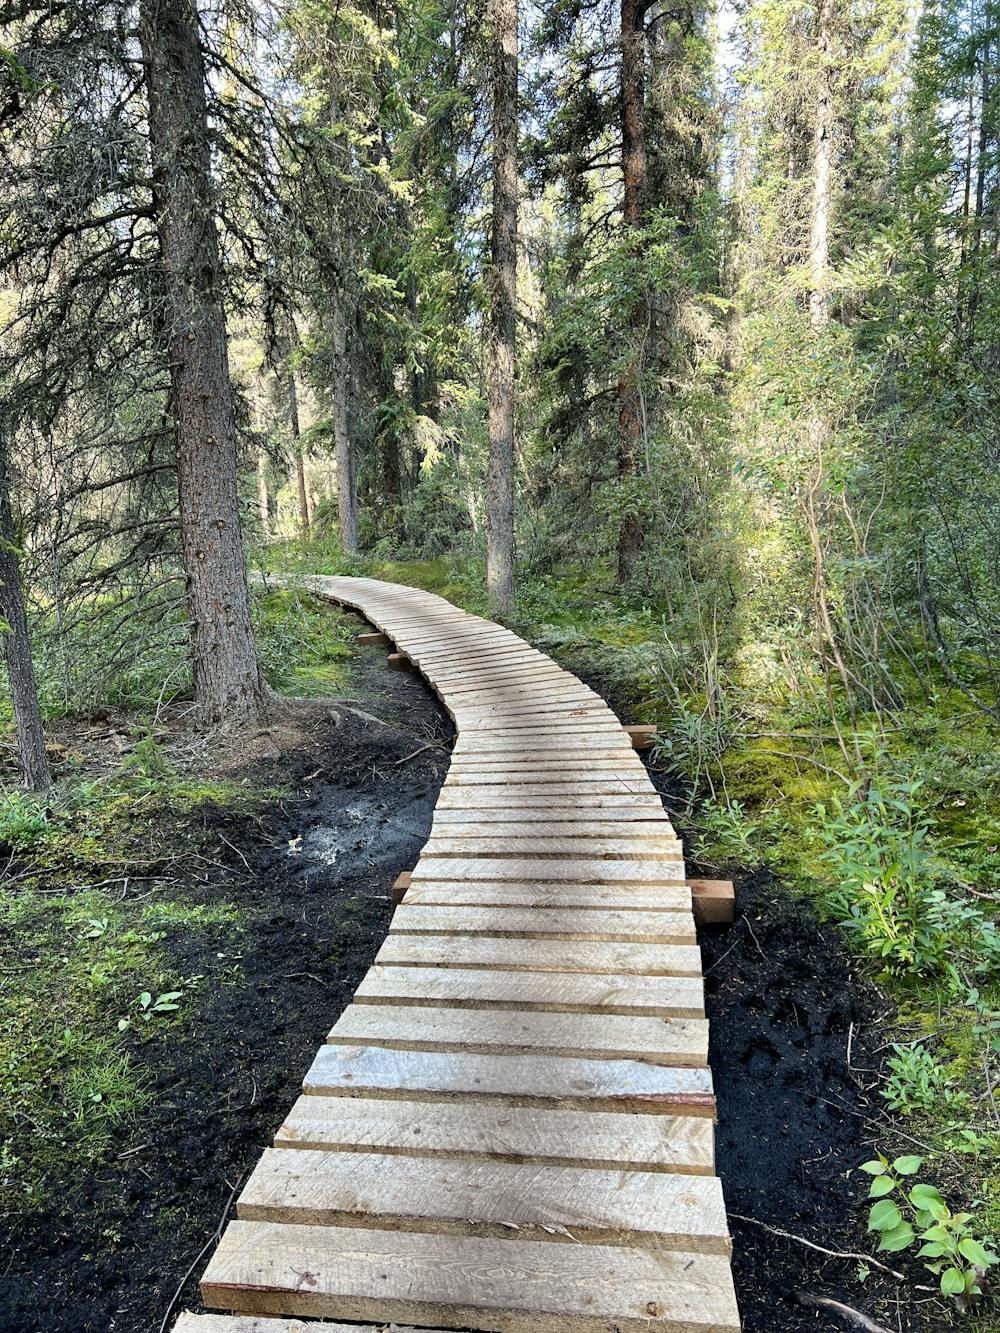
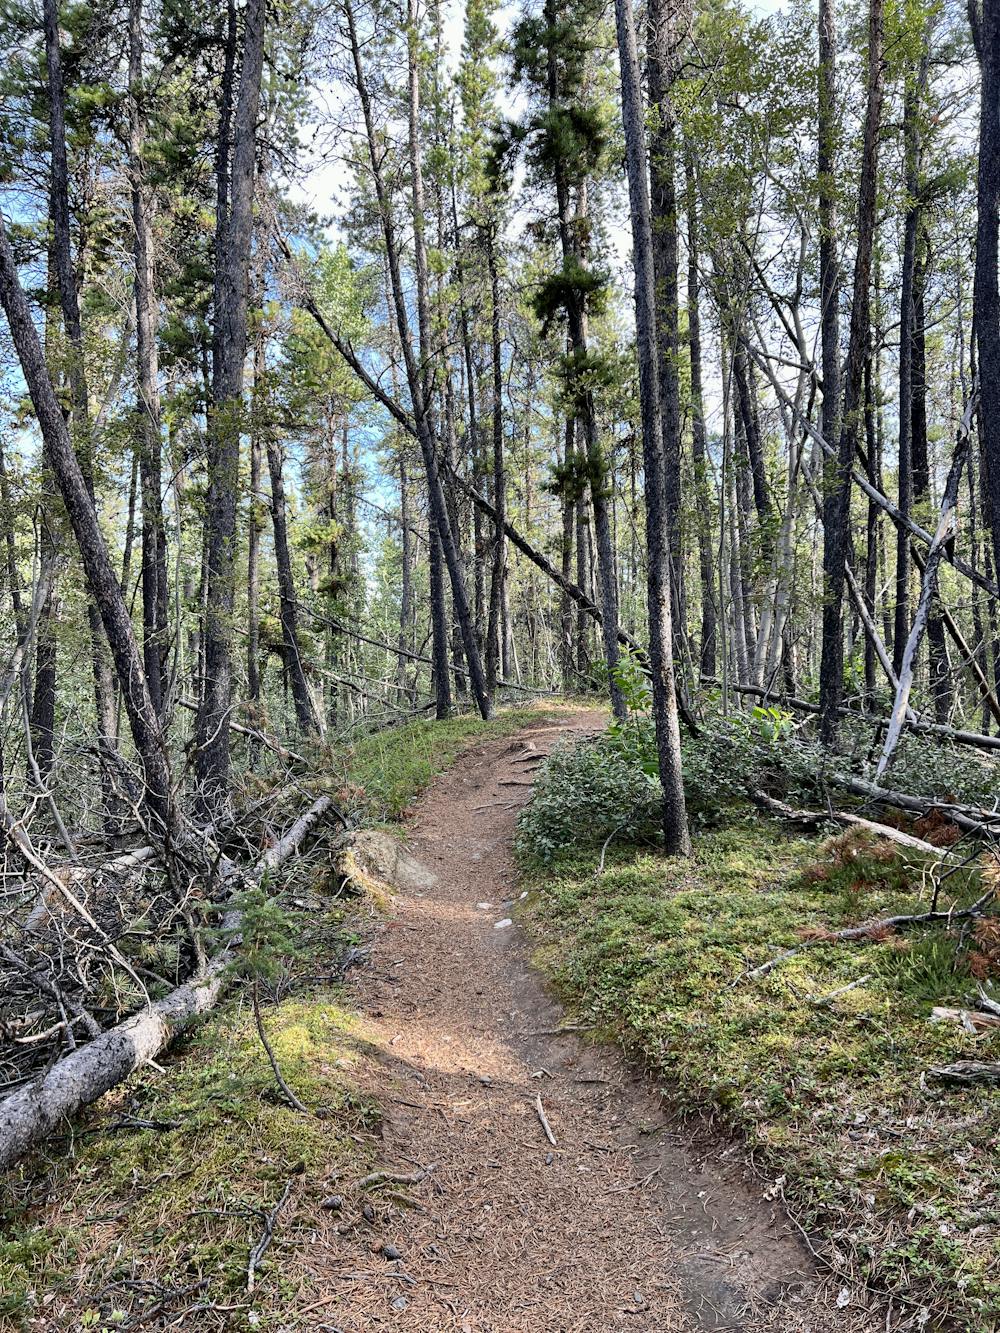
The ride begins from the Magnusson parking lot, climbing Magnusson Green to Boogaloo Heights, Downtown Boogaloo, GOT, and then eventually: The Dream. This is the most direct route up the mountain, but winding back and forth on some sections of Magnusson Green could perhaps create a more pleasant (if longer) uphill. Nevertheless, the climb is fairly straightforward and rideable.
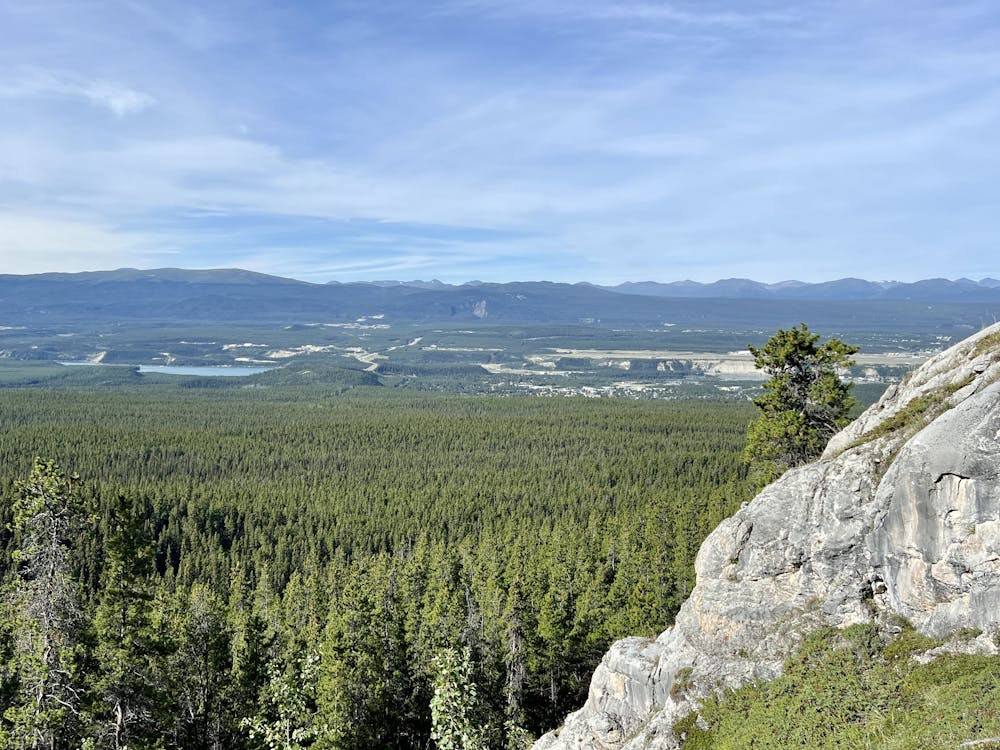
Once on The Dream, the elevation gain really ratchets up, and you'll find yourself wondering if perhaps you're going the wrong direction as you climb up a series of berms and jumps. However, the jumps soon disappear, and the ascent follows classic-style singletrack, albeit a more newly built section of trail. As you climb up the mountain, you'll reach breaks in the trees that provide incredible views of the valley below!
With such a sweet singletrack, it's tempting to climb all the way to the top of The Dream and then turn around and bomb back down. That's definitely possible and is a great option if you're looking for bonus miles. However, it's a steep hoof to the top that doesn't relent until you reach the summit of the mountain.
Whether you choose to turn off immediately or after some bonus miles to the summit, you definitely want to blast down Mother T. This fantastic trail begins as a classic loamer dropping steeply through dense undergrowth and a thick forest on dark black dirt and roots. The track is narrow in places and fairly difficult, but it's easy to follow.
After gripping and ripping through the loam, the singletrack breaks out onto the mountainside, affording some incredible views and allowing for wide-open ripping down sweet sections of side hill. The side hill sections inevitably funnel into more steep, tight corners, but this descent is an absolute riot.
The lower section of Mother T is also fantastic, but for some real tech riding, descend the GOT trail to the bottom of The Dream and then pedal back up to reach the Gnar Wall.
Gnar Wall begins with some stiff up-and-down technical riding that's required to traverse across the mountain to the goods. You'll have to drop down some steep-sided ridges and power straight back up the next one, which can be quite awkward in places. But finally, you'll get to the main descent!
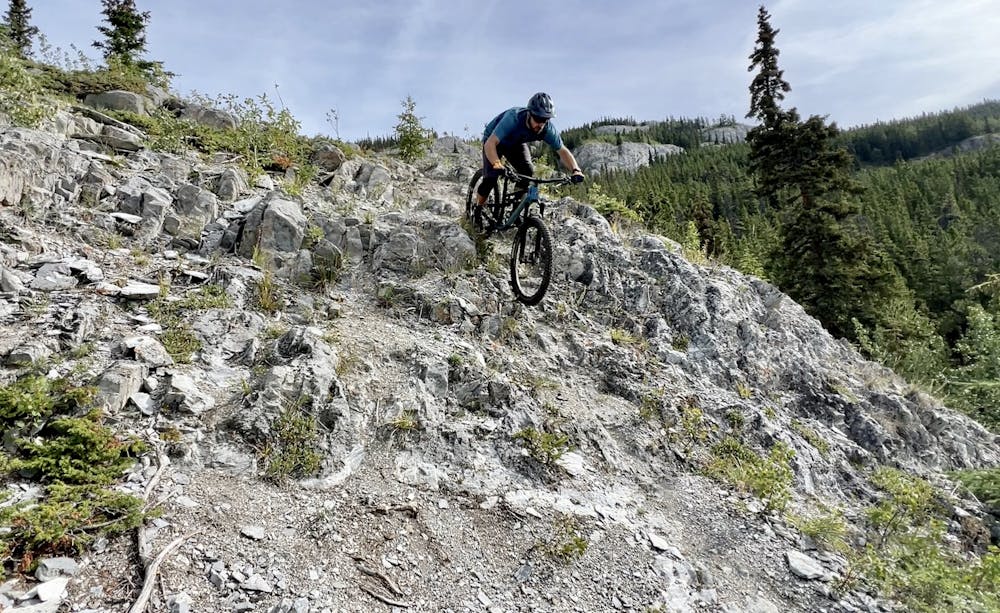
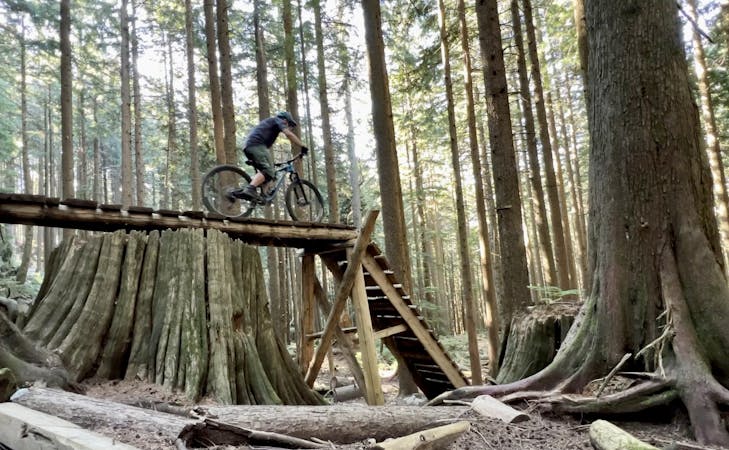
The descent down Gnar Wall is not to be trifled with. This double black diamond trail should be considered experts-only, and not all experts will be able to hit all the features. The downhill begins with some optional gap jumps and cliff drops on its way to the sunny, exposed rock slab mountainside. The first major rock roll can be bypassed, but it's achievable for most expert riders. Even still, this is a full-commitment feature that you should scout before hitting. The rough, rippled rock has some sand and gravel in the cracks in between, which can make the traction somewhat sketchy in places.
The largest feature on Gnar Wall can be considered a "pro line." This massive slab series is shockingly steep and exposed, but unlike some of the classic rock slabs you'll find in places like Squamish and Whistler, it's not a single uninterrupted rock surface. Instead, it's a steep series of cascading ledges with sheer drops interrupted by flat(ish) landings. To make matters worse, the landings house dirt and loose, rolling stones, which look to make the traction deadly-loose. Don't attempt this line if you're not confident you can nail it!
It's clear that most riders choose to take the ride around to the right, but even that burned-in ride-around line is loose and slippery. One corner is quite tricky, and many riders slide off the downhill side in the loose scree.
After navigating around the big ledge, the rest of the trail seems quite tame until it dumps out onto Rehab. Take a left to climb up Rehab and reach the top of Downtown Boogaloo.
Downtown Boogaloo is a low-angle trail, but the wide-open sightlines allow you to absolutely blast down this rooty, rugged trail! You can go as fast as your suspension will allow, blasting down the mountain at Mach 10! While it's easy to skip this trail, it's well worth the detour for the fast, wide-open descending to finish this fantastic ride.
Extreme
Very steep, difficult, narrow singletrack with widely variable and unpredictable trail conditions. Unavoidable obstacles could be 15in/38cm tall or greater, and unavoidable obstacles with serious consequences are likely to be present. Obstacles could include big rocks, difficult root sections, drops, jumps, sharp switchbacks, and more. Ideal for expert-level riders.

One of Grey Mountain's famous double black diamond tech trails.
Extreme Mountain Biking
1 m away
A classic black diamond descent with loam, exposure, and high speed ripping!
Severe Mountain Biking
5.1 km away
A fantastic cross county ride touring some of Whitehorse's best trails and affording beautiful views of Miles Canyon.
Moderate Mountain Biking
7 routes · Mountain Biking
10 routes · Mountain Biking