9 km away
Sultan Mountain and Spencer Peak
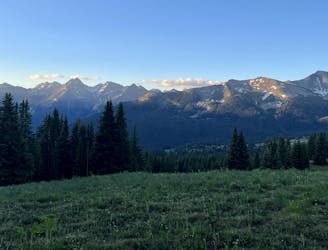
Tag two 13ers that are easily-accessible from Molas Pass.
Easy Alpine Climbing
- Distance
- 12 km
- Ascent
- 1 km
- Descent
- 1 km
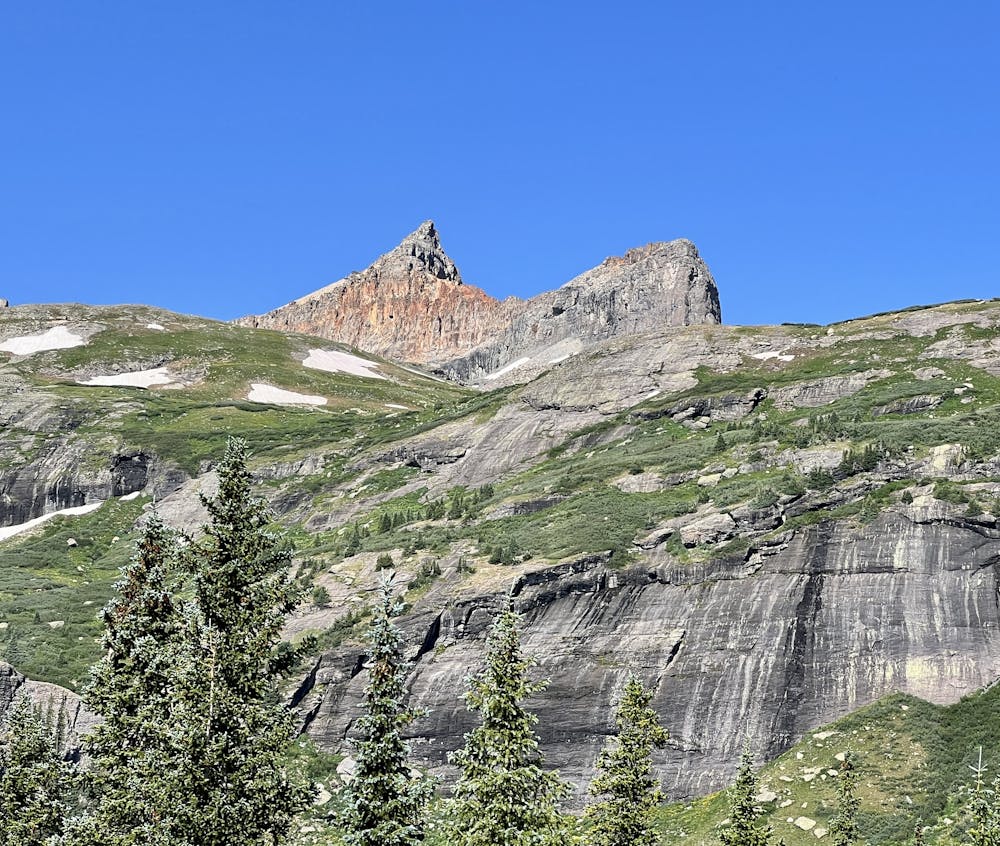
A long climb culminating in an extended summit scramble leads to the summit of Golden Horn.
Alpine Climbing Moderate

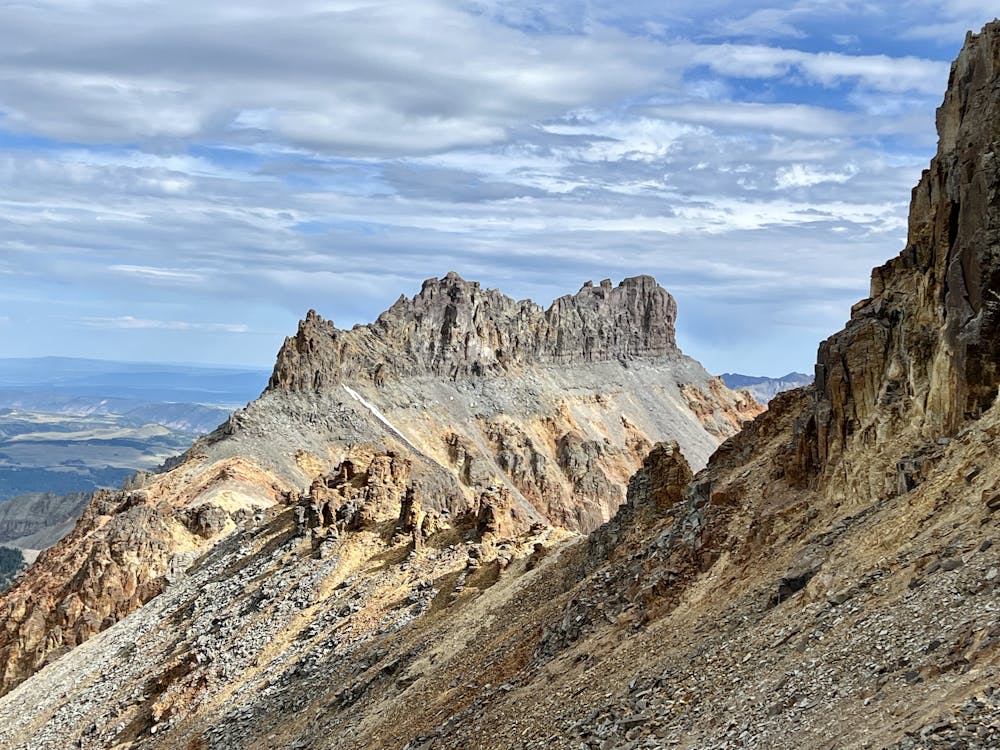
Soaring to a stunning height of 13,780 feet, Golden Horn strikes an imposing profile high above the popular day hiking destination of Ice Lake Basin. The hike to reach the summit is long, but the views are unbelievably rewarding!

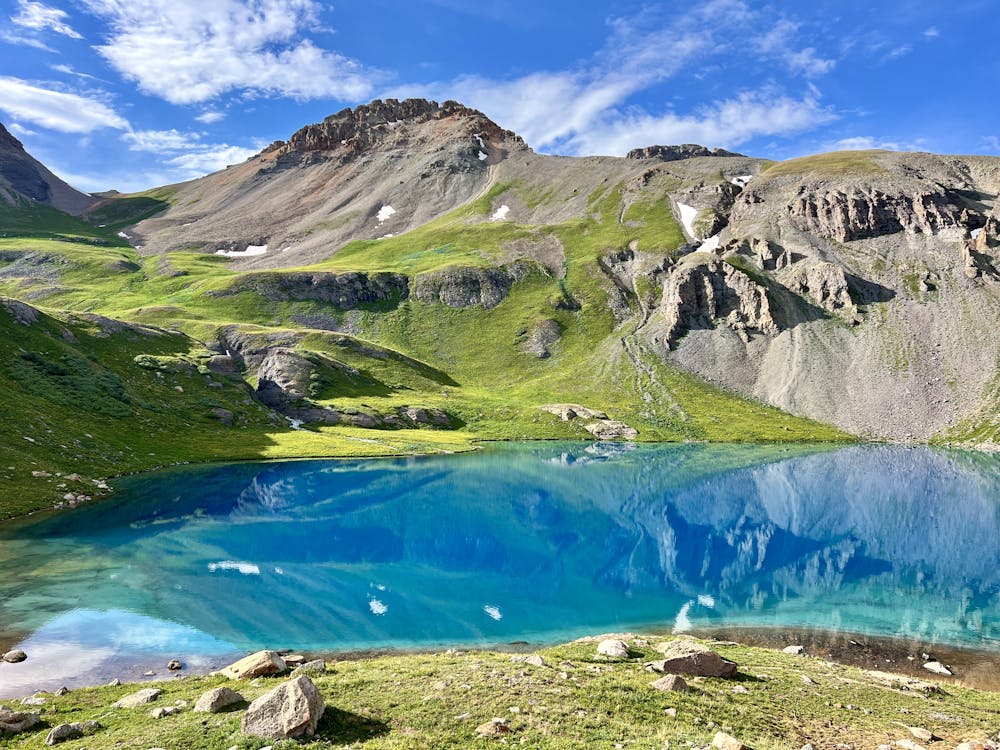
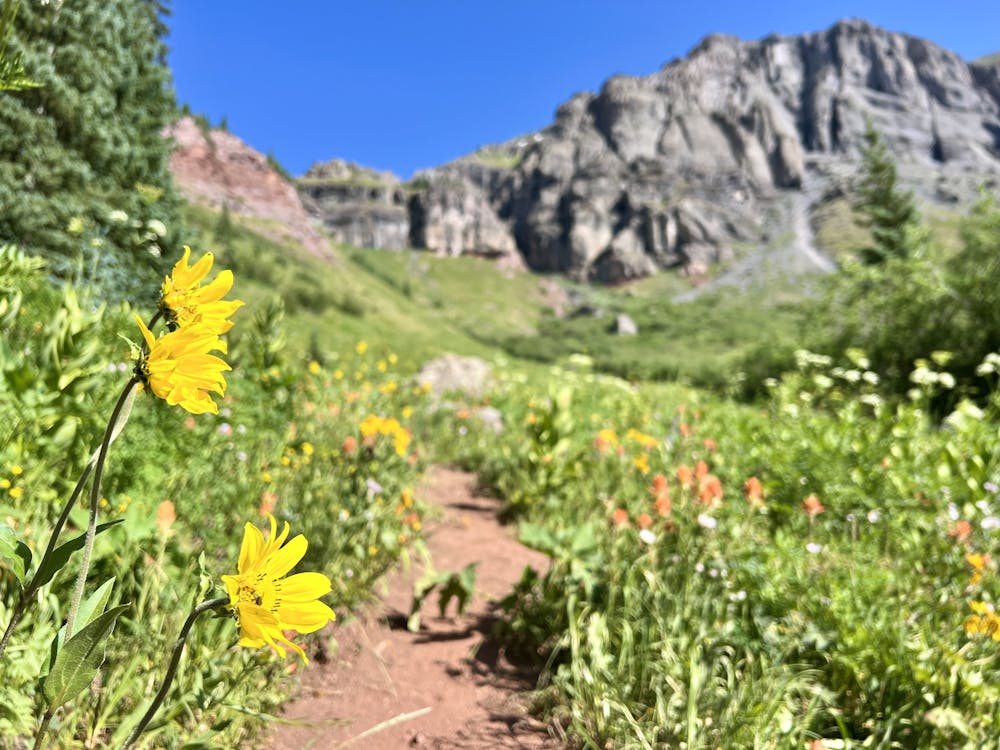
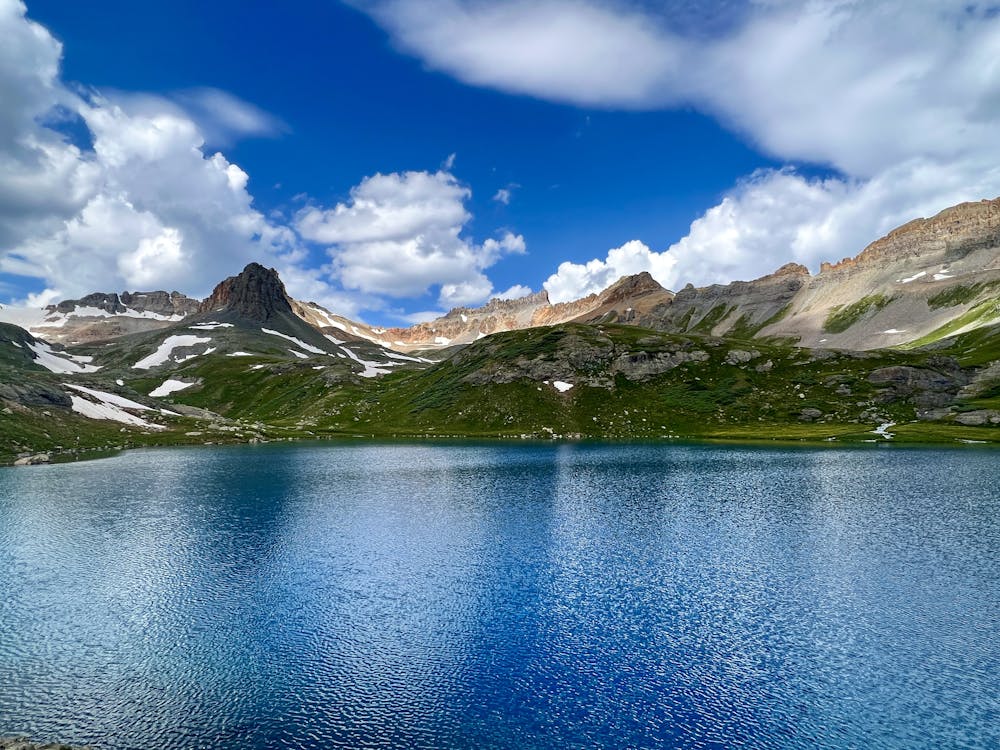
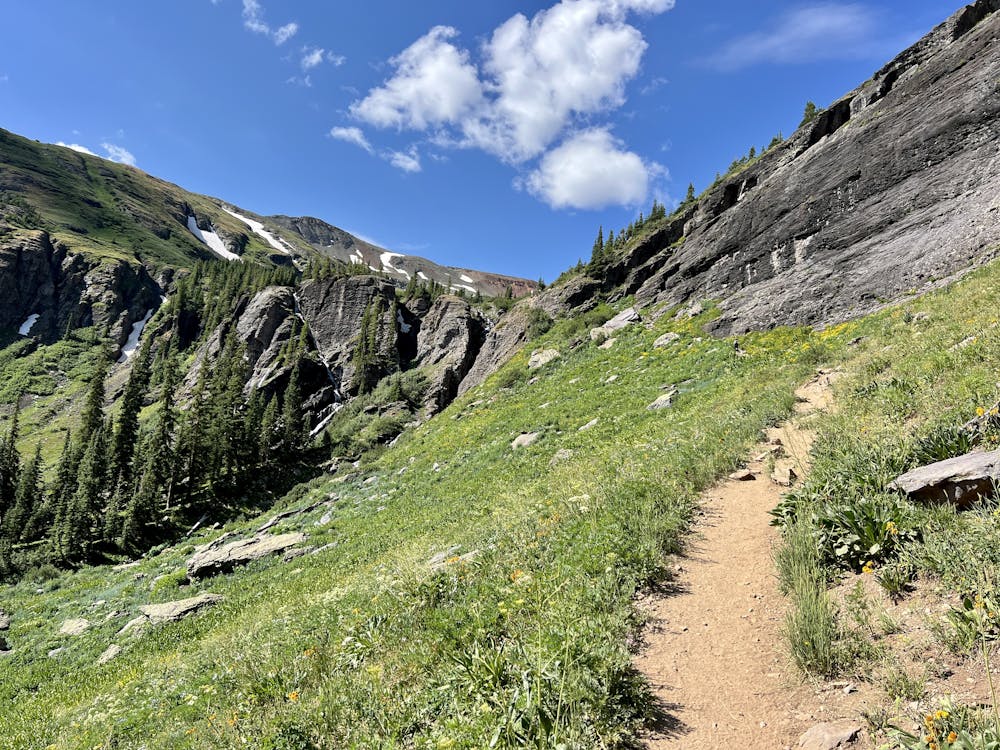


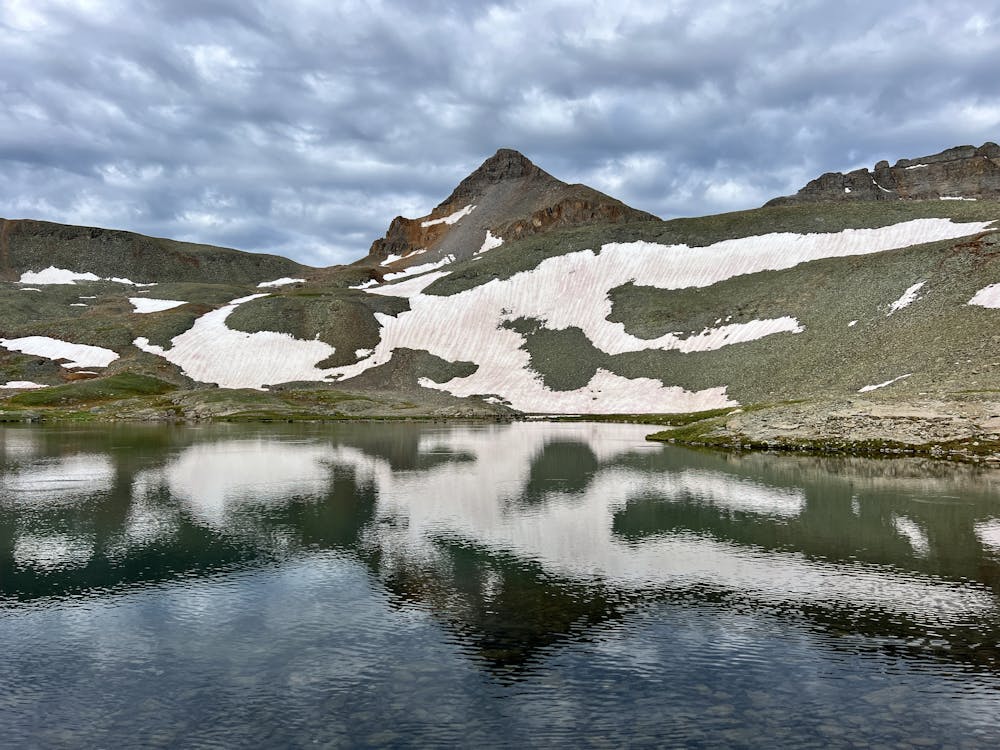

The ascent begins by following the popular trail to the Ice Lake Basin, or "Ice Lakes," as the area is often referred to. The climb to the lower lake is guaranteed to be choked with other hikers, as this is renowned as one of the best day hikes in the San Juans. The initial ascent is fairly straightforward and is merely the approach to the truly difficult part of the climb.
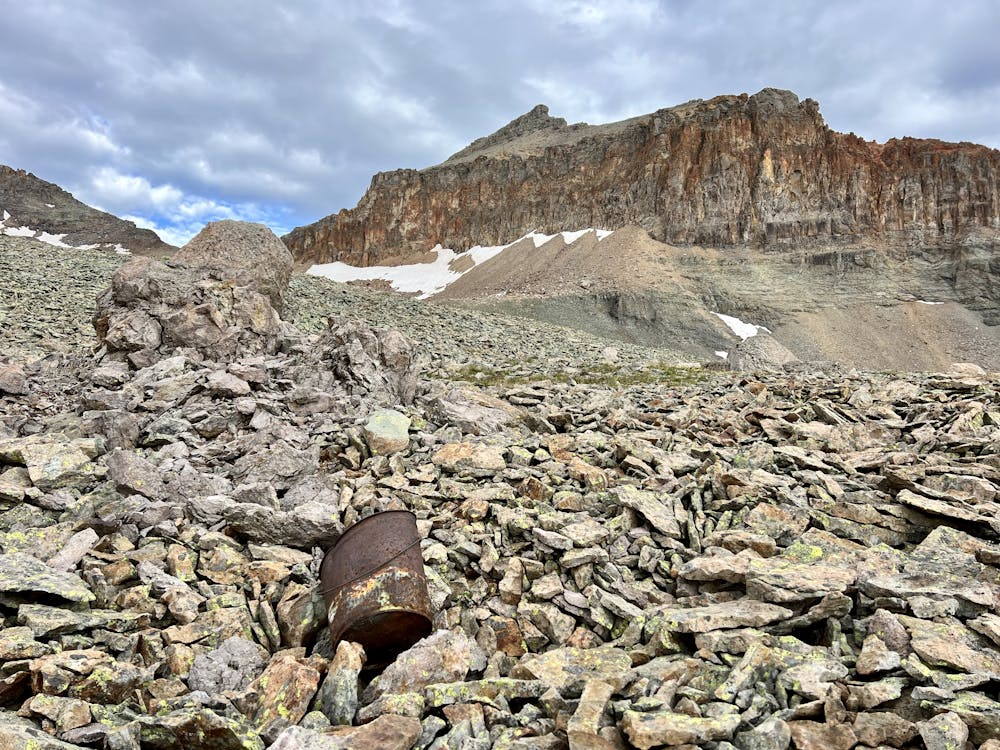
After reaching the lower lake, take a left turn to head to the upper lake. The trail to the upper lake is narrower and rougher, climbing steeply to a second upper basin. Once at the upper lake, the route gets truly adventurous: as you pass the tumbled-down miner's cabin, you'll have to strike off across the scree field to reach the flanks of Golden Horn. While there are a few cairns along the way, there's no defined trail or route beyond the cabin. From here on out, it's all off-trail hiking and navigating. Be sure to download this route for offline navigation.
The approach to the mountain is fairly straightforward, but the scree field walking can be slow going. Take care not to turn an ankle.
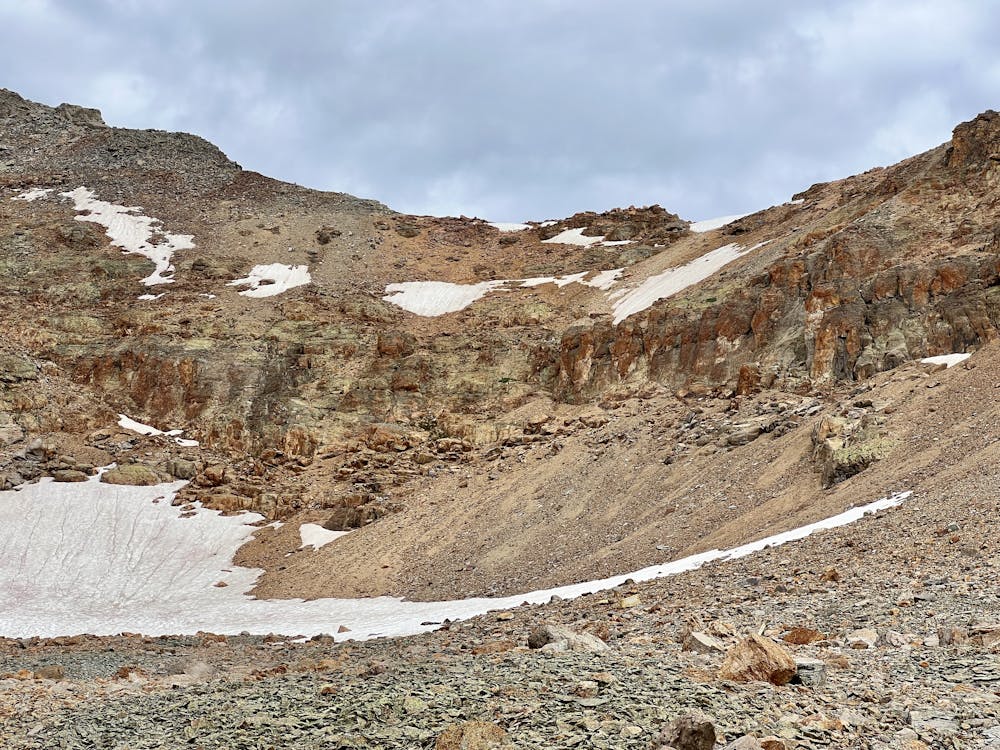
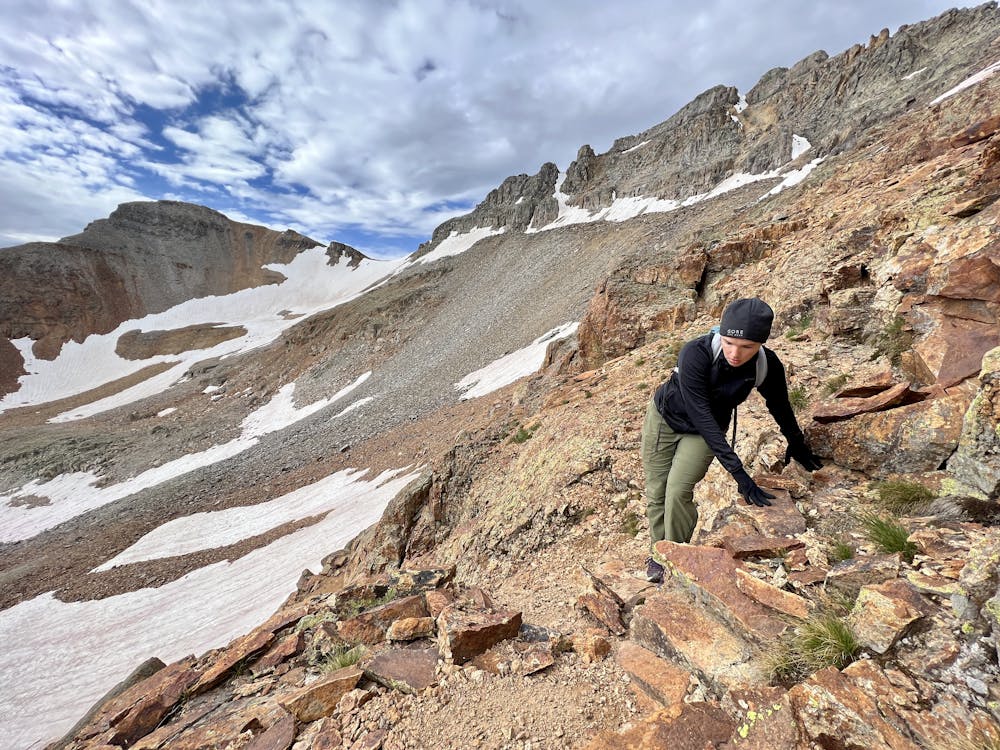
At the base of the ridge, the climb steepens dramatically. As you look up at the steep side of the ridge, you'll note a steep scree/gravel field leading to a vertical cliff band. There is a reasonable route through this cliff band, but as you'll soon see, scaling the mid-ridge cliff band will turn out to be the crux move of the entire climb. But first, you'll need to ascend the steep dirt/gravel field or snowfield, depending on the time of the year. Trekking poles are very helpful in the loose dirt, and an ice axe and crampons will likely be required if climbing early in the season.
Upon reaching the cliff band, traverse to climber's left to reach a slot in the cliff face. The route is fairly easy to piece together, but it does require a few airy moves on rotten rock that threatens to break apart in your hands. Take care through this exposed section, and then catch your breath when you return to a more stable ledge.
From here, either punch straight up to the ridge or angle up and right. (Be sure to take note of landmarks for your downclimb so you don't get cliffed out on the vertical cliff faces.)
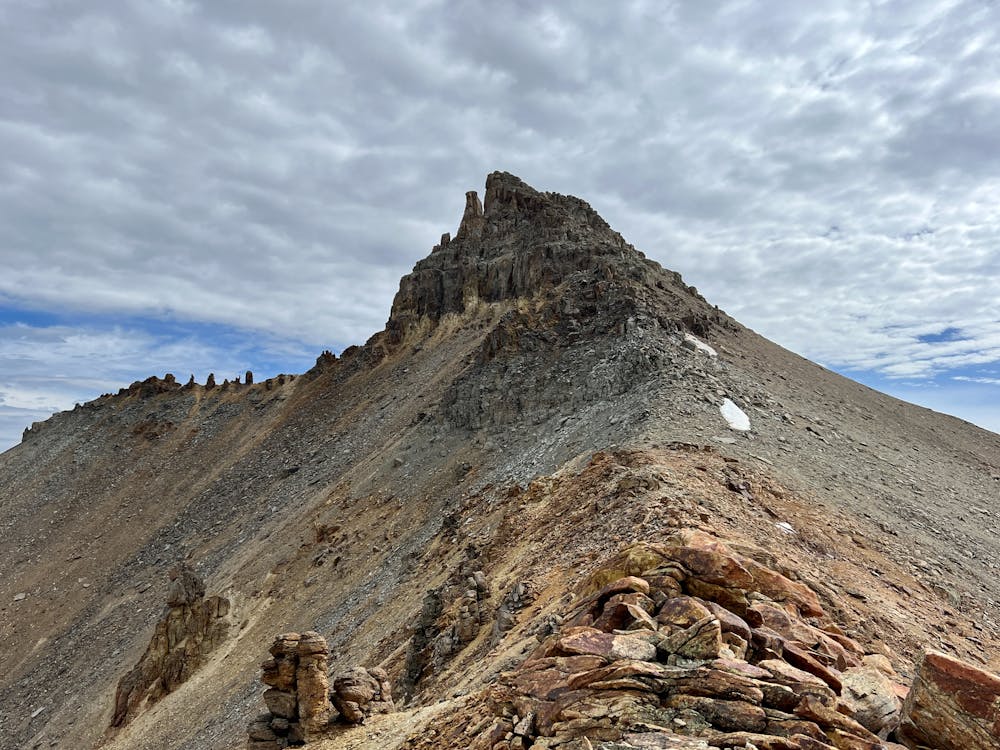
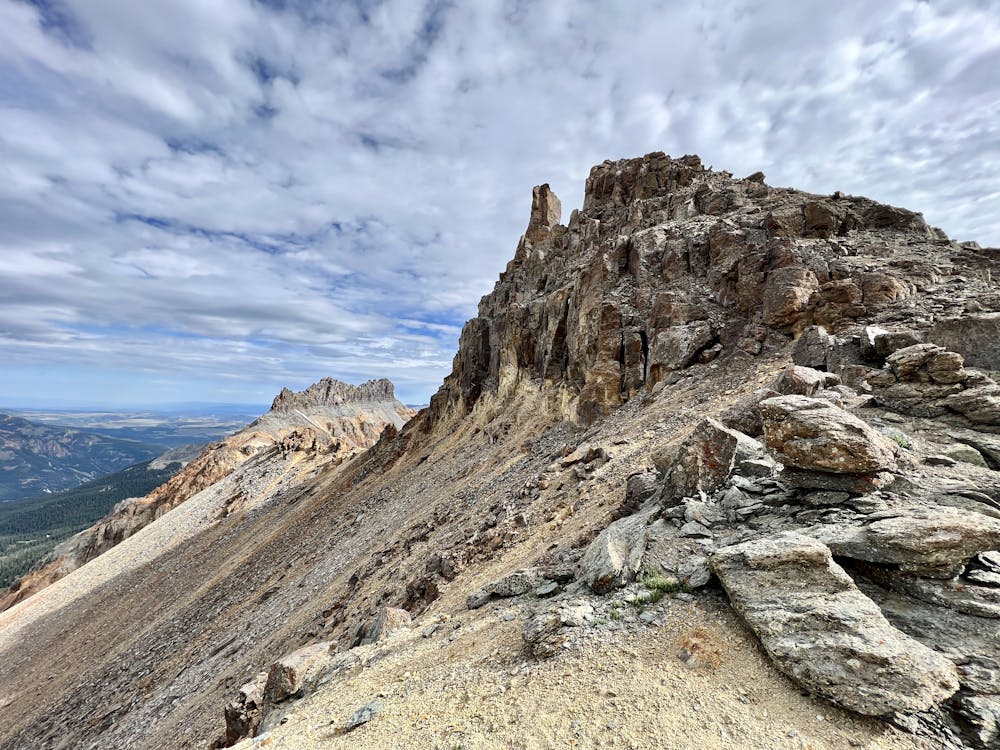
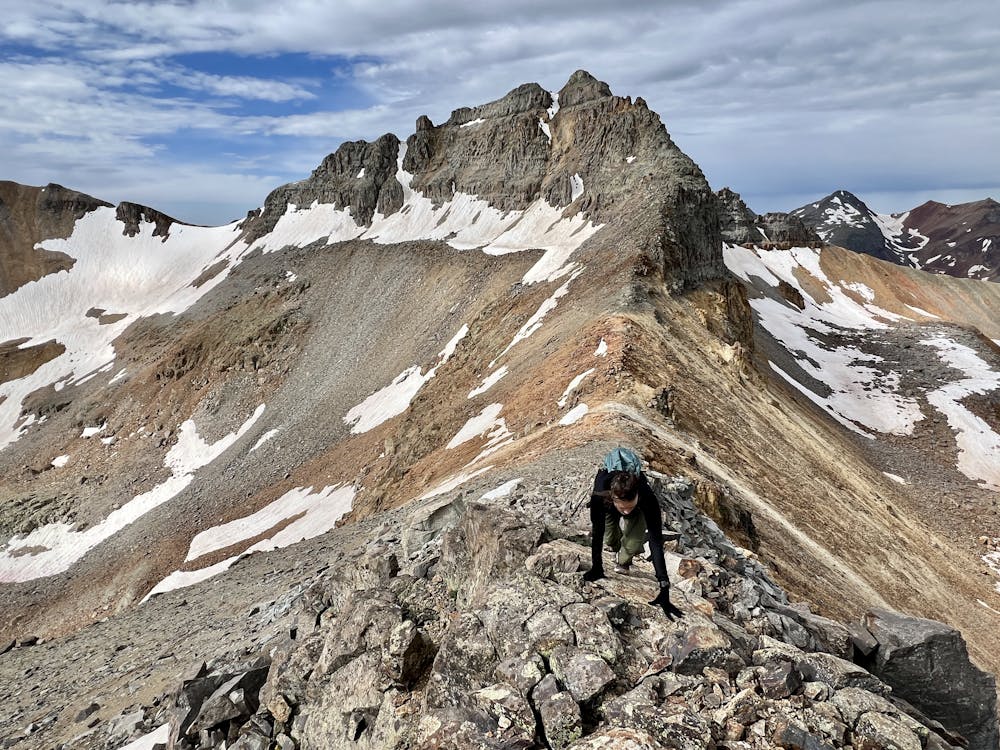
Once you gain the saddle, this is a great spot to take a breather, have a snack, and steel yourself for the final scramble to summit. You can see the summit ridge before you, promising an extended, exposed scramble up jagged rock.
As you get into the summit scramble, you'll realize that the rock on the spine of the ridge is solid and fairly dependable, making for reasonable scrambling despite the extreme exposure to climber's left. Soon, you'll pull yourself onto Golden Horn's tiny summit block to soak in the incredible view!
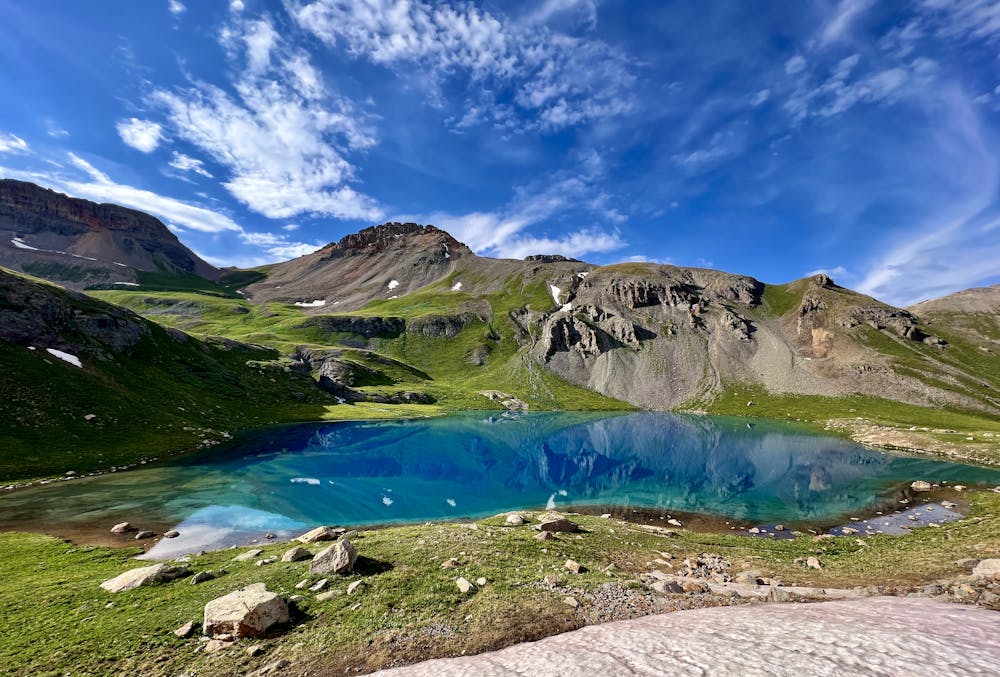
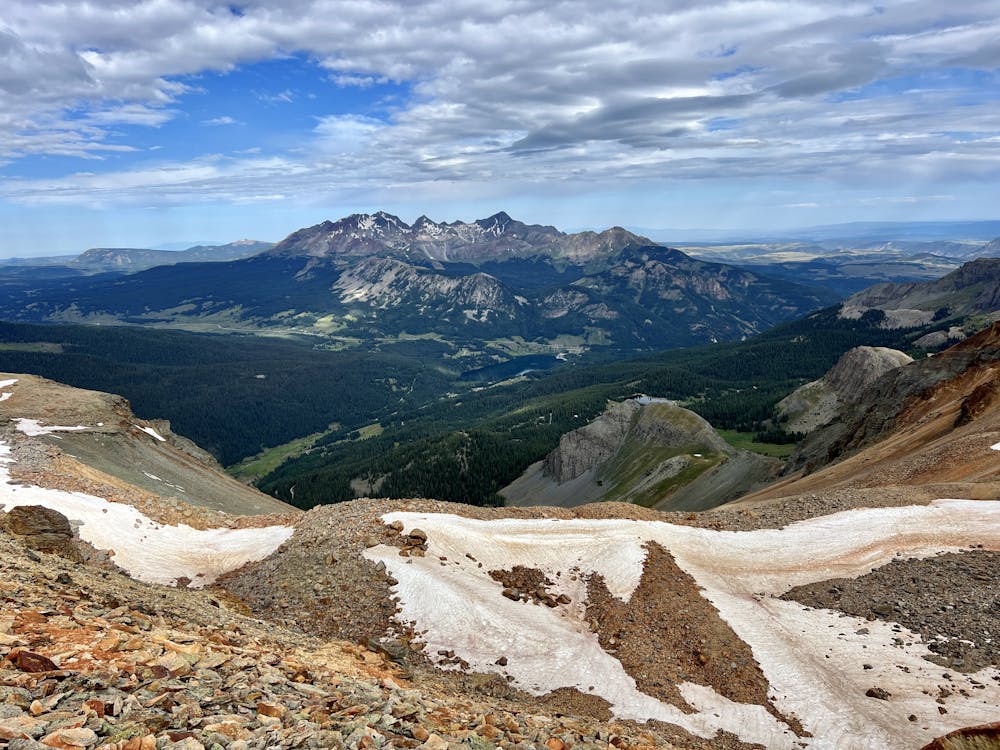
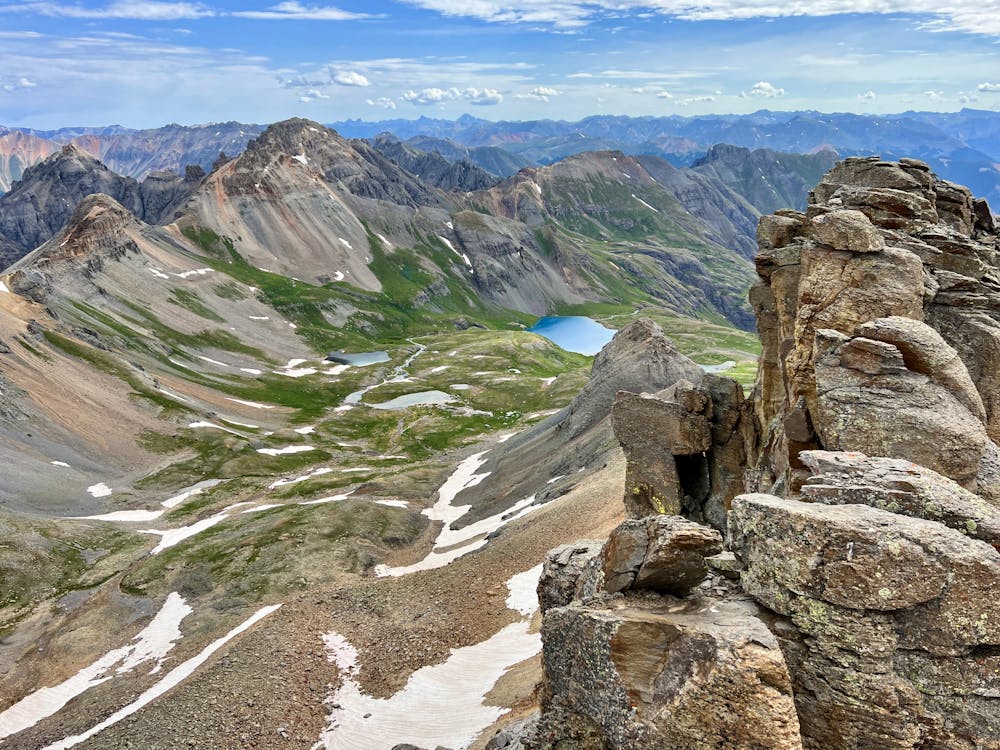
The summit block is absolutely stupendous: barely large enough for four people to sit (if you're all very friendly), with otherworldy 360-degree views of the rugged San Juan mountains all around. Below, you'll spot the unbelievable hue of the ice-blue Ice Lake, which you passed earlier. The rocky ridgeline forming the horizon of the basin looks insanely rugged and imposing from above! And off in the distance, the endless ridges of the San Juan Mountains formed the skyline. While FATMAP shows that Telluride is just over the next ridge, the vertical rock walls obscure it from view.
Once you've soaked in the views, it's time to descend. While you can descend by the exact same route, a series of gravel chutes and wide-open faces provide the option to employ a slip-and-slide technique for a faster descent. However, do note that choosing this option can prove dangerous. If you lose your footing, start tumbling, and are unable to self-arrest, it's game over, as you'll rag doll over the vertical cliff band to certain death below. If in doubt, it's better to downclimb on the solid rock.
Speaking of the vertical cliff band, after you return to the saddle and begin descending toward the cliffs, be sure to locate the landmarks from earlier so that you can safely descend through the slot instead of getting cliffed out. Finally, once down off the steep ridge, the rest of the descent is a cakewalk (albeit a long cakewalk).
Moderate
May involve slightly more complex glacier hikes, easy but possibly long rock ridges and steep snow up to 45 degrees. Equivalent to PD, PD+

The majority of the route is "no fall" terrain.
In the high mountains or remote conditions, all individuals must be completely autonomous in every situation.
9 km away
Tag two 13ers that are easily-accessible from Molas Pass.
Easy Alpine Climbing