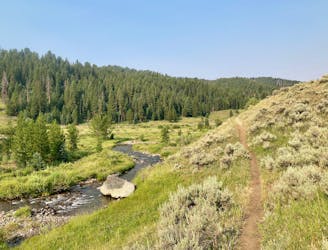
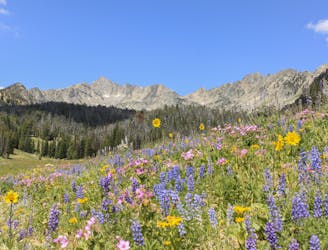
4.5 km away
Summit Lake
Skip the crowds of Beehive Basin with this run to a remote high alpine lake.
Difficult Trail Running
- Distance
- 25 km
- Ascent
- 1.1 km
- Descent
- 1.1 km
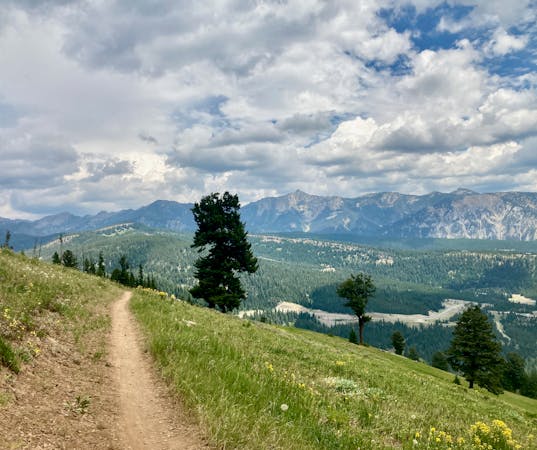
An incredible backcountry loop that's accessible directly from downtown Big Sky.
Trail Running Difficult

The Mules Loop combines the classic Second Yellow Mule and First Yellow Mule backcountry trails into a loop of epic proportions that can be completed directly from downtown Big Sky!
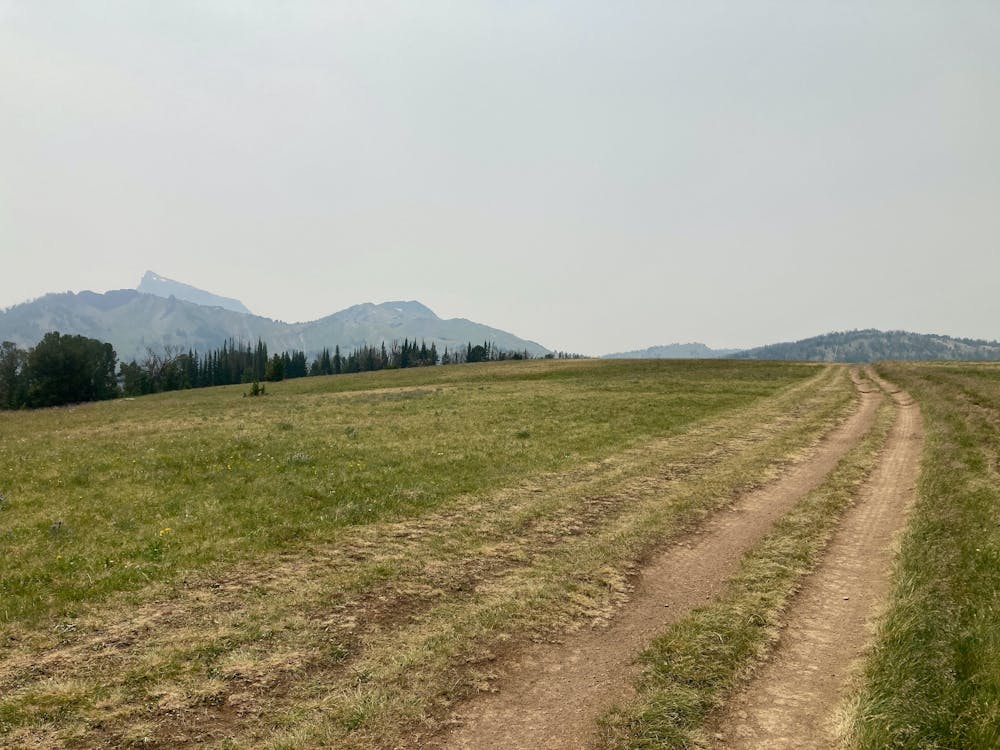
The route as mapped here begins from the Ousel Falls Trailhead. However, note that Ousel Falls is an exceedingly popular hike. Even mid-week, the trailhead fills up early in the morning, which can make finding a parking spot impossible. To combat this, you can also run from downtown Big Sky to reach the trailhead and then begin the loop as mapped. You can either climb the gravel path along the road for a direct, easy climb, or take singletrack all the way from town by utilizing the Upland Trail and Ralph's Pass.
However you get to Ousel Falls, you'll begin by running along a wide trail shared with the hundreds of tourist hikers. Take it slow and consider walking in places, and be courteous to the other trail users. You'll be ducking off of the main path onto a narrower, lesser-traveled singletrack very soon, so you can afford to take some time and give the hikers plenty of space. And once you begin climbing in earnest, you might not see another soul!
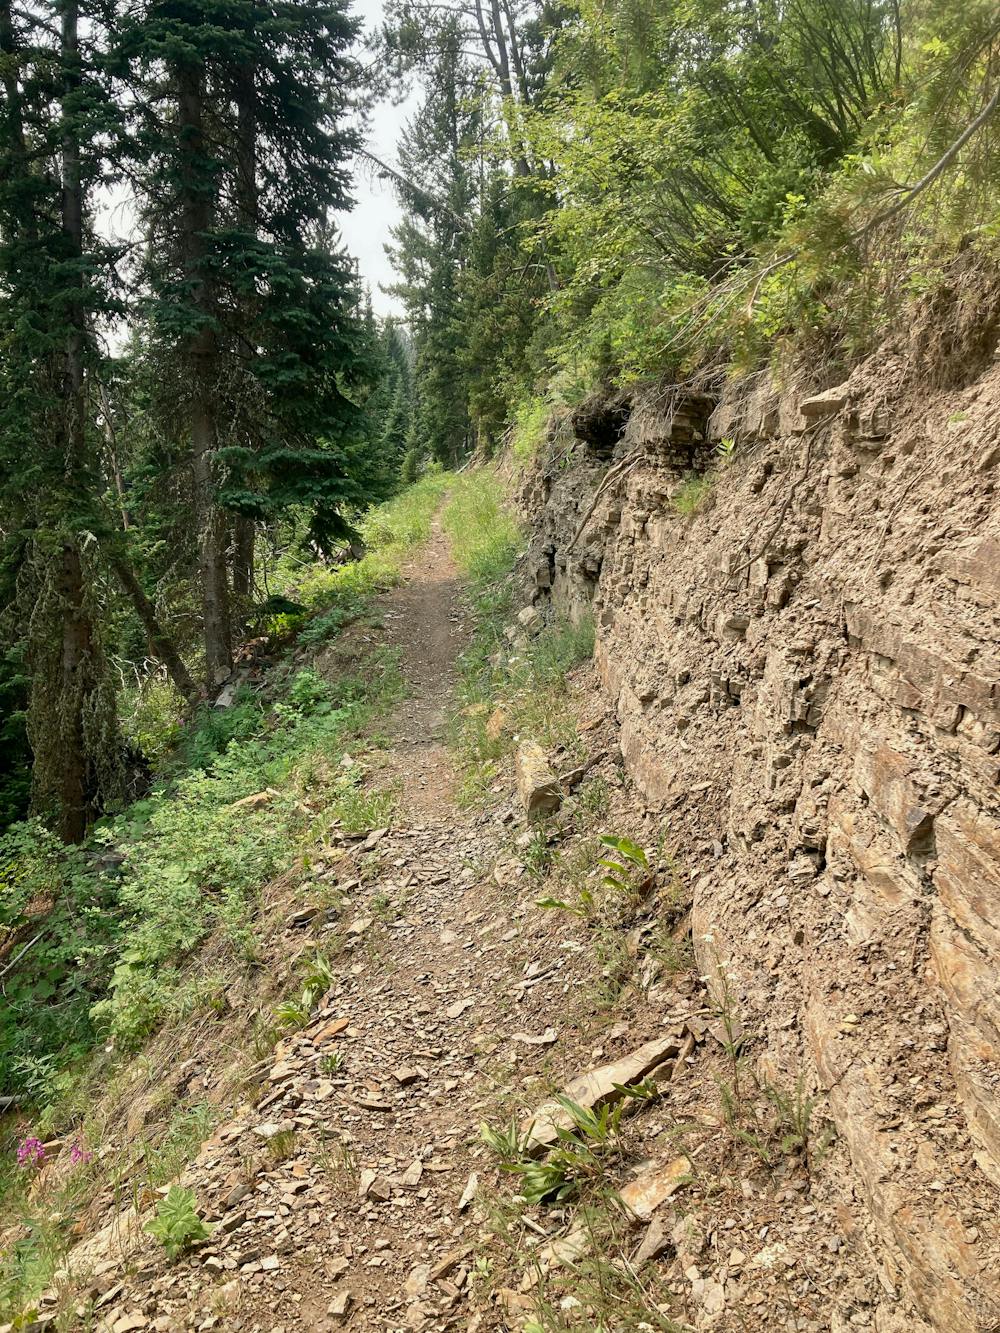
After making the turn onto the narrower singletrack, the trail climbs steeply along the banks of the creek, then begins to undulate up and down over rocky terrain with beautiful views of the creek below. Surprisingly, this is actually one of the best sections of singletrack on the entire ride, so be sure to savor it!
After a couple of miles of climbing on the spur section of the lollipop route, you'll reach the fork to begin the Yellow Mules loop itself. Bear right to begin climbing Second Yellow Mule, and sit down and settle in—it's going to be a while.
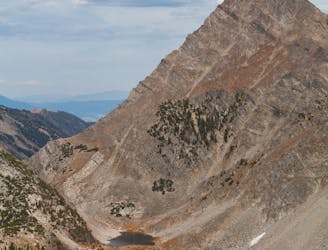
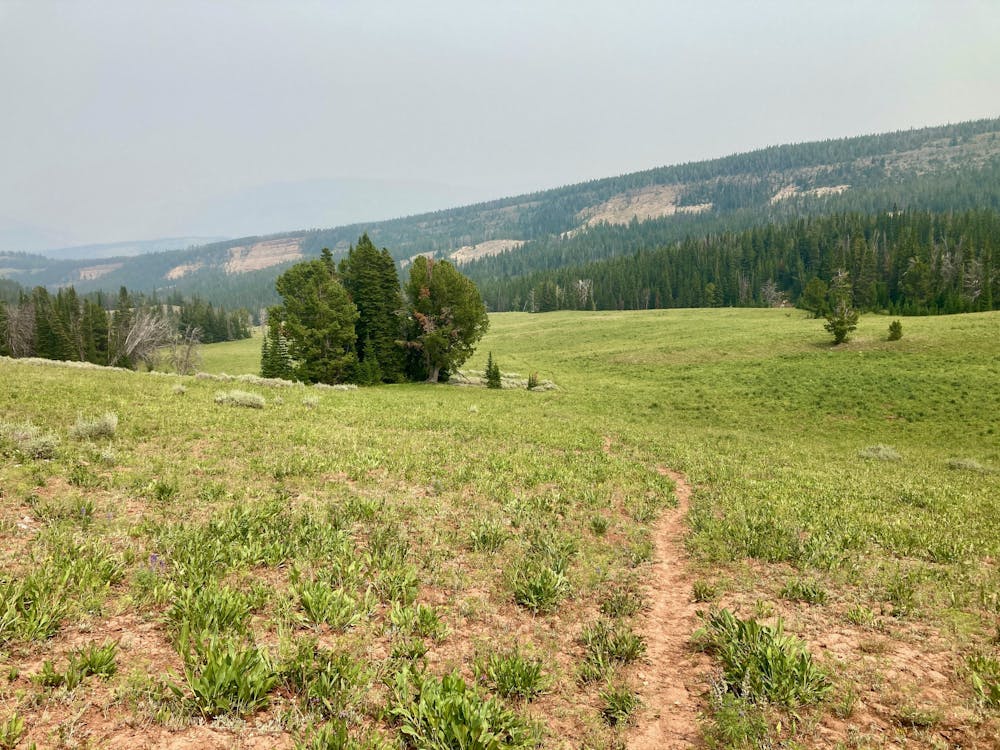
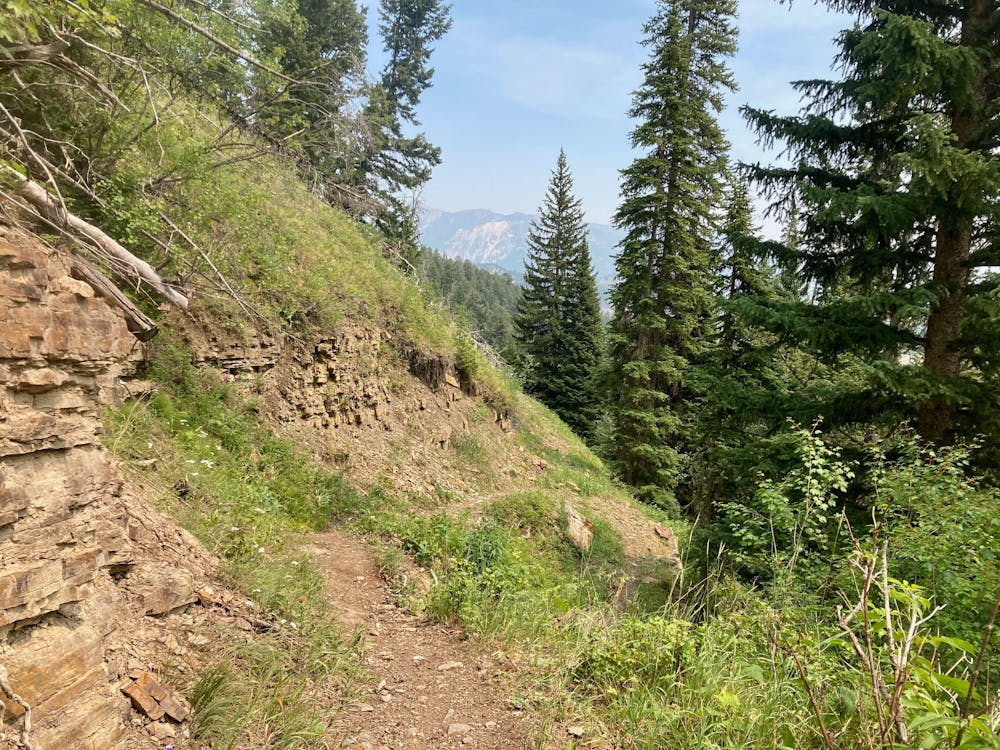
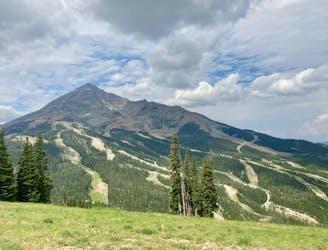
Even though you've already been climbing for several miles, Second Yellow Mule is going to power up over 3,000 vertical feet in the next 8 miles as it makes for the top of the mountain ridge high above. The climb, however, is actually reasonably rideable, with good grade reversals, switchbacks, and a good quality trail tread. As you gain elevation, you'll begin to break out of the trees, and if the air isn't too smoky, you'll have fantastic views of the mountains around you! The upper reaches of the trail get a fair bit rockier and break out into alpine meadows as you finally gain the upper ridge.
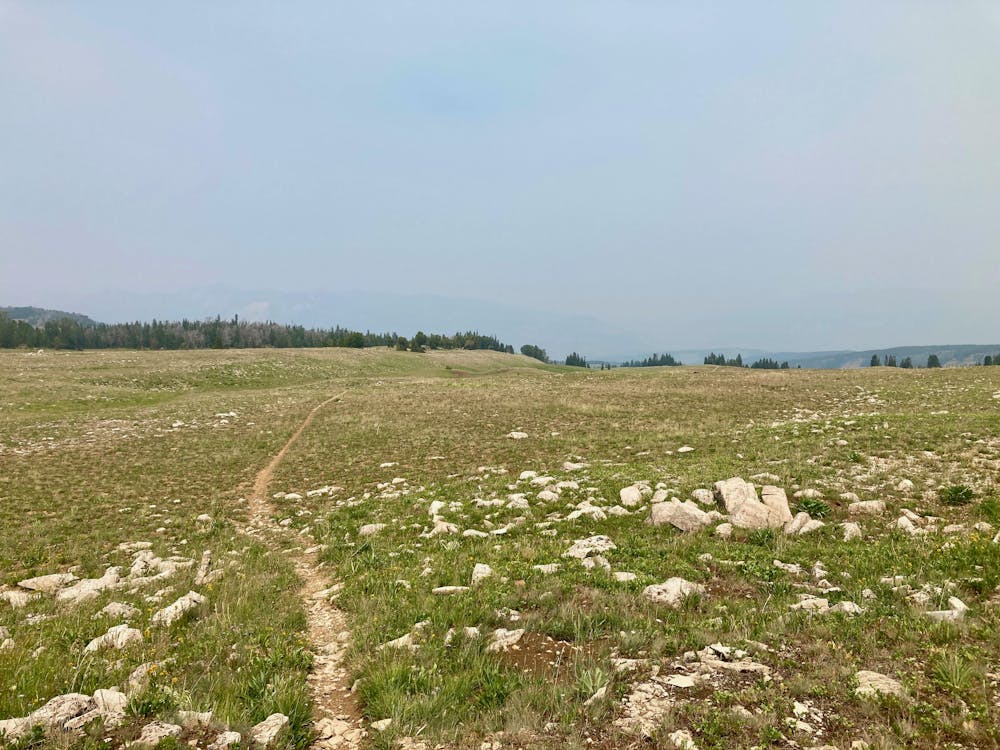
Take a left and follow the doubletrack along the stunningly-beautiful ridge for a couple of miles to reach First Yellow Mule and the ride's ripping descent. The downhill begins fast and furious through wide-open alpine meadows on uber-narrow singletrack. These trails don't see a lot of traffic, and as a result, the trail has narrowed down to mere inches. Since it doesn't see enough traffic to keep things smooth, the trail tread is also quite rough, but not in an interesting, feature-filled way. You'll have to maintain laser-sharp focus to keep from twisting an ankle.
Lower down, the trail drops into a wider benchcut as it reaches the trees, and the quality of the trail tread increases substantially.
When you return to the stick portion of the lollipop, you'll be treated to some truly fantastic singletrack on the bench above the rushing stream below. Again, this is easily the highest-quality singletrack on the ride, so savor it!
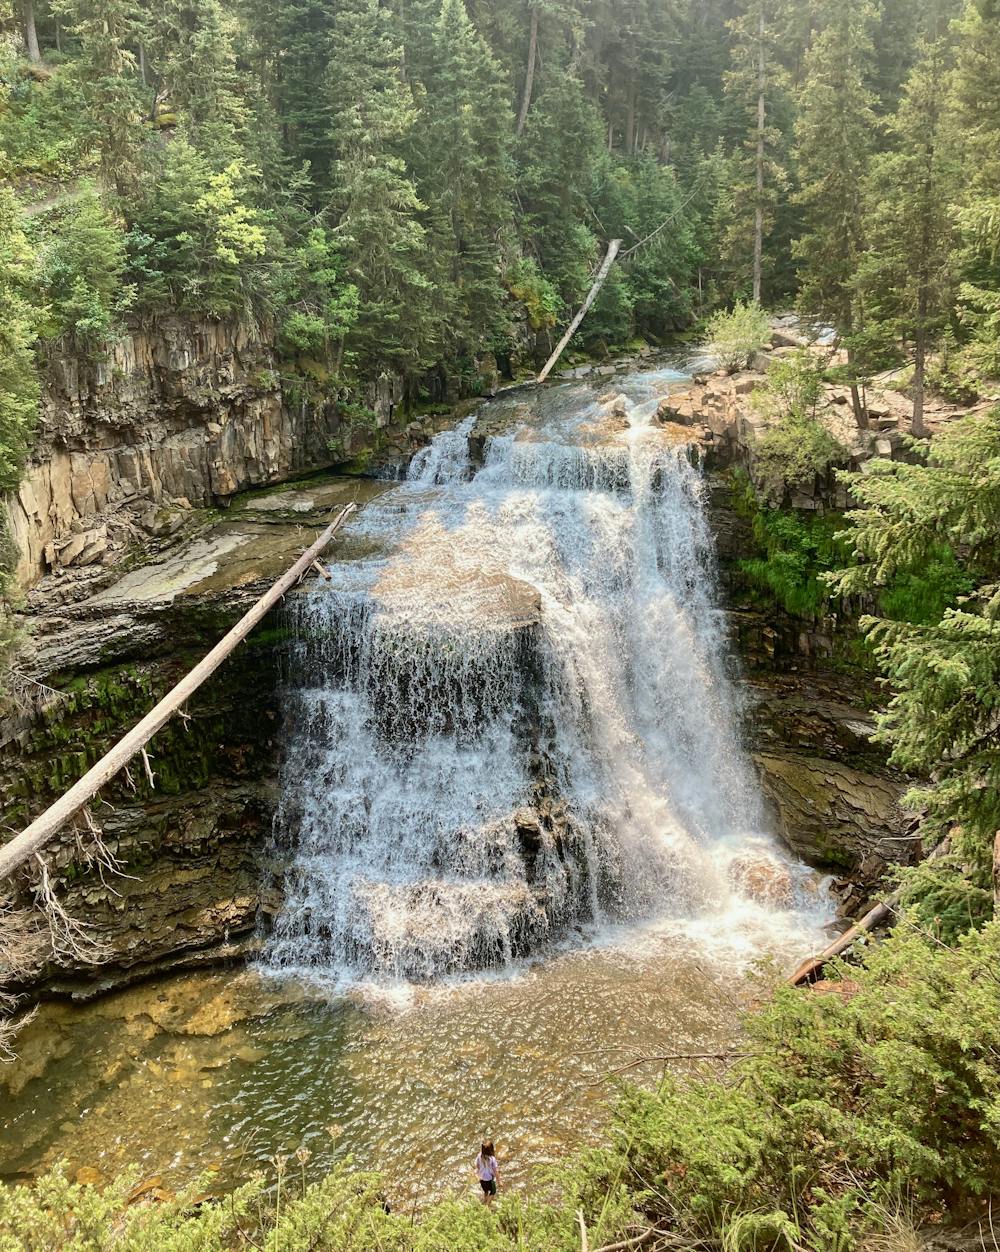
Finally, even though you'll have to wind your way through hordes of hikers, you should definitely take time to reach the Ousel Falls viewpoint as well. It's a stunning waterfall and is well worth a few minutes of your time.
Difficult

The trail contains some obstacles such as outcroppings and rock which could cause injury.
Away from help but easily accessed.
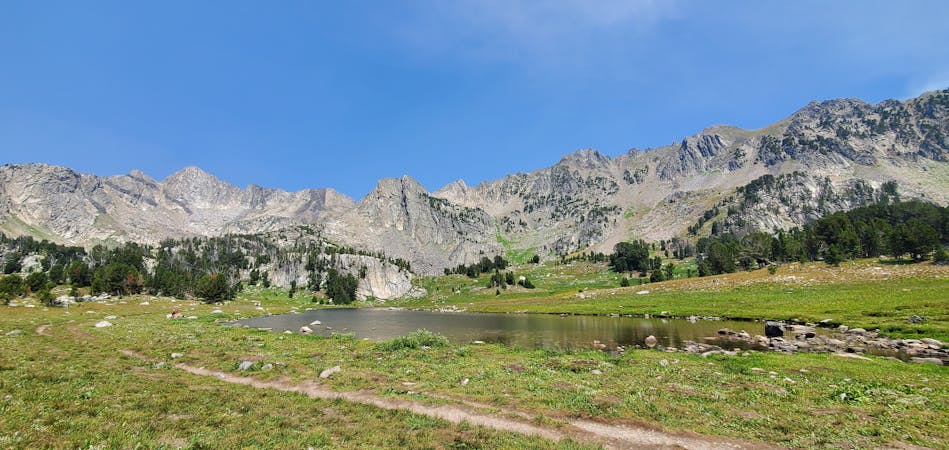
4.5 km away
Skip the crowds of Beehive Basin with this run to a remote high alpine lake.
Difficult Trail Running
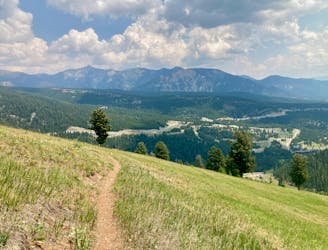
7 km away
The newest distance for The Rut, added in 2023.
Difficult Trail Running
7 km away
A lower elevation course packed with stunning views.
Moderate Trail Running
7 km away
"The hardest 3-mile 'run' you will ever complete."
Severe Trail Running
7 km away

An "extremely steep & technical" 28k course with stunning views and nearly 8000' of climbing!
Severe Trail Running
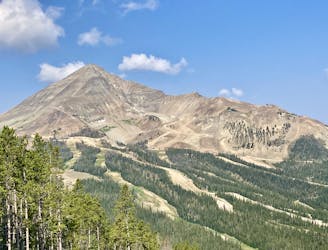
7 km away
A genuine mountain race "including jeep roads, forested single track trails, alpine ridge lines," and a scramble up the 11,166' Lone Peak.
Severe Trail Running
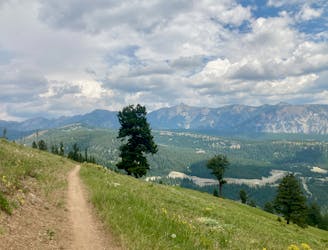
7.5 km away
Dip your toes into backcountry running with these easily-accessible trails.
Easy Trail Running
8.1 km away
A heavily-trafficked trail leading into a beautiful basin below the Spanish Peaks.
Moderate Trail Running
5 routes · Trail Running
6 routes · Trail Running