66 m away
Maroon Peak: South Ridge
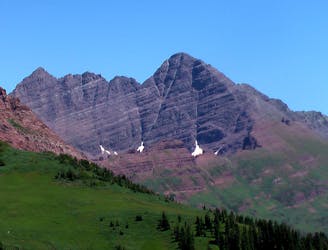
A long day of steep, sustained hiking and scrambling up one of Colorado's most iconic mountains.
Moderate Alpine Climbing
- Distance
- 18 km
- Ascent
- 1.6 km
- Descent
- 1.6 km

A long day of difficult hiking and rock scrambling to the top of Colorado's most photographed 14er.
Alpine Climbing Difficult

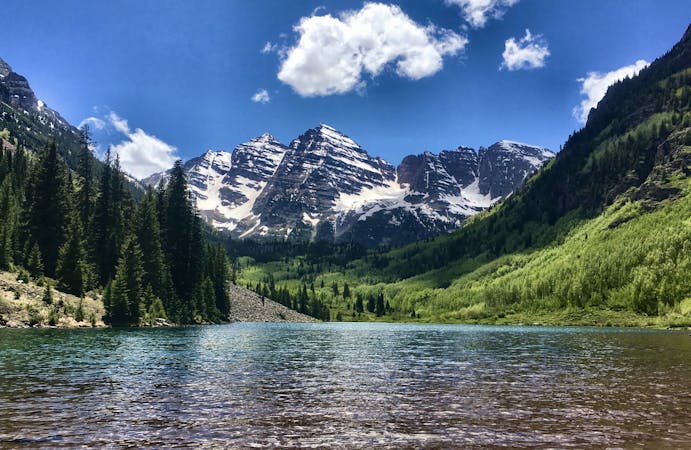
The Maroon Bells are quite possibly the most-photographed mountains in Colorado. Maroon Lake is an easily accessed trailhead just outside of Aspen, where multitudes come for the picture-perfect view of these pyramidal peaks reflected on the water. During the fall, they're lit by golden aspens. While the majority of people stick to trails in the valley, many are lured higher by the peaks that tower overhead.
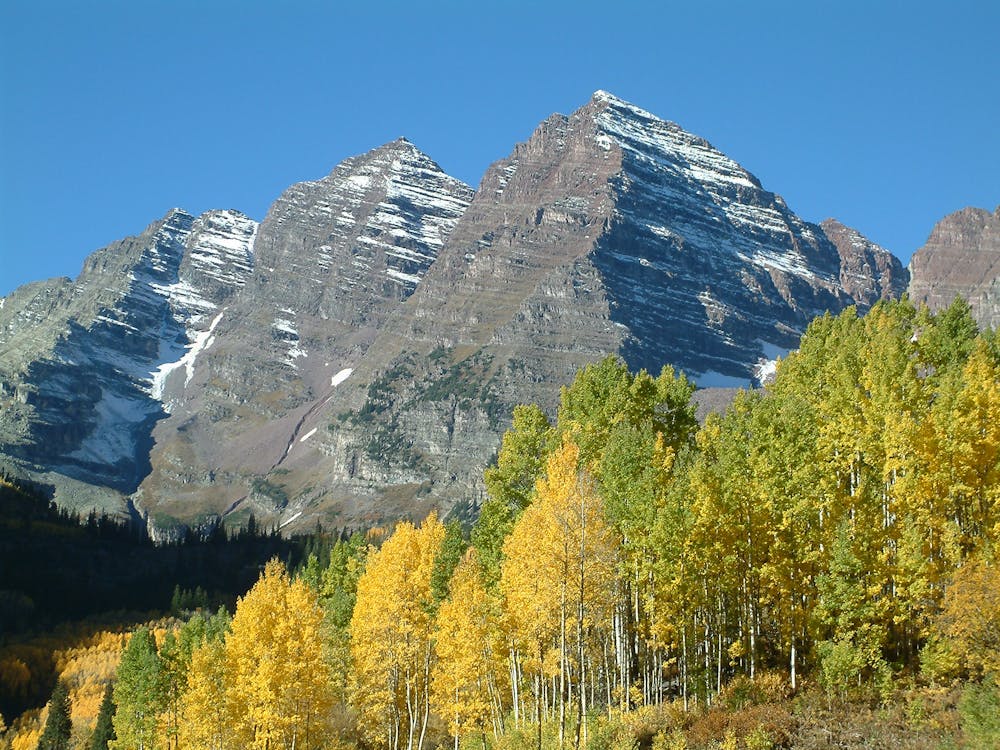
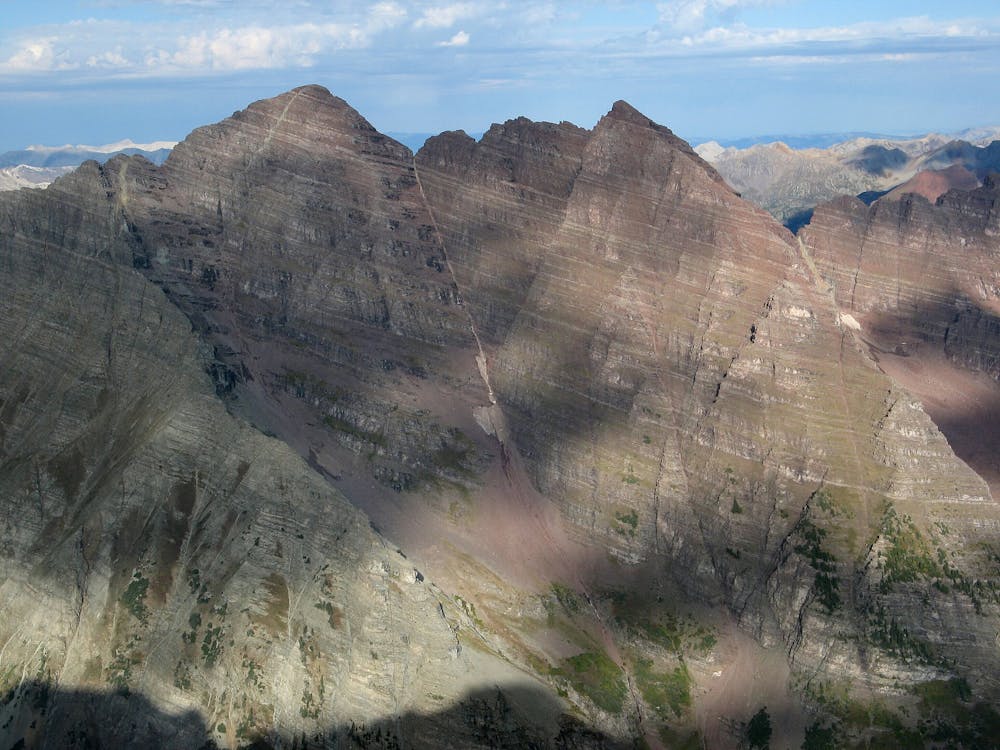
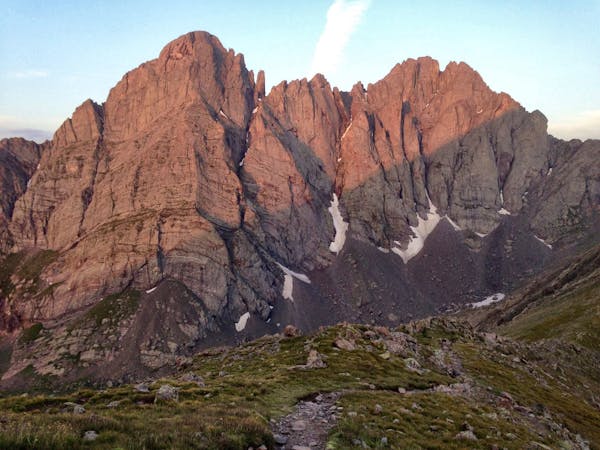
The two Maroon Bells are both 14ers. The closer one, when viewed from Maroon Lake, is North Maroon Peak. The one behind it is South Maroon Peak, or simply "Maroon Peak." North Maroon is actually the shorter of the two (14,014 feet), but appears more prominent from the trailhead. An ascent of North Maroon is a bit shorter than South Maroon, but requires more Class 3 and 4 climbing.
The terrain on North Maroon demands advanced route finding through vertical rock, for which GPS tracks alone cannot suffice. Do not attempt this peak if you are not comfortable navigating safe passage through ledges and cliff bands where falls can be fatal. Much of the rock is loose, and contributes the main danger of this climb, especially when lots of people are on it. More climbers above you means a greater chance of rockfall, no matter how careful you are with your own feet and hands.
The summit is very much attainable—however, you must have experience and fitness, and a good weather window. Begin on the Maroon Lake Trail. Just before Crater Lake, turn onto Maroon-Snowmass Trail. In less than a mile on this trail, take an unsigned but well-worn side trail that crosses a creek and heads up the slopes of North Maroon. This trail leads through bushes, up talus fields, and across grassy ledges. The path is generally easy to follow and cairns will likely be there to mark the way. It eventually leads across a rock glacier (talus aggregated by ice underneath) where the trail fades and cairns take over. Pick up the trail again on the other side and follow it to the first section of scrambling, which is through broken, brushy ledges and boulders. This climbing is relatively easy, and a mere warm-up for what’s coming.
This steep part ends below some vertical cliffs, where you’ll continue left and round a corner to find a broad, grassy, and rocky gully. Head straight across the center of it and switchback up the left side. Watch for cairns and a break in the low cliff bands to your left to follow around another corner to a second gully. This one is steeper and more ledgy than the first. In a similar manner as before, cross to the left side and resume ascending. This time, however, the route is more or less straight up rather than switchbacking because the only way to proceed is Class 3 scrambling through the ledges. The end of this gully is the ridgeline that leads to the summit.
Exit by trending left near the top, then gain the ridge. The route from here is generally along the crest, but you’ll be doing lots of scrambling over loose rock, and sometimes moving left or right to navigate around the steepest sections. One notable obstacle is a vertical cliff about 25 feet tall. A Class 3 bypass exists, but is rather convoluted. The preferred route is a Class 4 chimney straight up through the cliff. The rock is actually pretty solid and the moves are not too difficult. Some, but not most, parties choose to rope up here.
After topping out the cliff, pass around another cliff band on the right then scramble back to the crest. From there, only a short stretch of broken rock and ledges remains before the summit. Follow the ridgeline, erring on the left side of the crest, the rest of the way.
The summit is terrifically satisfying because it’s flat but quite small, with all sides of the mountain spilling away from a spot barely 20 feet across.
The descent is back the way you came. Expect the trip down to take just as long or longer than the ascent. Downclimbing through all the ledges and loose rock is often trickier than going up.
Sources: https://www.14ers.com/route.php?route=nmar2&peak=Maroon+Bells+and+Pyramid+Peak https://www.summitpost.org/north-maroon-peak/150476 https://www.summitpost.org/northeast-ridge/156842 https://www.rickcrandall.net/north-maroon-peak-going-technical/
Difficult
The beginning of truly technical terrain which might involve pitched climbing on rock and/or ice, exposed terrain and complex route finding in ascent and descent. Equivalent to AD, AD+
66 m away

A long day of steep, sustained hiking and scrambling up one of Colorado's most iconic mountains.
Moderate Alpine Climbing
66 m away
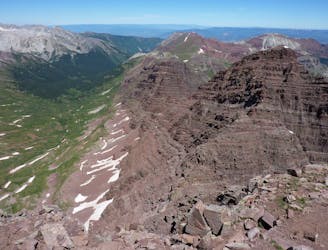
This Class 5 route is one of the most technical traverses in Colorado.
Severe Alpine Climbing
67 m away
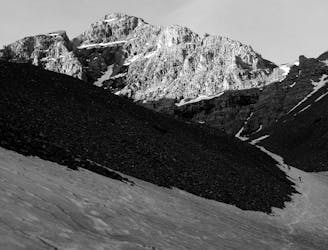
14,000-foot summit requiring huge elevation gain and steep scrambling with wild exposure.
Difficult Alpine Climbing

7 routes · Alpine Climbing · Hiking
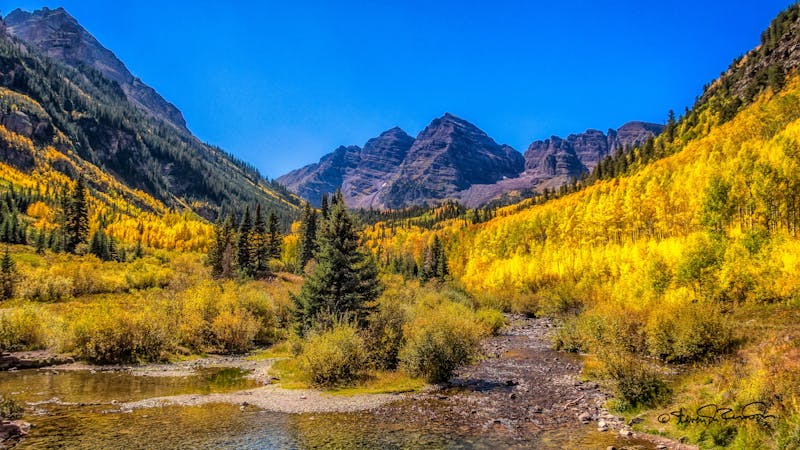
8 routes · Alpine Climbing
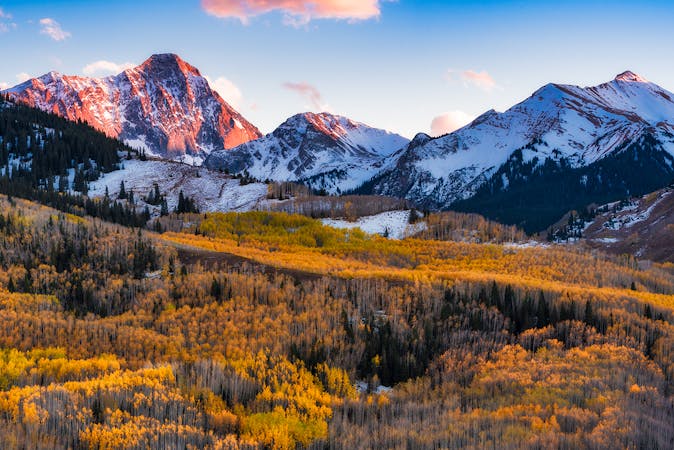
6 routes · Alpine Climbing
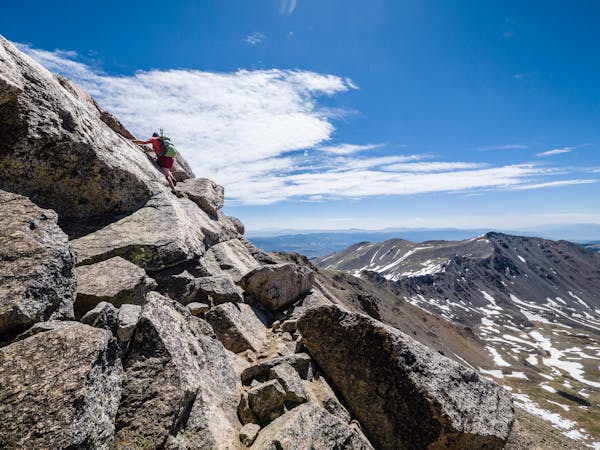
46 routes · Alpine Climbing · Hiking
4 routes · Alpine Climbing
8 routes · Alpine Climbing · Hiking