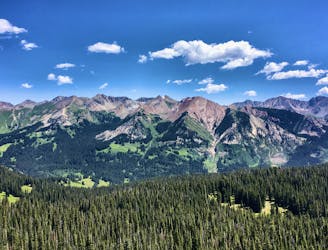
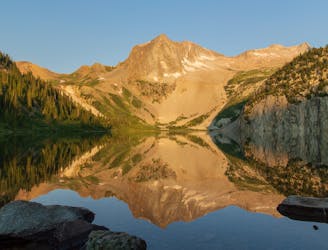
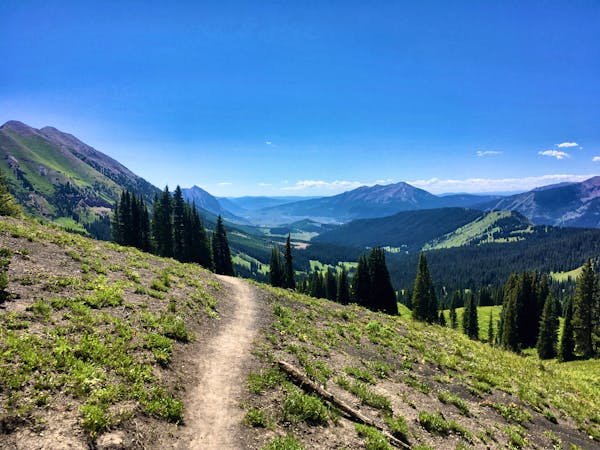
5.3 km away
Rustler Gulch
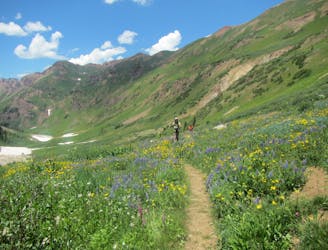
One of the most spectacular wildflower hikes in Crested Butte!
Moderate Hiking
- Distance
- 15 km
- Ascent
- 578 m
- Descent
- 578 m
The toughest day of this 3-day itinerary, crossing two of the four alpine passes.
Hiking Difficult

Brace yourself.
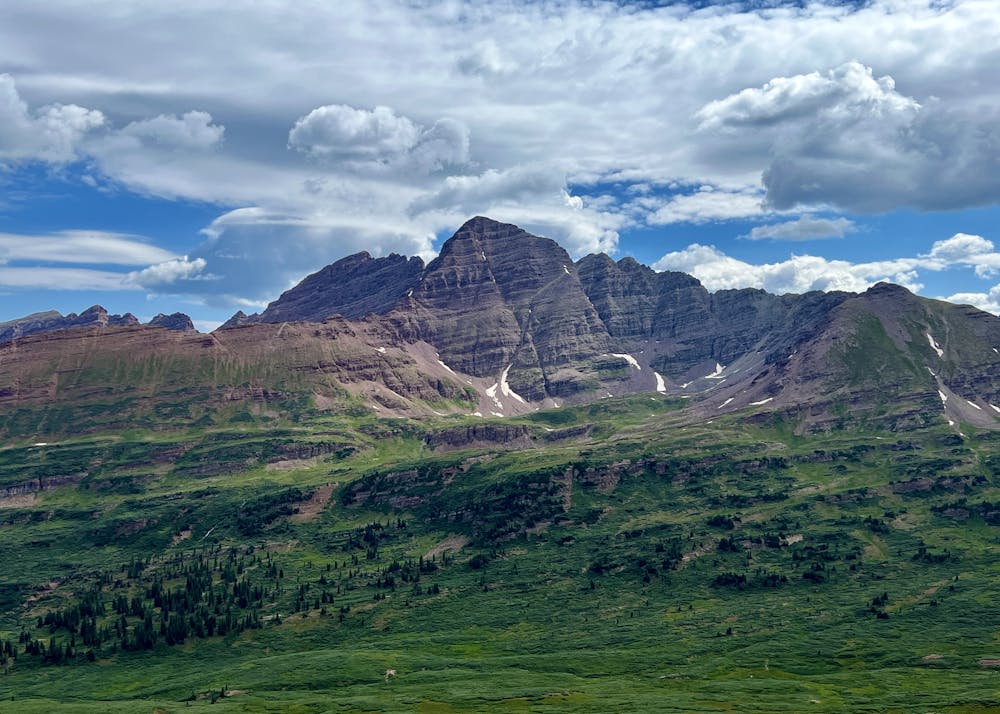


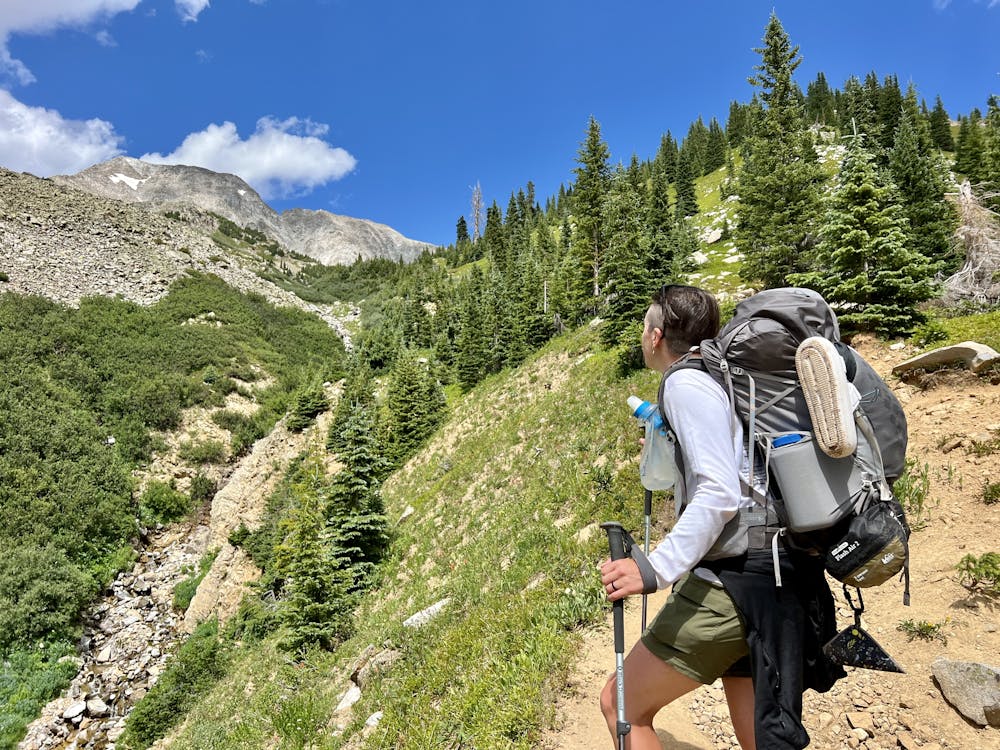
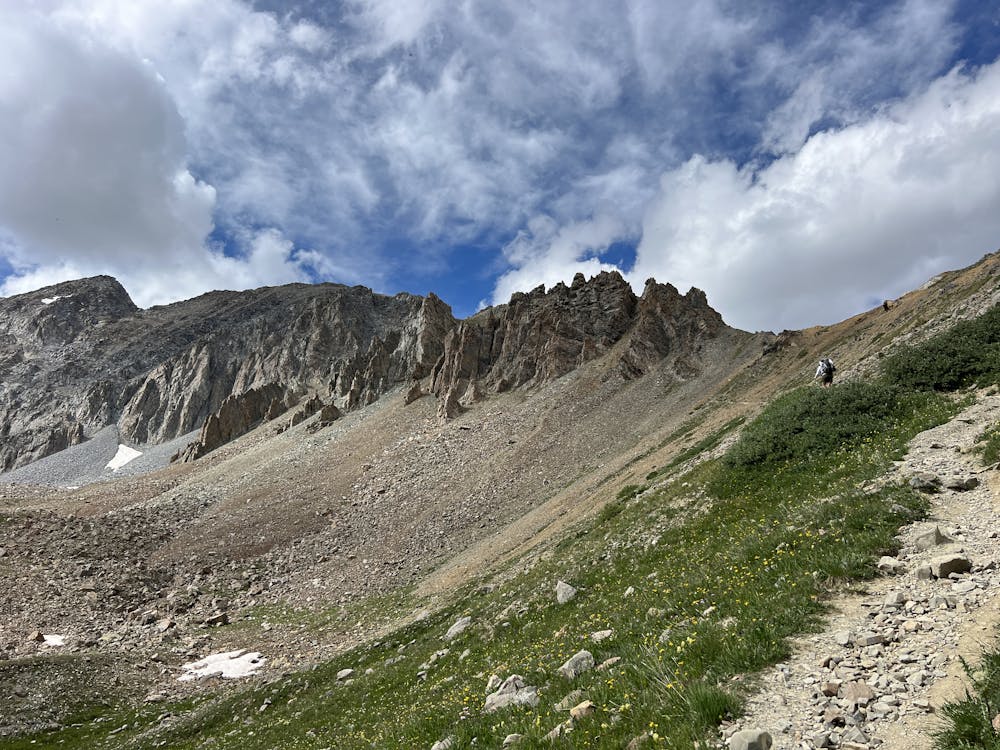

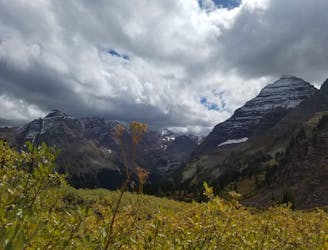
Even though Day 1 technically had more elevation gain than Day 2, Day 2 will undoubtedly be the most difficult of the trip, as it's the only day you'll tackle two passes. Even if you can get a camping permit at Snowmass Lake, you'll still have to cross Frigid Air Pass (~12,408ft) and Trail Rider Pass (~12,420ft) to get there. You'll have to get a very early start on the day to cross both passes before the afternoon thunderstorms roll in.
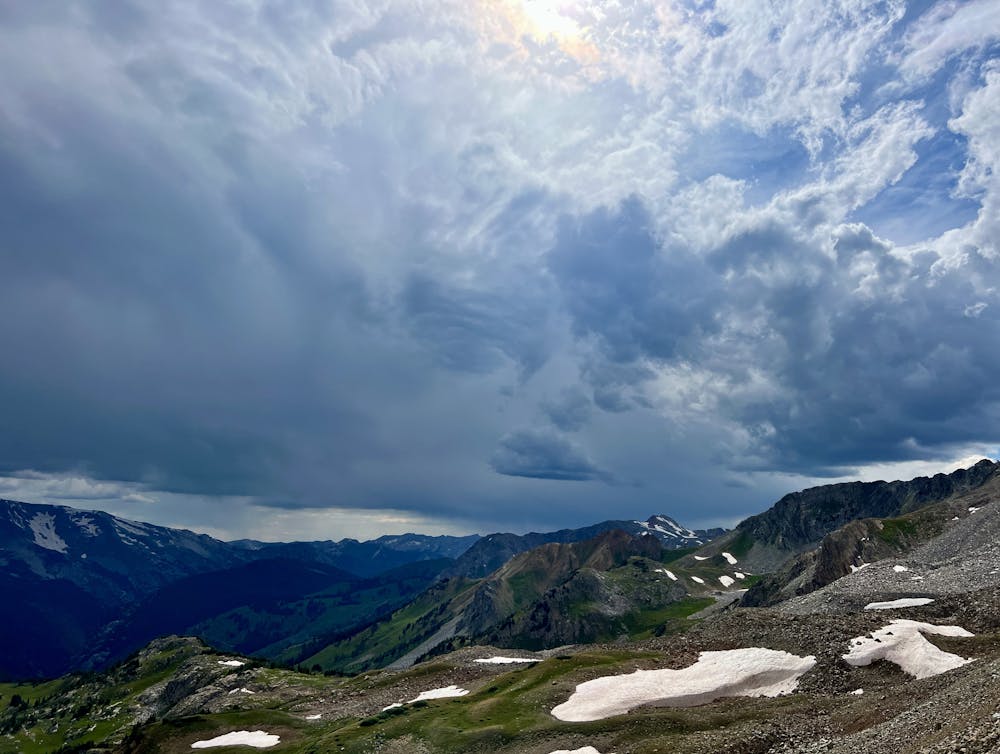
In keeping with standard Colorado hiking wisdom, you want to be out of the alpine and back down to treeline by noon (ideally), and making it over Trail Rider before noon will be a tall order. Anecdotally, during my own hike, we had made breakfast, broke down camp, and hit the trail by 9am, and we still didn't make it to the top of Trail Rider until about 4pm—much less off of it and down into the next valley. Thankfully, we lucked out with the weather... but that's never a guarantee. Getting over Trail Rider before noon would be exceedingly difficult, but it's definitely possible for fast hikers.
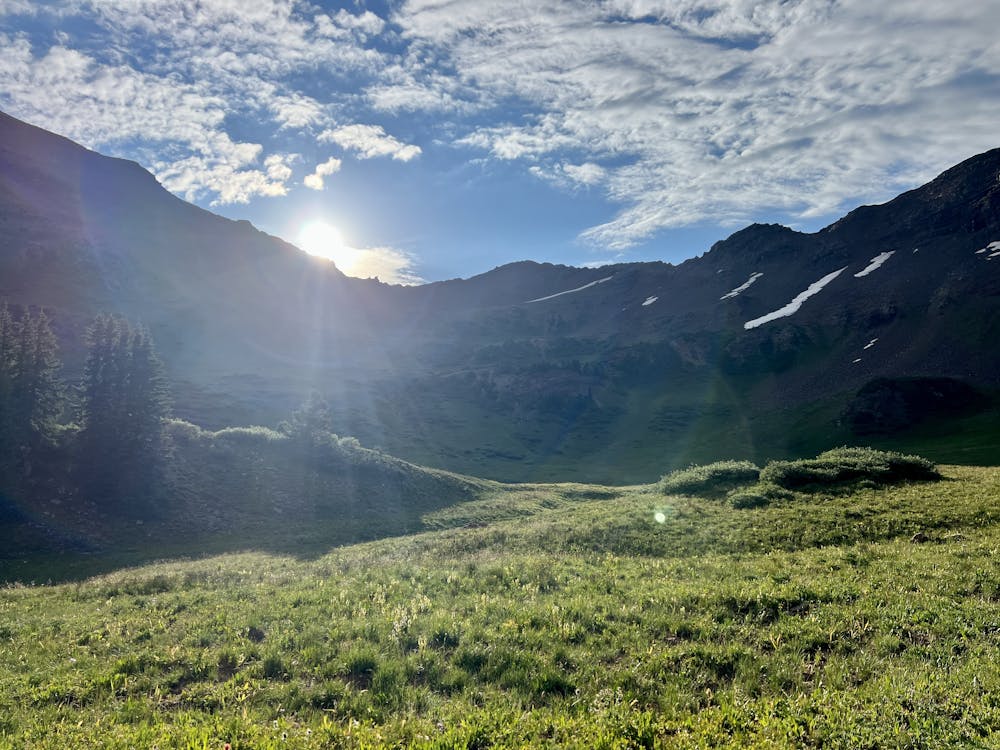
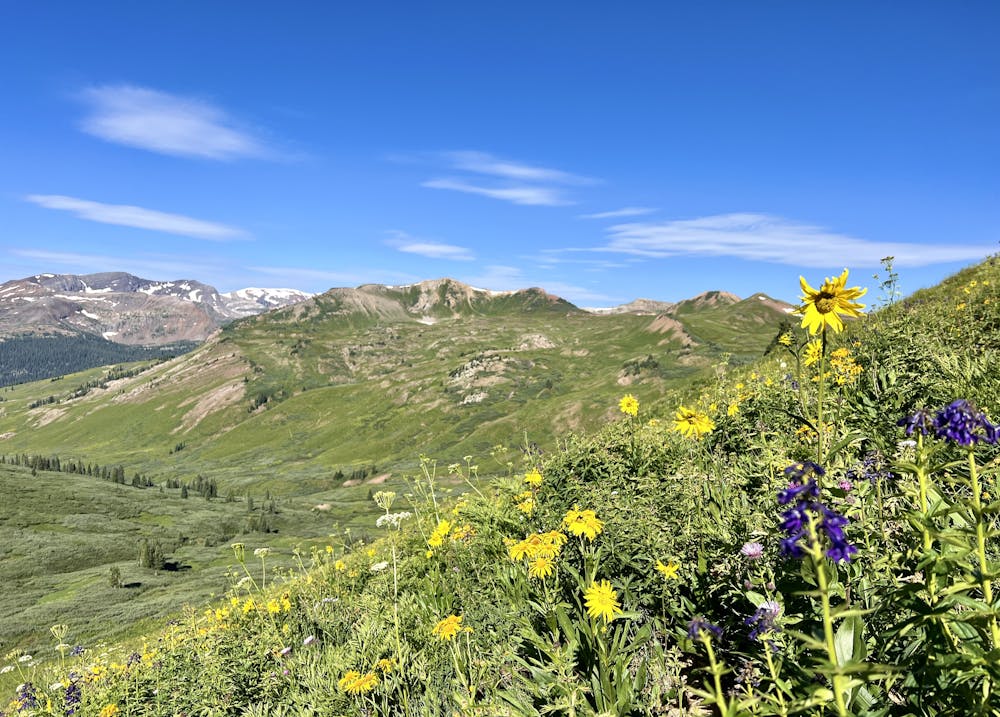
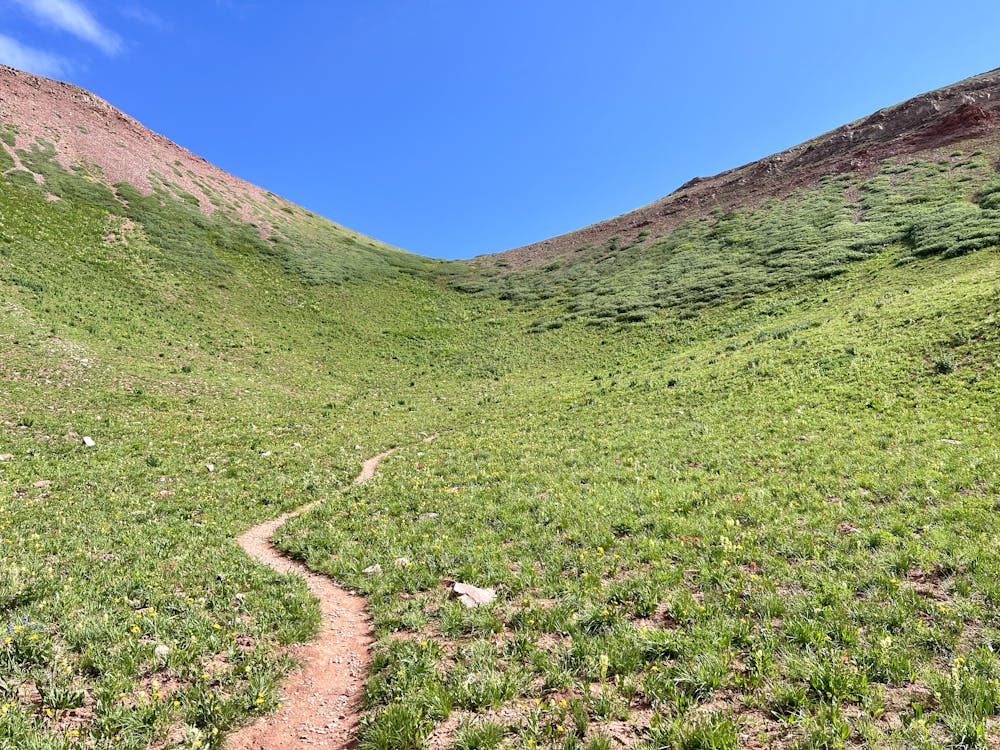
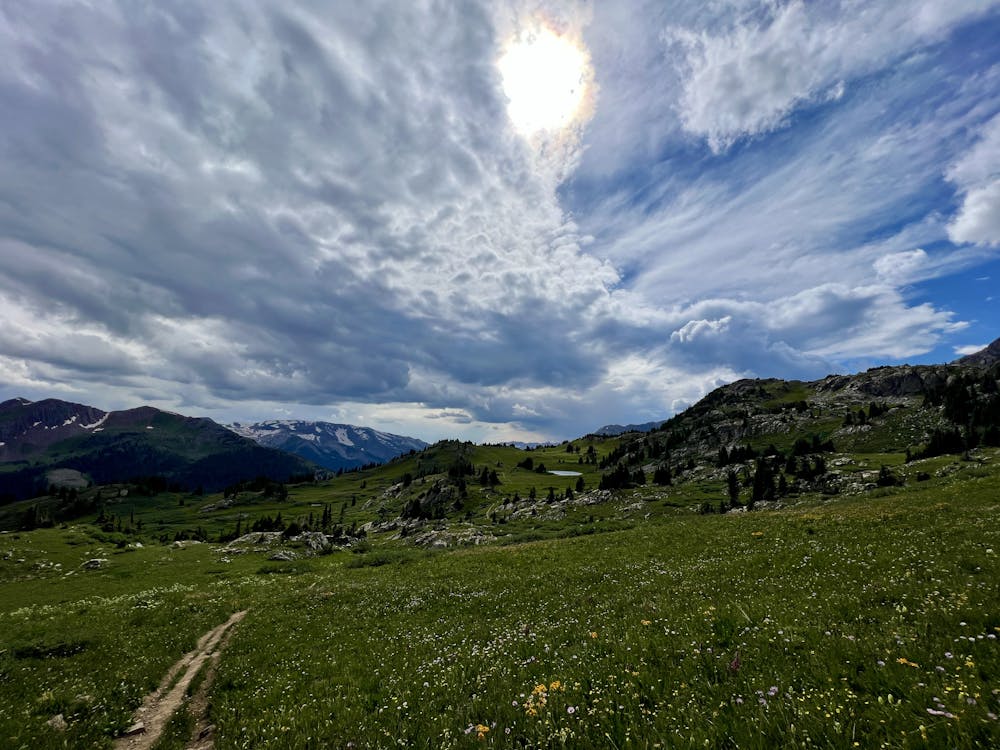
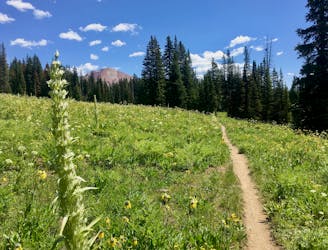
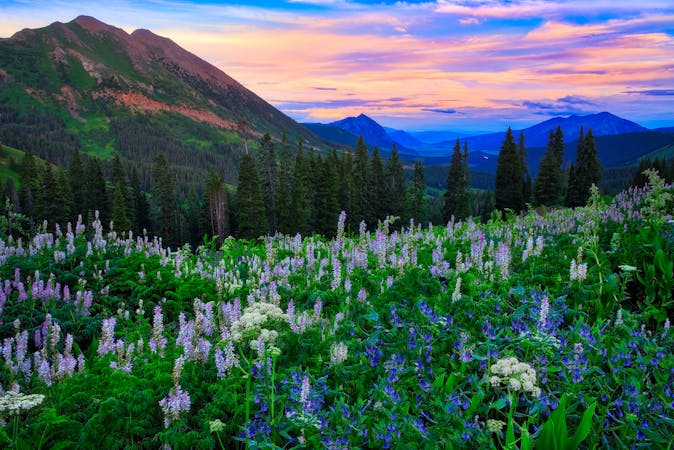
Beginning from the campsite in East Fork, the hike through the East Fork Zone keeps serving up stunning wildflowers until the short (but steep) climb over Frigid Air Pass. When you pass the four-way junction (where you turned off to the campsite the day before) and begin heading towards Frigid Air, you'll leave behind the section of trail that sees all the day hiker traffic going from Crested Butte to Aspen, which means the trail gets quite a bit narrower and a bit less maintained as well. Finally, it begins to feel like a raw wilderness trail!
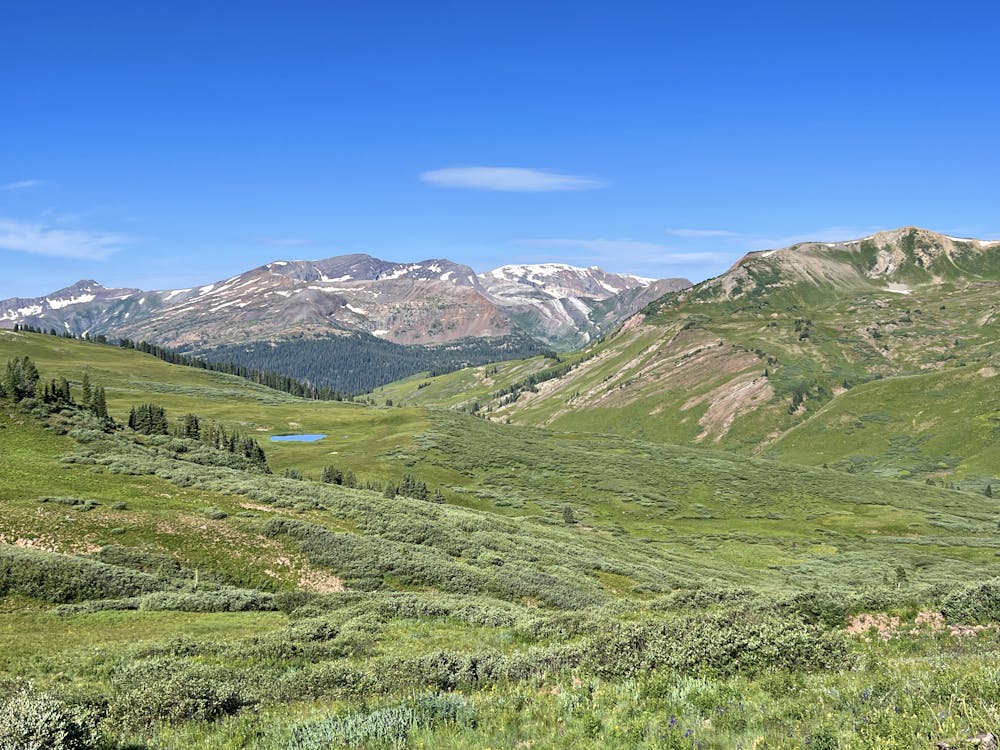
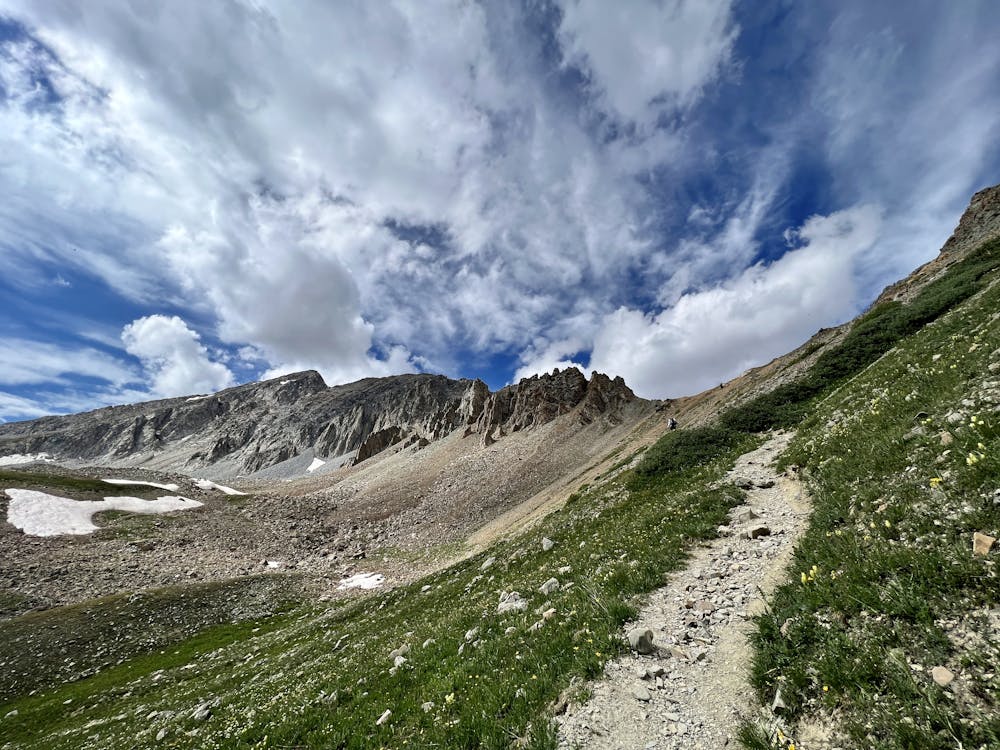
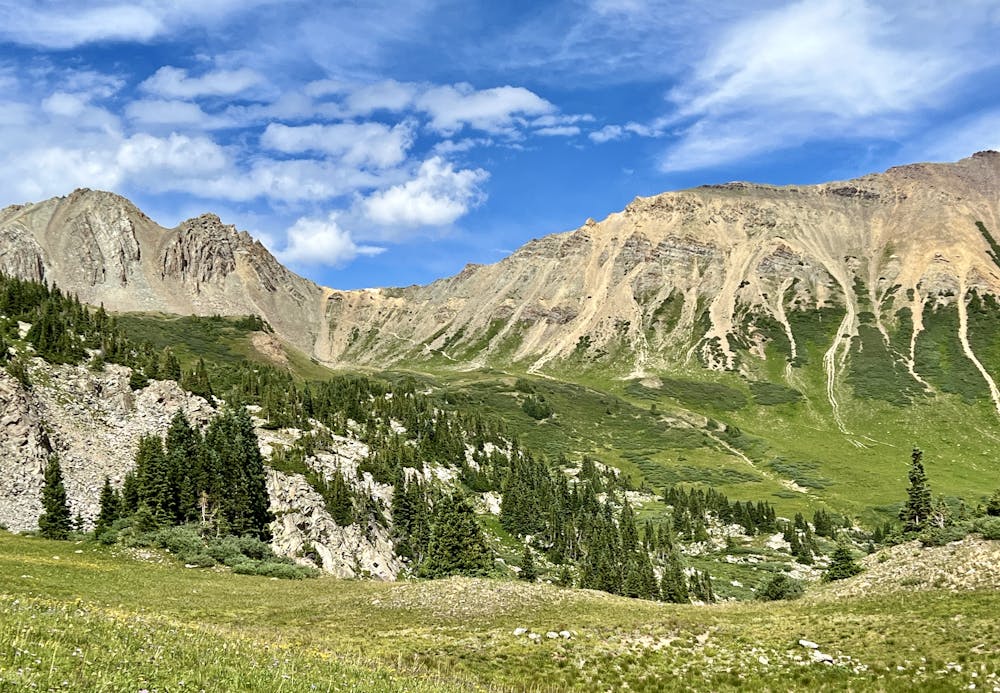
From the top of Frigid Air, it's a long, long descent to the bottom of Trail Rider Pass—dropping from 12,408ft to 10,268ft. This long, winding descent runs through the stunning North Fork valley with towering timber and a substantial number of campsites (if you were to choose to camp in the North Fork Zone). As you descend, you'll soon reach a stream and begin following it down the mountain as it grows bigger and bigger every time a small tributary adds its water.
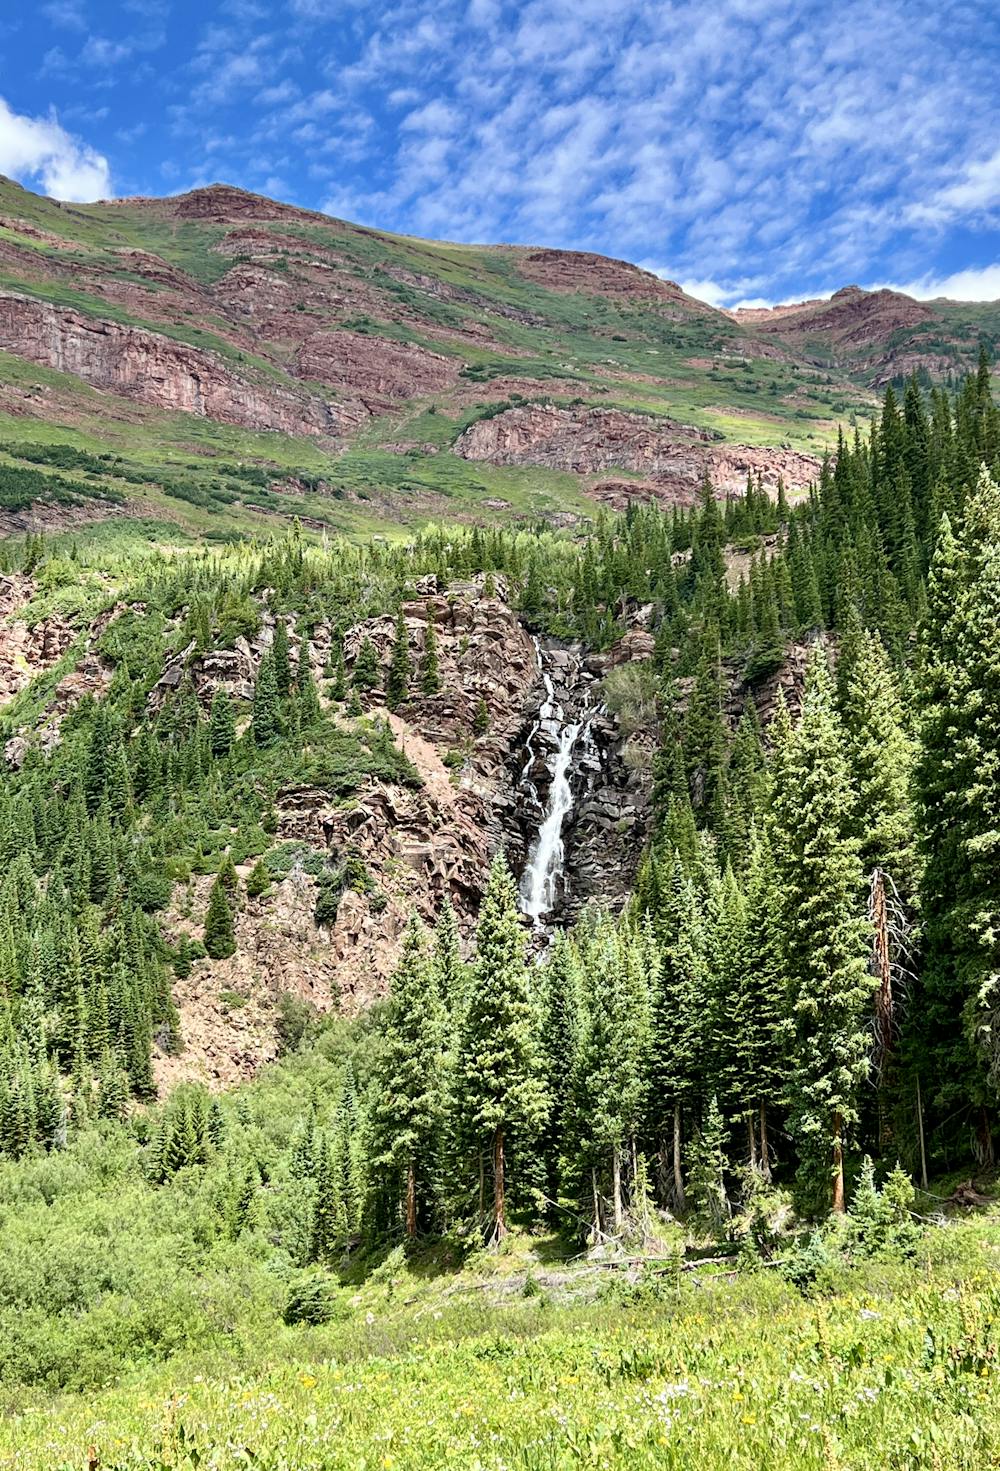
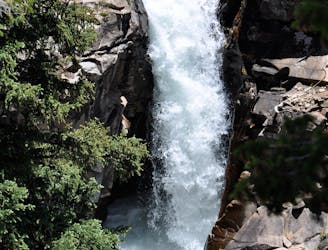
Lower down, you'll hike down a steep headwall section in the bottom of the valley. After hitting the meadow below, be sure to turn around—you'll be greeted by a stupendous view of the thundering waterfall you've been listening to for the last few miles!
Soon, you'll reach the deepest stream crossing of the trip. Even in late summer, the stream was still over knee-deep, with no dry way across. To prevent blisters, we opted to wear our camp sandals to wade through. The water was slow in August, but take care (and unbuckle your pack) if attempting this stream crossing early in the season. From the stream, there's still a bit of descending before reaching the right turn that marks the climb up Trail Rider.
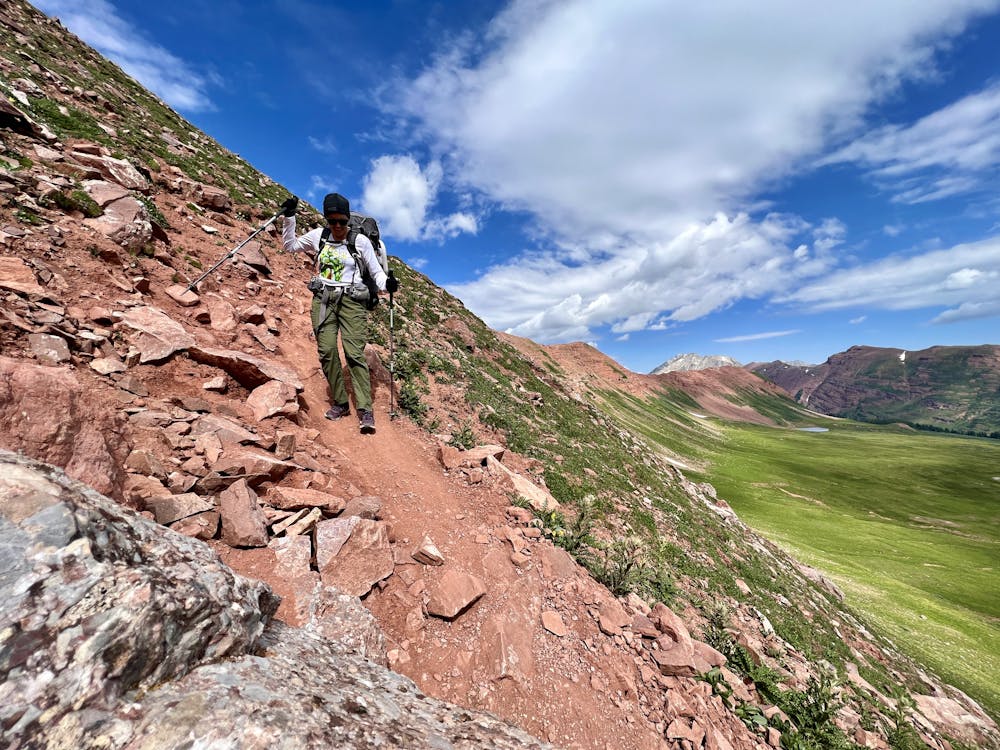
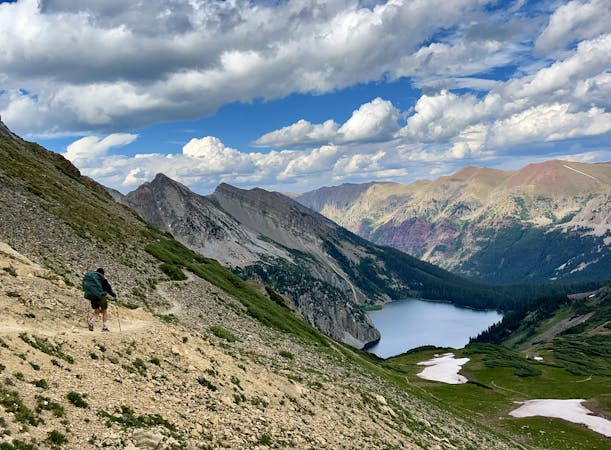
Trail Rider is, without a doubt, the most difficult of the four passes. From this point, it's about 2,200 feet of climbing to the top, and in places, the trail is severely eroded due to the extreme steepness of the narrow track. At the time of this writing in 2023, trail crews were actively working to rehabilitate and rebuild the trail tread in sections where it has almost completely slid off the mountainside. That's one benefit of choosing to backpack in the highest-trafficked Wilderness area in Colorado: active trail maintenance.
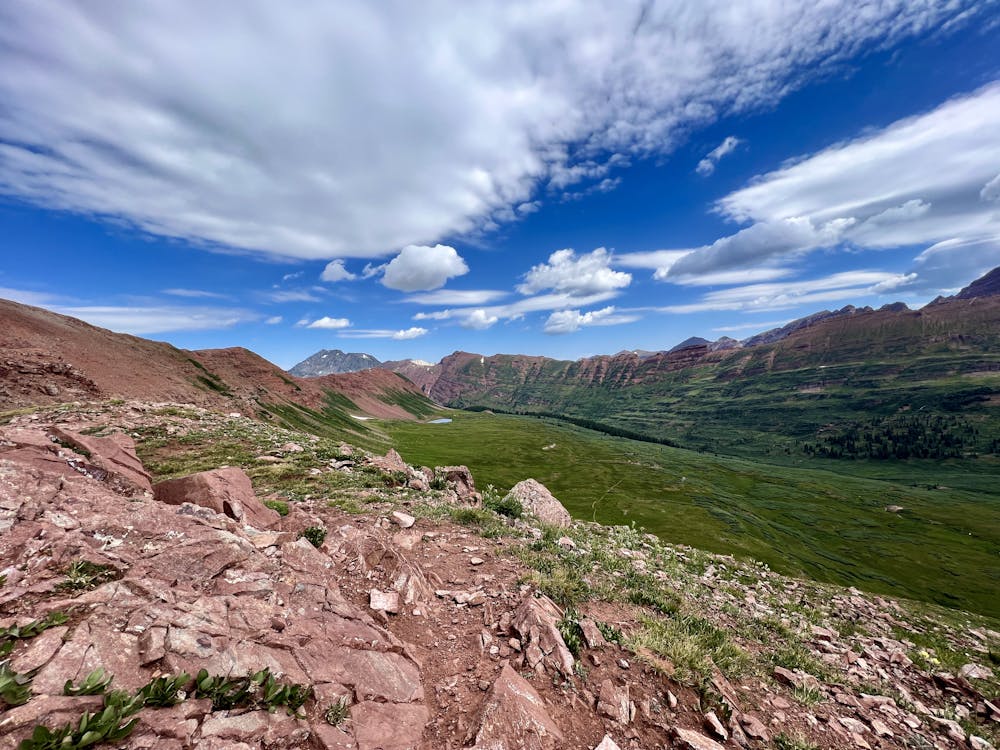
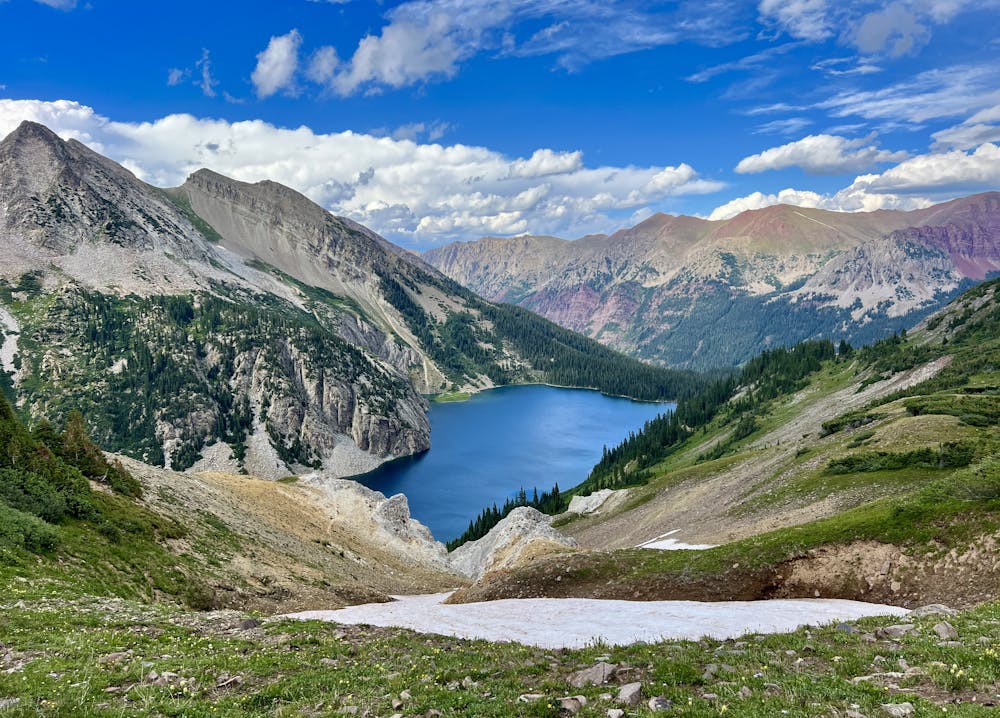
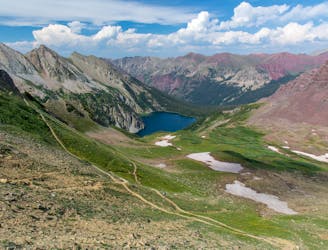
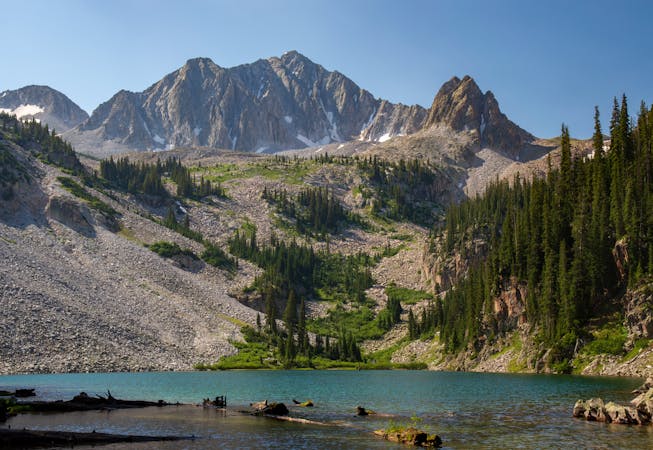
As you break above treeline, you'll regain stunning views as you grind up the final steep ascent to the top of the pass. The view from the top of Trail Rider is one of the best of the trip, with the sparkling gem of Snowmass Lake far below. Be sure to savor this stunning vista—you earned it!
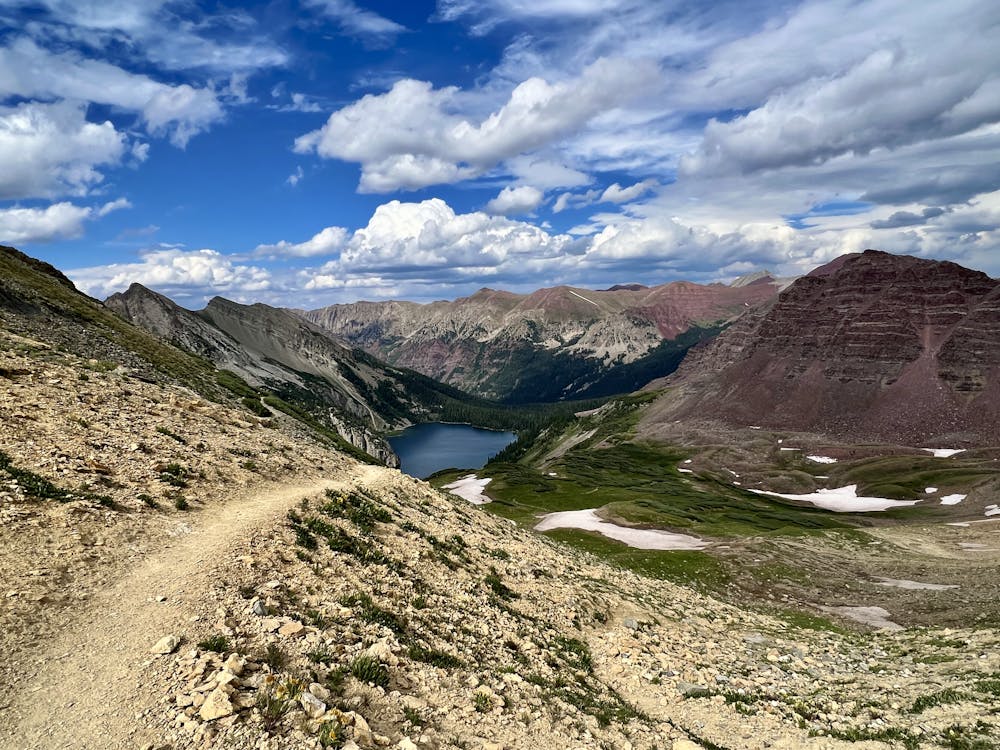
After a few reasonable stretches of alpine hiking with well-built switchbacks on the descent, you'll reach a boulder field that you'll have to cross. The route across the boulders is non-obvious despite a few rock cairns. It appears that there are rock cairns marking multiple routes across the boulders, which isn't helpful. The difficulty or ease of the crossing will also be impacted by the amount of snow lingering in this section—in August, we still had to negotiate some snow and slippery mud.
Finally, once across the boulders, the rest of the hike down to Snowmass Lake is a breeze! Even if you're hiking past Snowmass Lake for a campsite in the Upper Snowmass Zone, it's well worth stopping to soak in the incredible view of Snowmass Mountain from the shores of this pristine alpine lake.
Difficult
Hiking trails where obstacles such as rocks or roots are prevalent. Some obstacles can require care to step over or around. At times, the trail can be worn and eroded. The grade of the trail is generally quite steep, and can often lead to strenuous hiking.

Some trail sections have exposed ledges or steep ascents/descents where falling could cause serious injury.

In the high mountains or remote conditions, all individuals must be completely autonomous in every situation.
5.3 km away
One of the most spectacular wildflower hikes in Crested Butte!
Moderate Hiking
6 km away
Climb to the Trail 403 overlook the hard way.
Difficult Hiking
6 km away
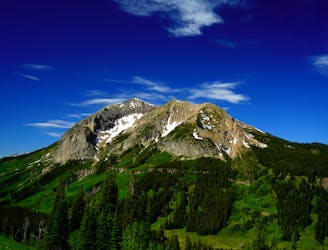
Difficult hike to the summit of one of the most iconic mountains in the region.
Severe Hiking
7.9 km away
One of the most popular, easy hikes in Crested Butte.
Moderate Hiking
8 km away
One of the best bang-for-your-buck alpine hikes in Colorado.
Moderate Hiking
8.9 km away
A shorter day on the circuit featuring a spectacular pass and two alpine lakes.
Difficult Hiking
9.1 km away
The final pass of the trip, and a long descent back to the trailhead.
Difficult Hiking
9.2 km away
A long day of difficult hiking and rock scrambling to the top of Colorado's most photographed 14er.
Extreme Hiking
9.2 km away
A strenuous but exhilarating day to conclude the beautiful Capitol Creek Circuit.
Difficult Hiking
9.2 km away
14,000-foot summit requiring huge elevation gain and steep scrambling with wild exposure.
Extreme Hiking
6 routes · Alpine Climbing · Hiking
16 routes · Hiking
4 routes · Hiking
3 routes · Hiking