Lunch Loops Sampler

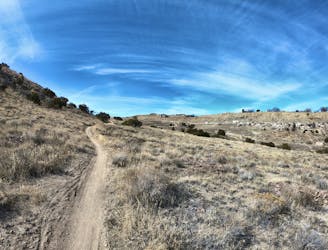
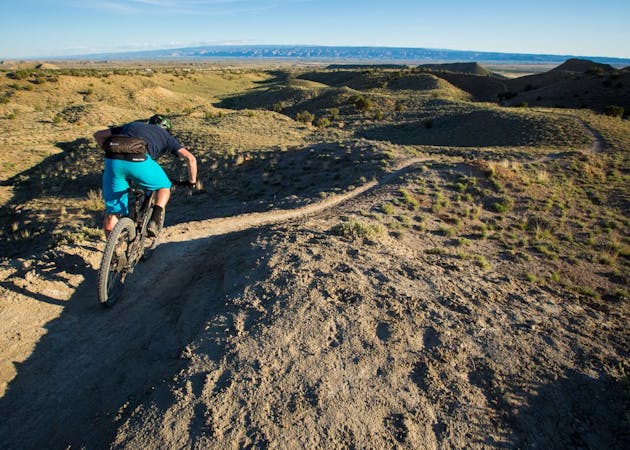
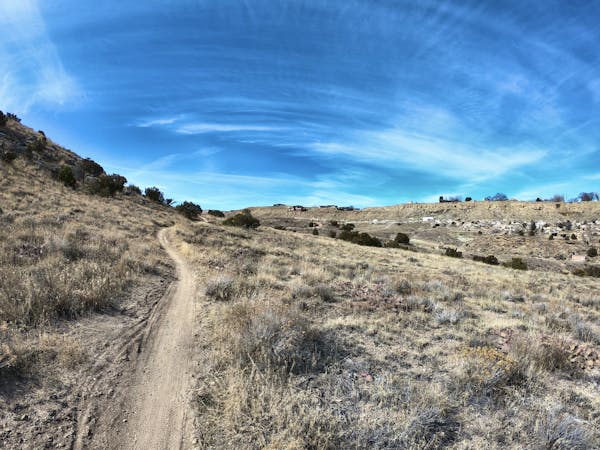
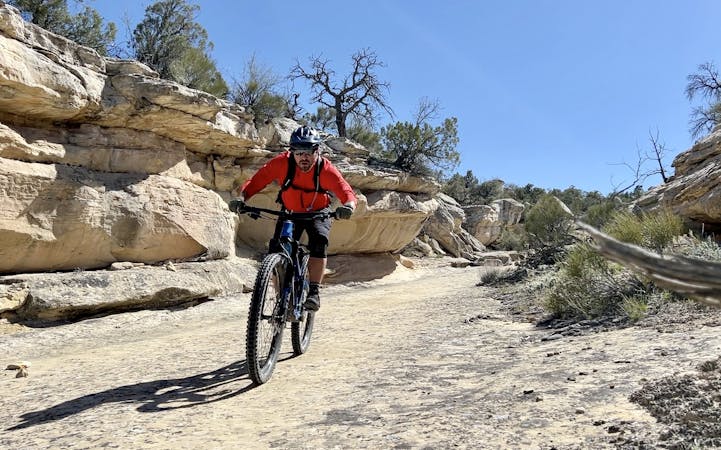
While easily accessible from the town of Grand Junction, the Lunch Loops provide rocky, technical singletrack to challenge even the best of mountain bikers.
Severe Mountain Biking
- Distance
- 20 km
- Ascent
- 524 m
- Descent
- 524 m
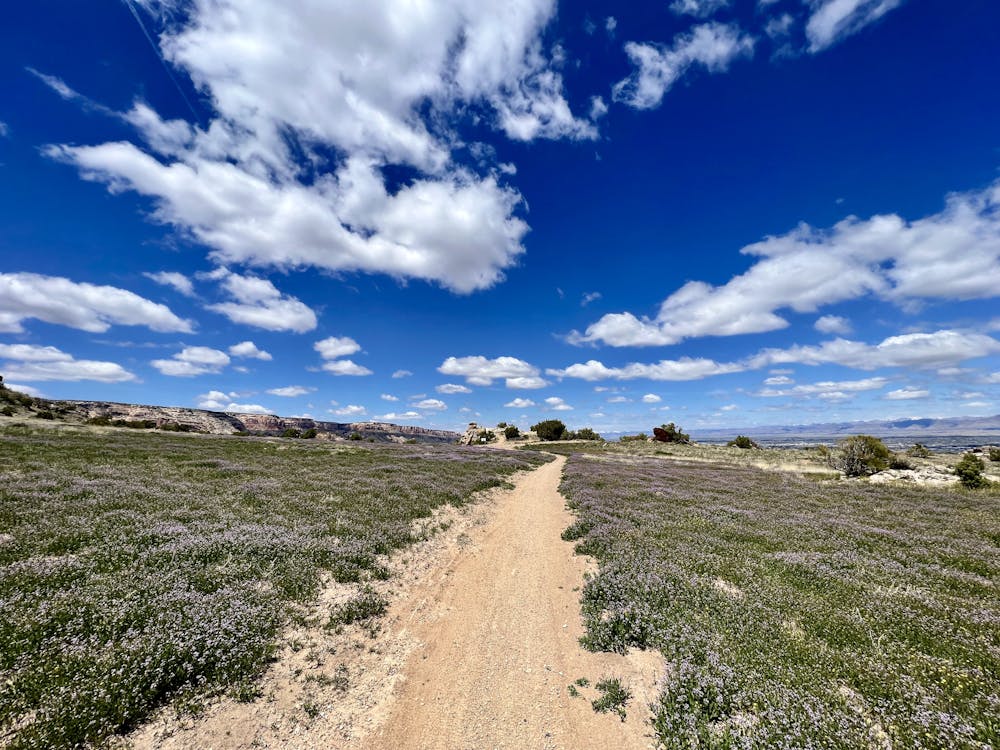
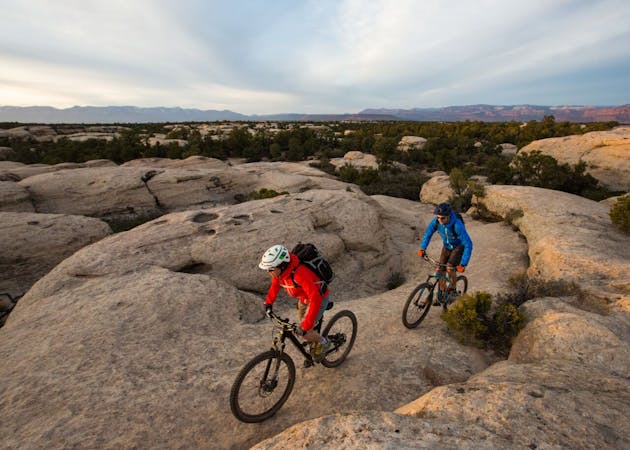
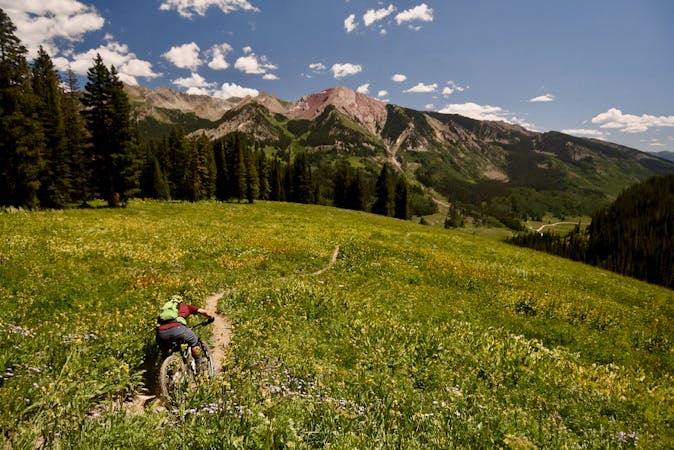
A perennial crowd pleaser that winds through beautiful rock formations.
Mountain Biking Severe

The Lunch Loops Trail System is filled with an endless array of singletrack, to the point that it's tough to say what crowd favorite is here. But if you had to choose one trail that's a perennial favorite and that exemplifies the character of this trail system, that trail would be Holy Cross. Mapped here is a short, efficient loop that's perfect for hitting Holy Cross on your lunch hour.
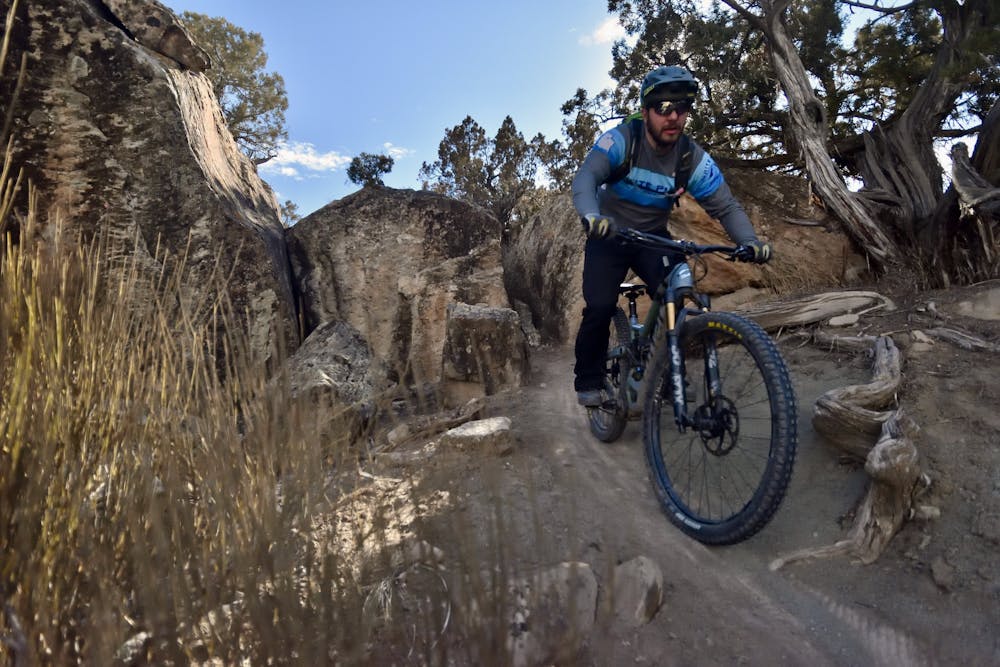
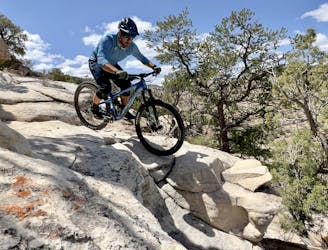
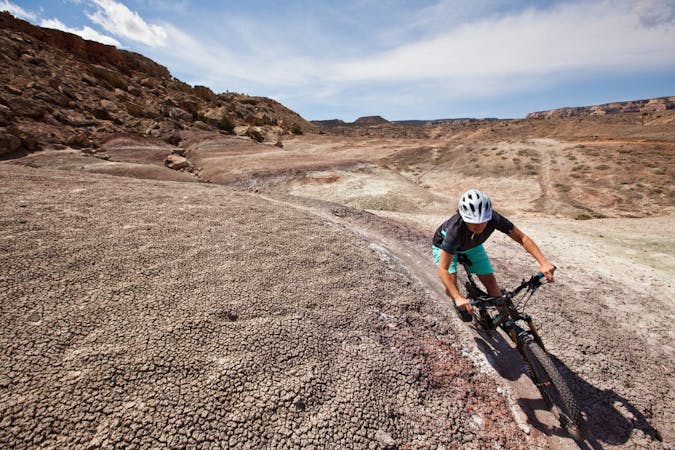
The ride mapped here follows the most popular climbing route via Pet-E-Kess, High Noon, and a portion of Tabeguache before dropping into Holy Cross. In true Lunch Loops fashion, as you're dropping in, you'll spot a sign warning users to not modify the trail to make it easier. Holy Cross (and most of the trails at Lunch Loops) have been designed and built to be difficult and challenging on purpose. This trail system is renowned for its gnar, and riders come here specifically for the technical challenge.
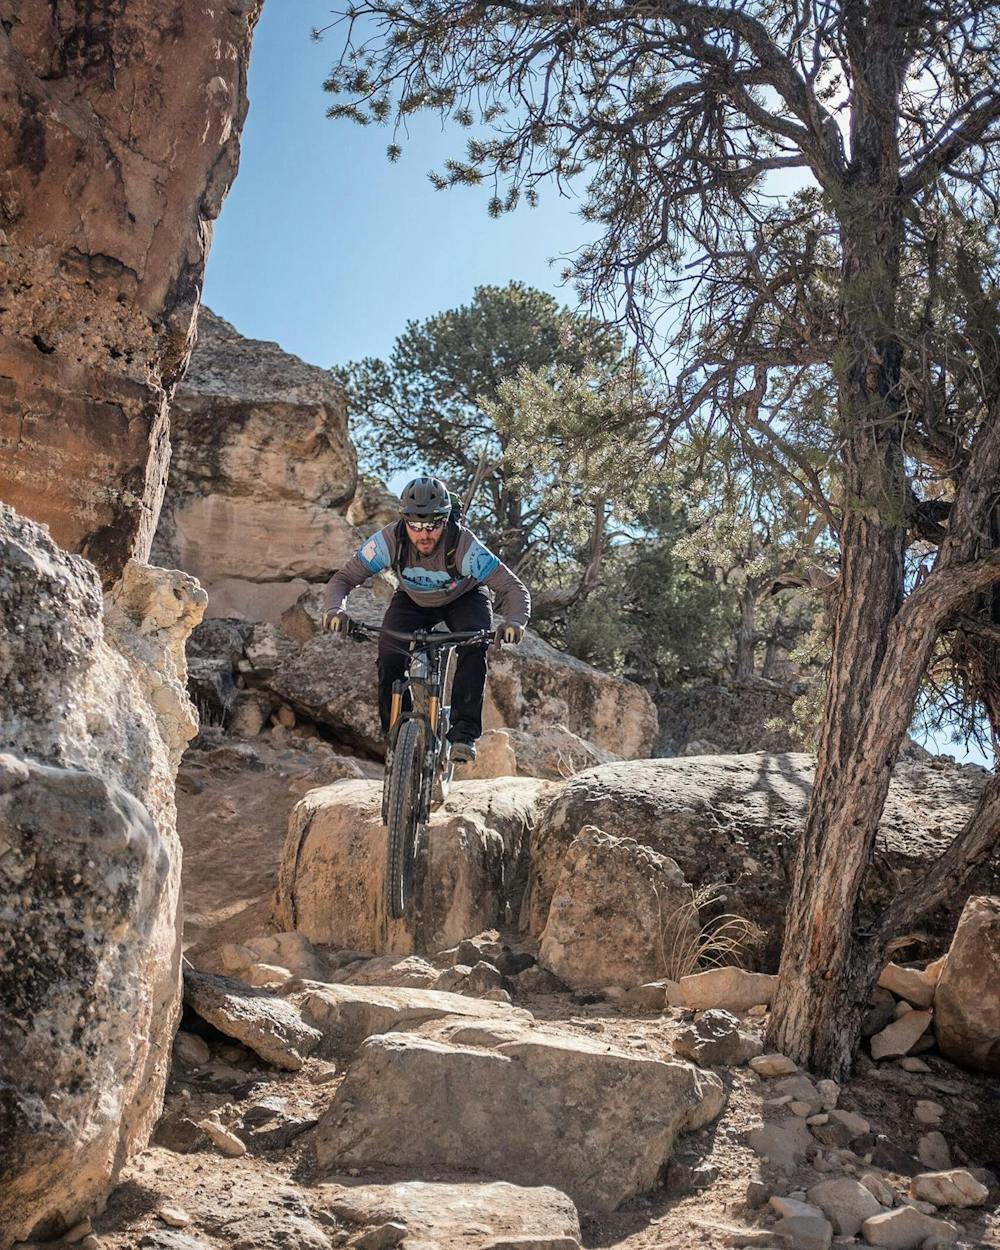
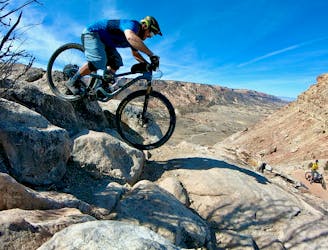
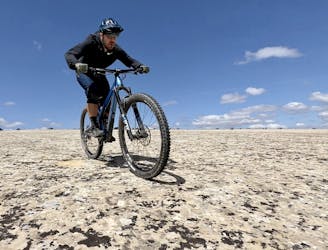
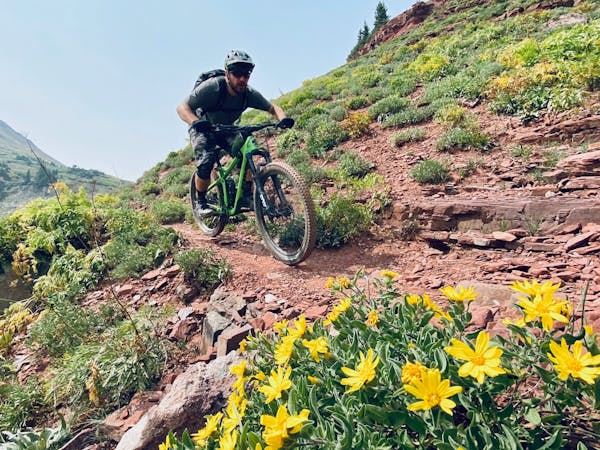
Holy Cross itself is plenty gnarly, with boulders, rock gardens, small rock slabs, and optional drops. However, it remains a local crowd-pleaser because it is far from the most difficult trail in the trail system. While it still gets a black diamond rating on the signs and a "Severe" FATMAP rating, Holy Cross is child's play compared to nearby Free Lunch, Pucker Up, Eagle's Wing, and The Ribbon.
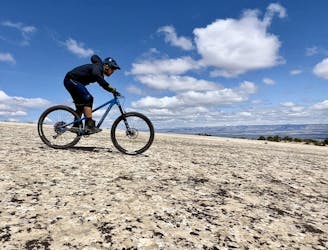
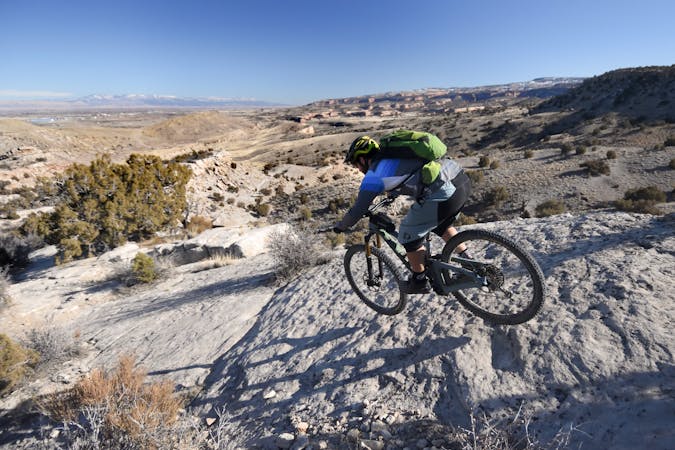
If you're an advanced rider, don't let that dissuade you from riding Holy Cross! This is an absolute gem of a trail, with one of the highlights being the creative trail routing that winds its way between massive rock boulders and under overhangs. While the trail tread itself is entertaining, the landscape that Holy Cross passes through is one of the true marvels of the Lunch Loops trail system.
As with any ride at Lunch Loops, there are several possible endings to this loop, but the one mapped here climbs up to the ridge above the trailhead, rolls along the ridge, and then descends Curt's Lane to finish. If you're running short on time and need to get back to work, for a quicker departure from the ridge you can descend Bentonite Hill instead.
Severe
Widely variable, narrow trail tread with steeper grades and unavoidable obstacles of 15in/38cm tall or less. Obstacles may include unavoidable bridges 24in/61cm wide or less, large rocks, gravel, difficult root sections, and more. Ideal for advanced-level riders.

The trail contains some obstacles such as outcroppings and rock which could cause injury.
Away from help but easily accessed.
While easily accessible from the town of Grand Junction, the Lunch Loops provide rocky, technical singletrack to challenge even the best of mountain bikers.
Severe Mountain Biking
1 m away
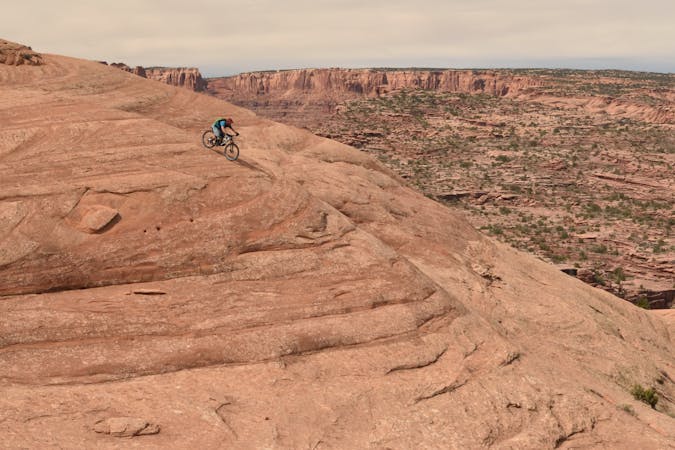
A steep, exposed double black diamond descent from Lunch Loops' high point.
Extreme Mountain Biking
1 m away
Hands-down the best double black diamond pedal ride in the Lunch Loops trail system.
Extreme Mountain Biking
68 m away
A short beginner-friendly ride through the Lunch Loops Trail System.
Moderate Mountain Biking
69 m away

The easiest trails at the Lunch Loops.
Easy Mountain Biking
6.9 km away
The shortest version of this iconic shuttle run.
Extreme Mountain Biking
6.9 km away
One of the fastest, rowdiest, point-to-point shuttles anywhere, with wide-open rock slab riding, uber-technical rock gardens, and big jump and drop options--experts only!
Extreme Mountain Biking
25 routes · Mountain Biking
12 routes · Mountain Biking
37 routes · Mountain Biking
25 routes · Mountain Biking
11 routes · Mountain Biking
4 routes · Mountain Biking
7 routes · Mountain Biking
10 routes · Mountain Biking
8 routes · Mountain Biking