11 m away
The Ribbon -> Andy's Shuttle
The shortest version of this iconic shuttle run.
Extreme Mountain Biking
- Distance
- 11 km
- Ascent
- 111 m
- Descent
- 707 m

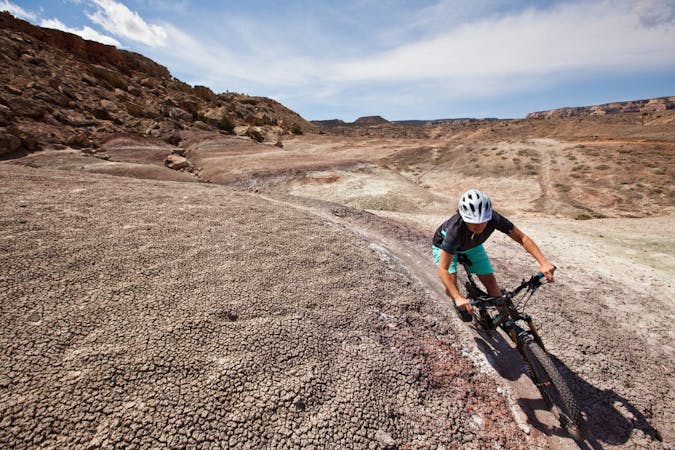
One of the fastest, rowdiest, point-to-point shuttles anywhere, with wide-open rock slab riding, uber-technical rock gardens, and big jump and drop options--experts only!
Mountain Biking Extreme

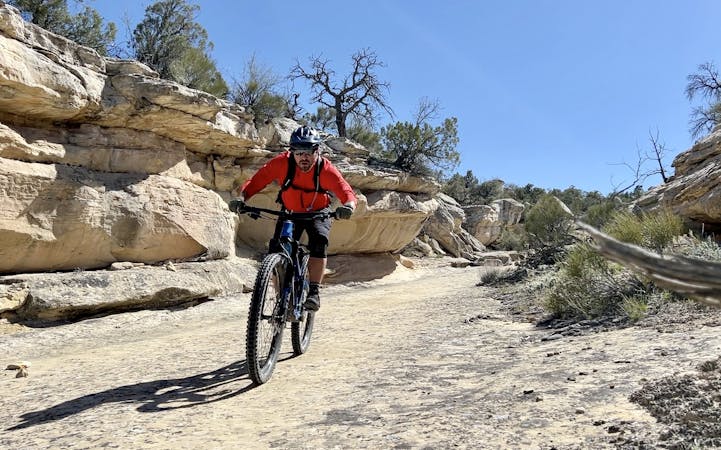
Riding the entire Ribbon route requires expert-level bike handling skills and cojones of steel, thanks to mandatory drops, steep rock rolls, boulder-filled rock gardens, and high-speed slickrock slab surfing. However, if you're an advanced-level rider and are willing to walk a few sections, you'll still be able to enjoy 95% of the Ribbon's sweet charms!
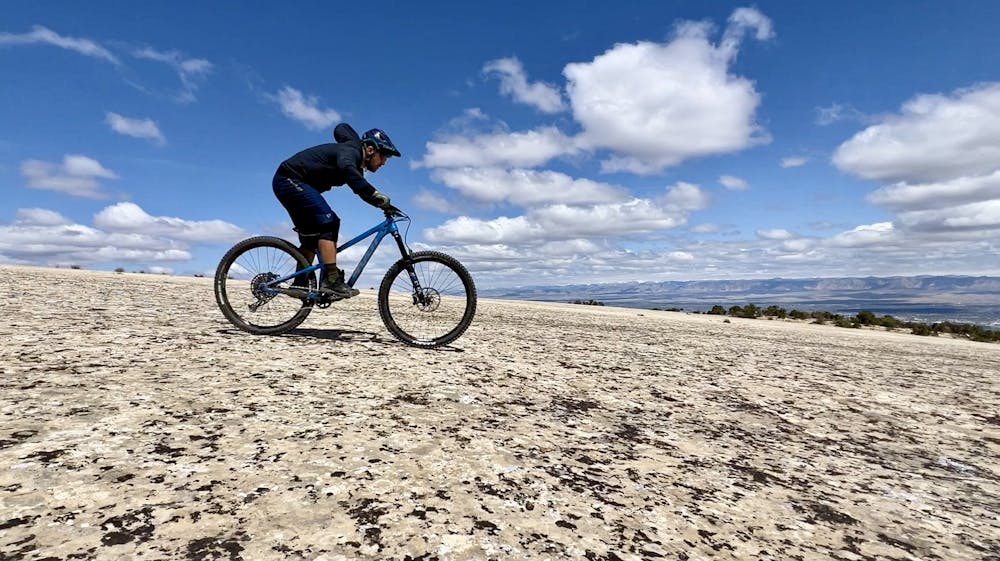
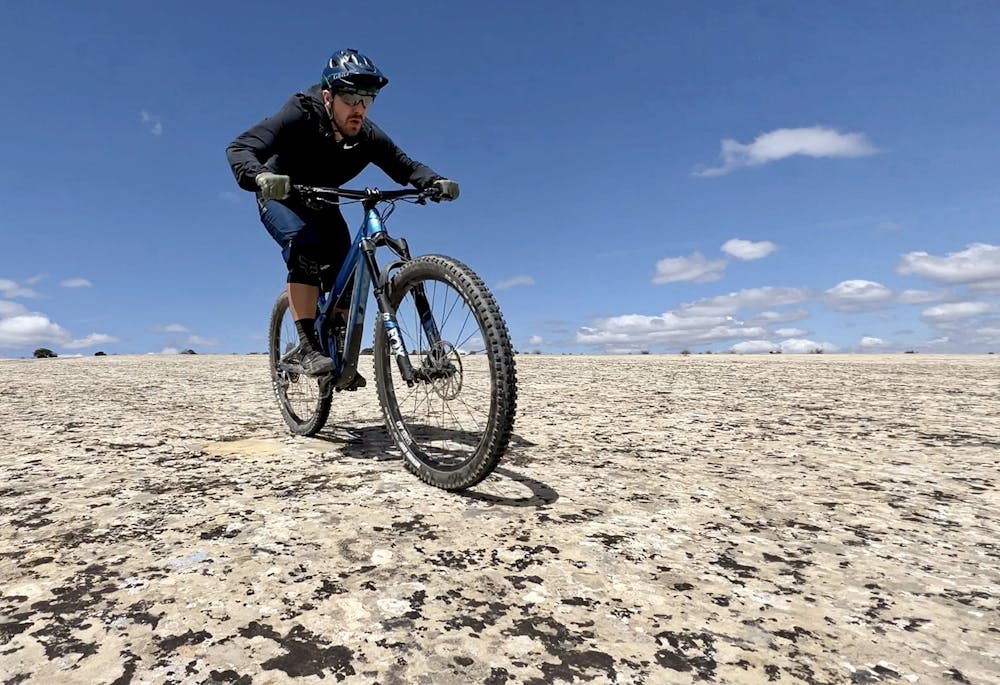
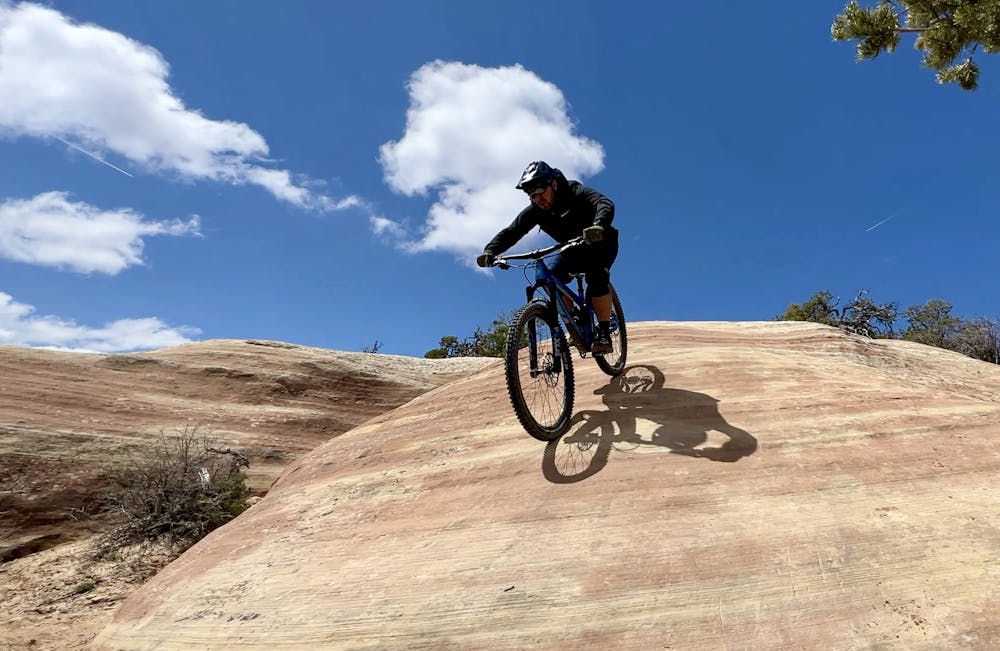
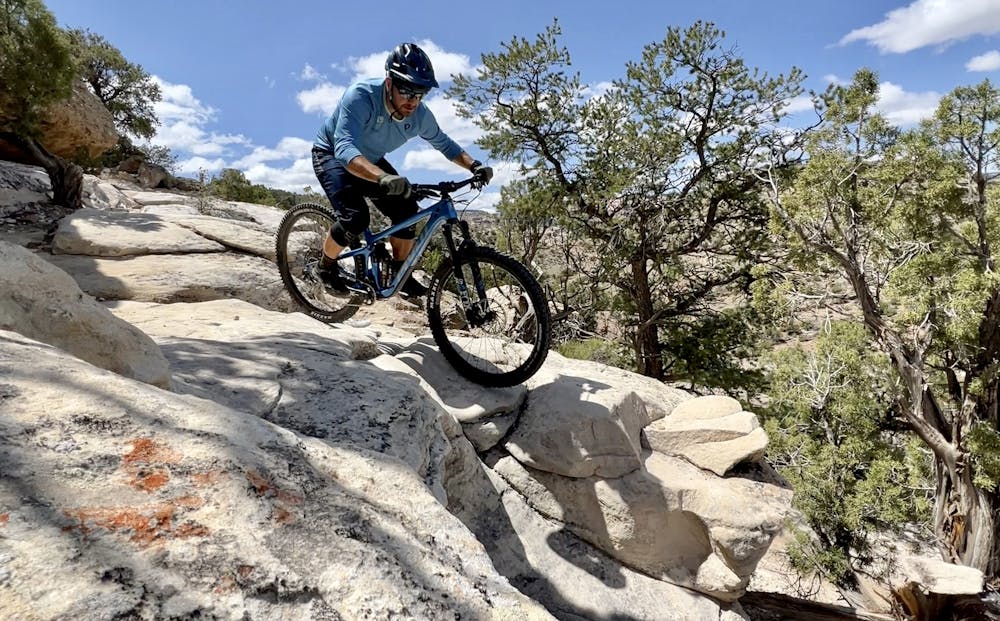
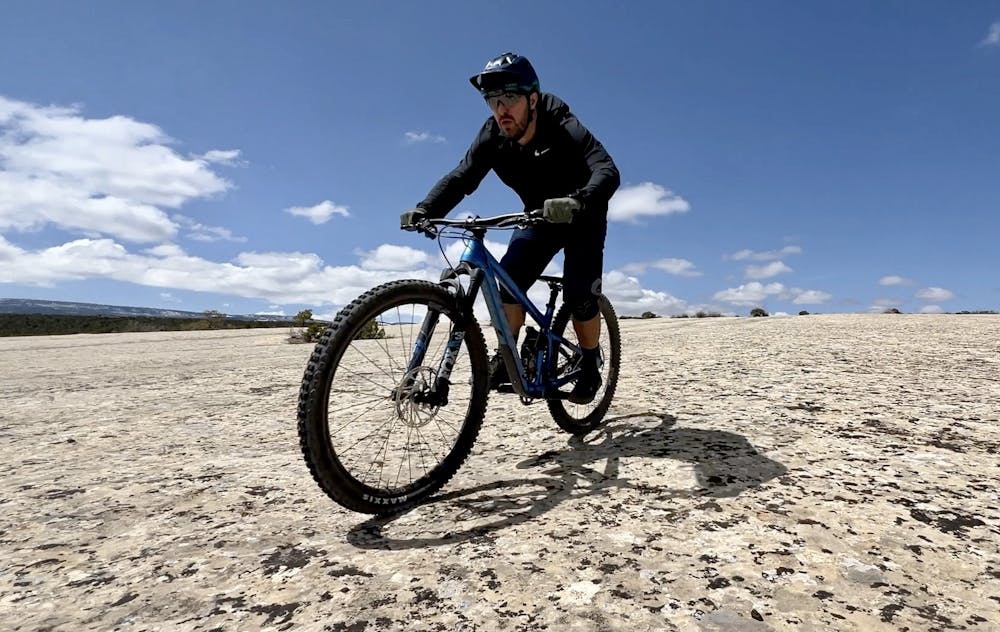
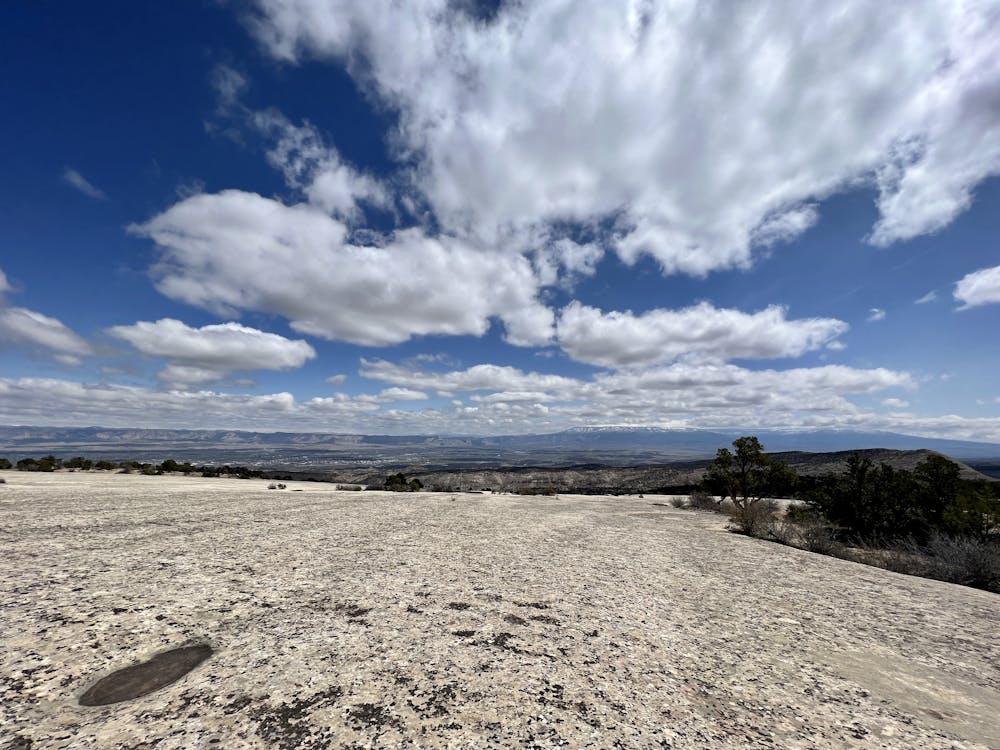
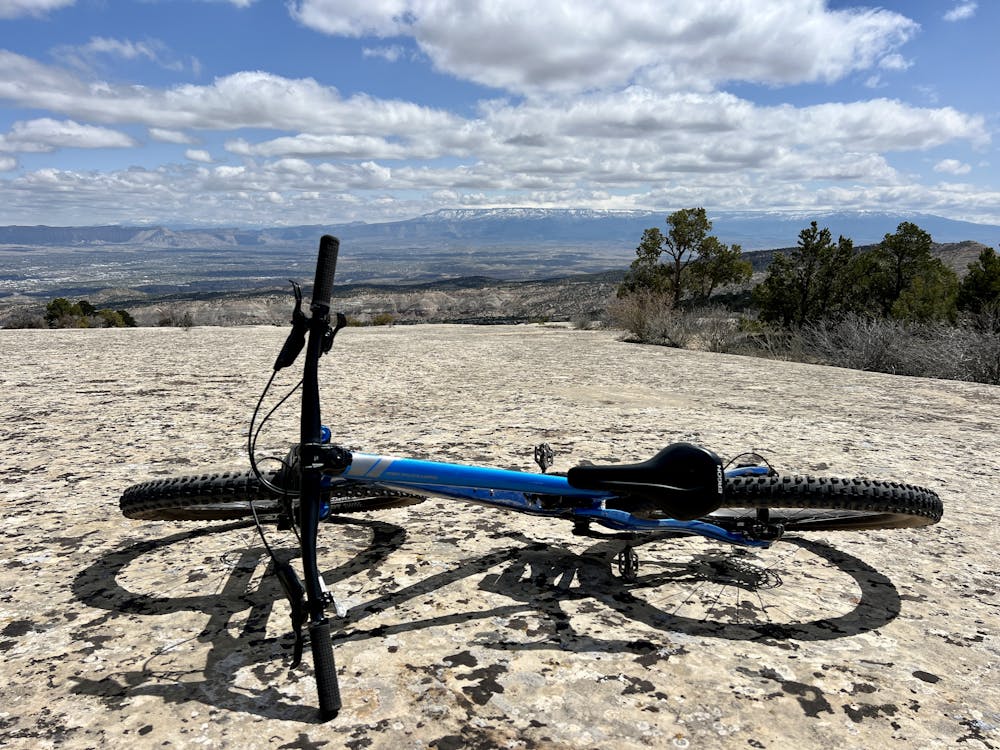
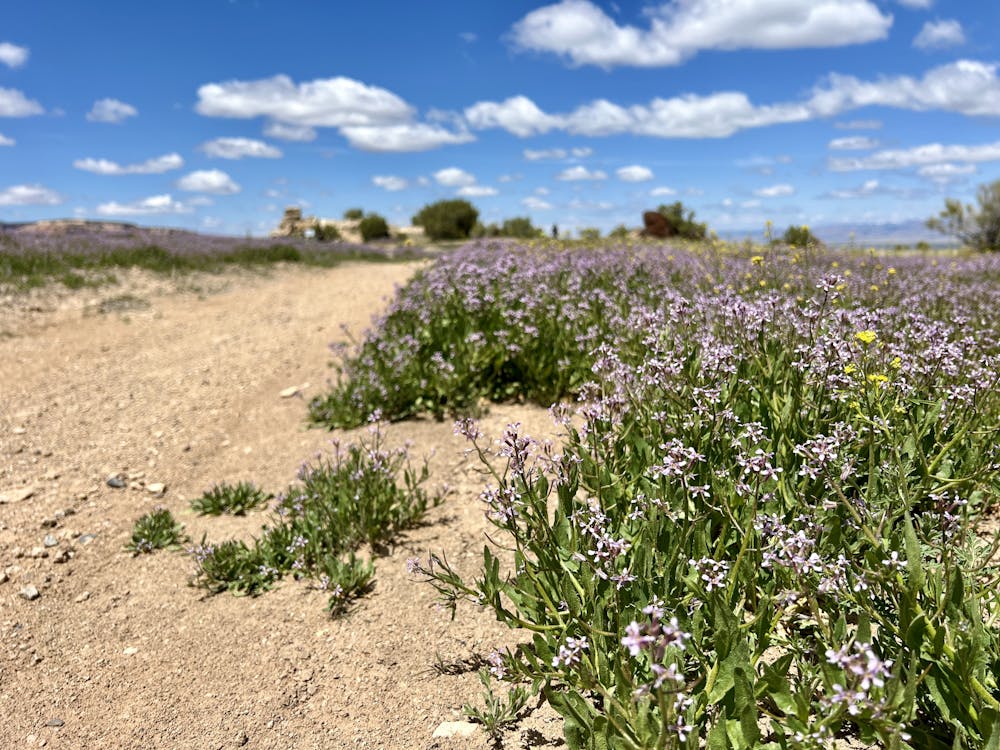
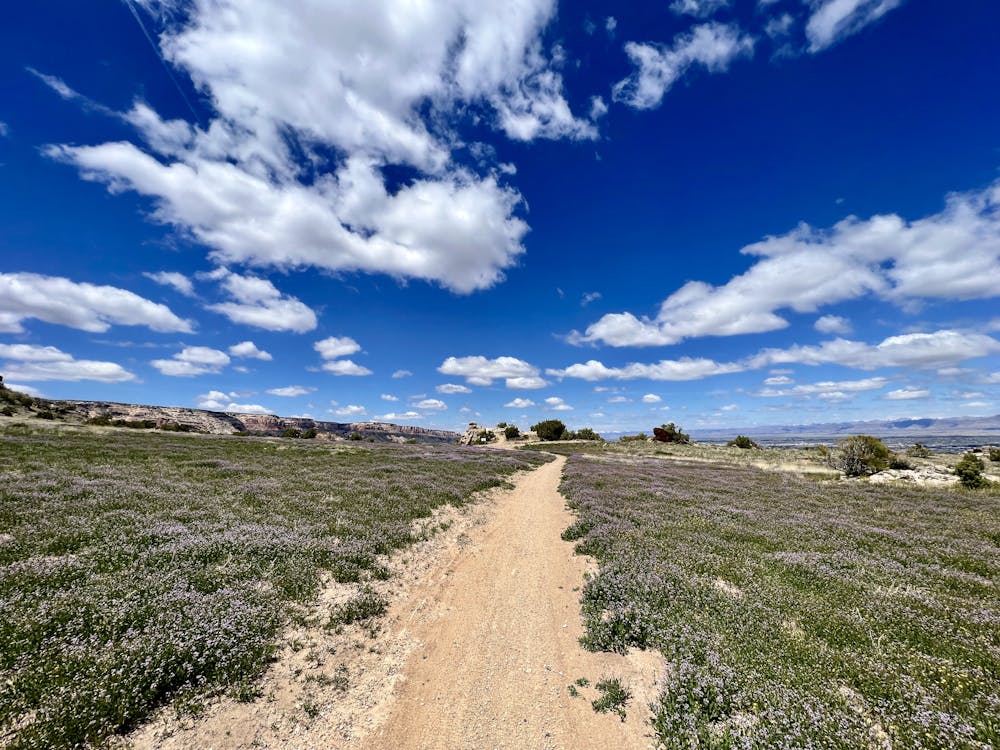
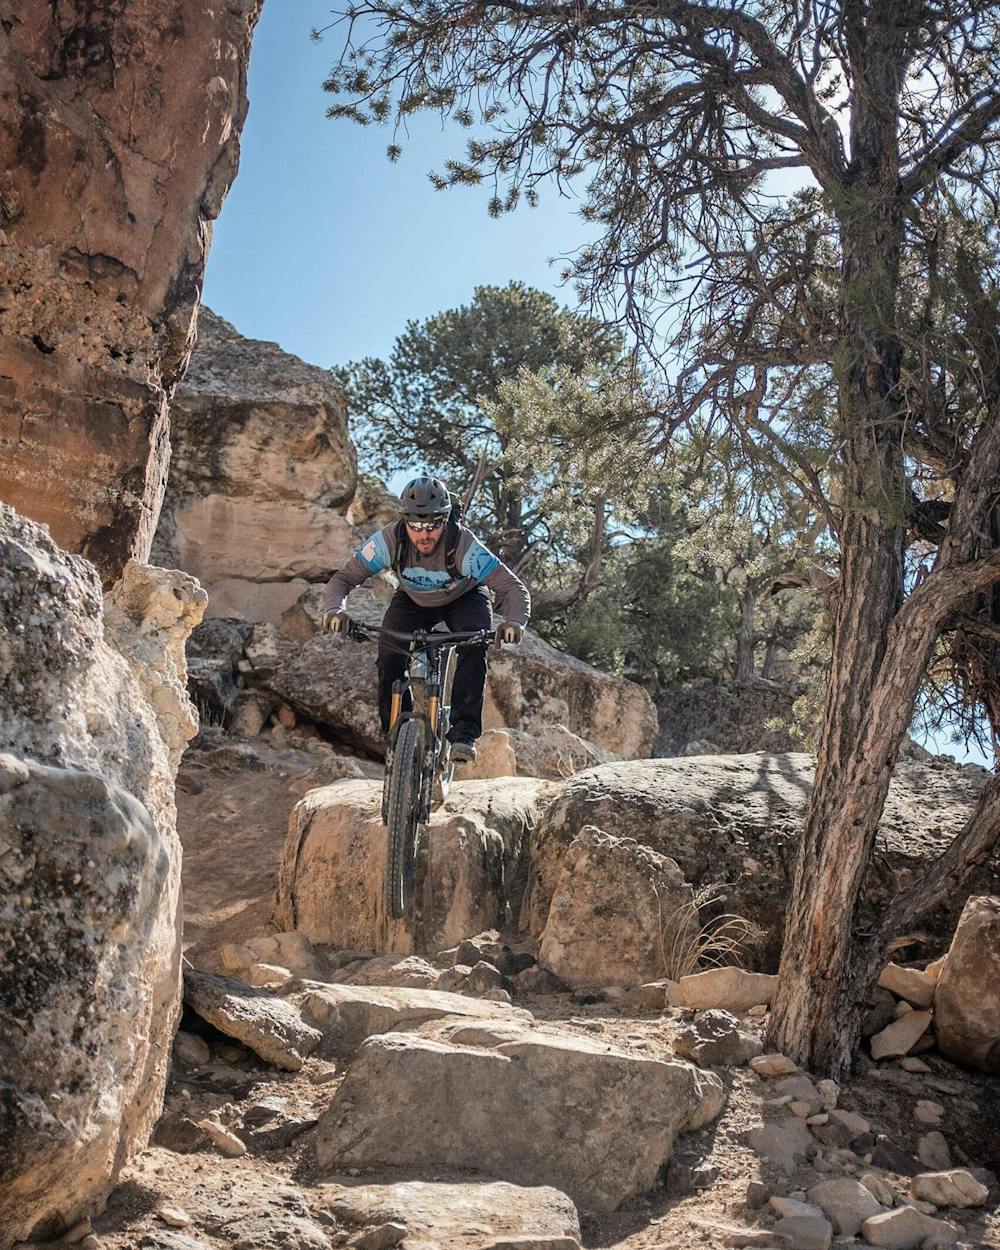
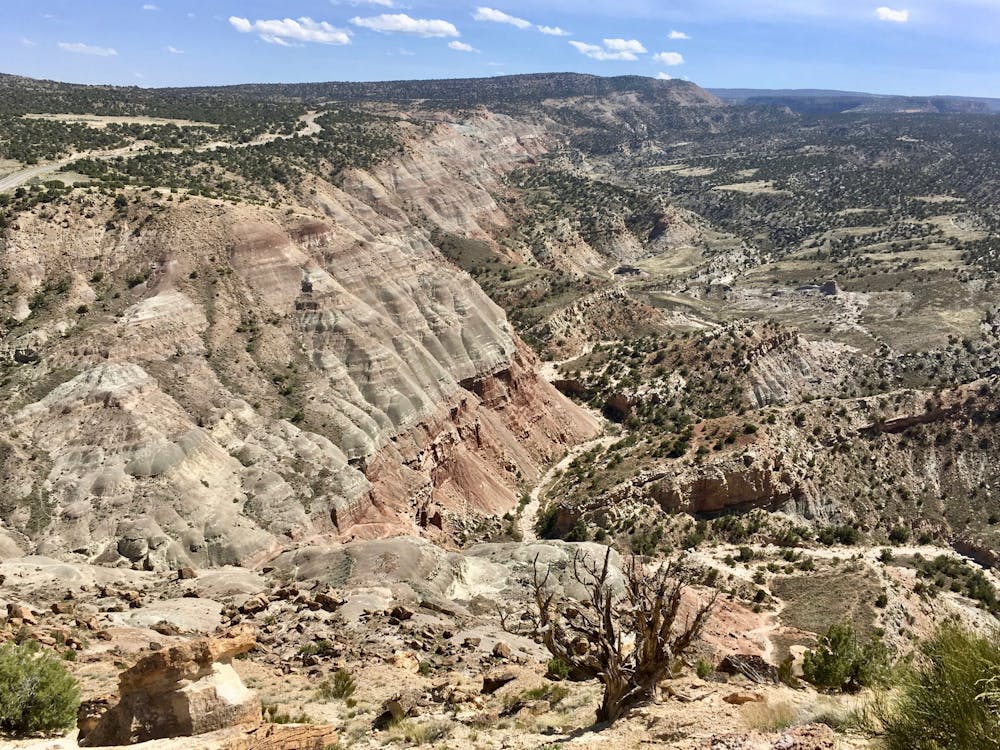
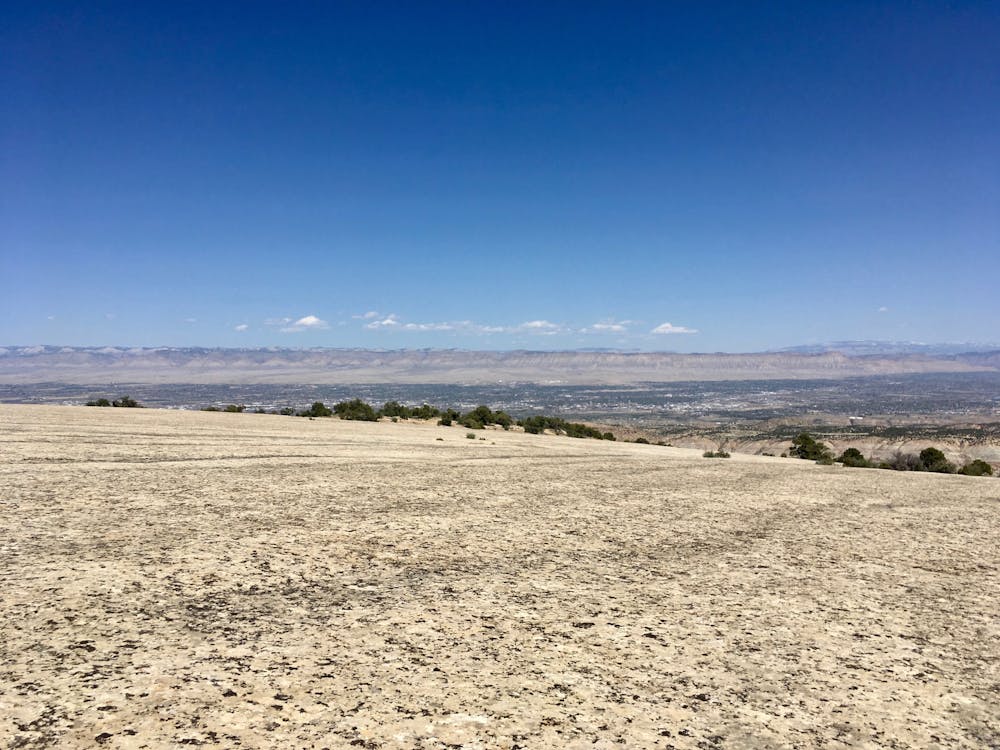
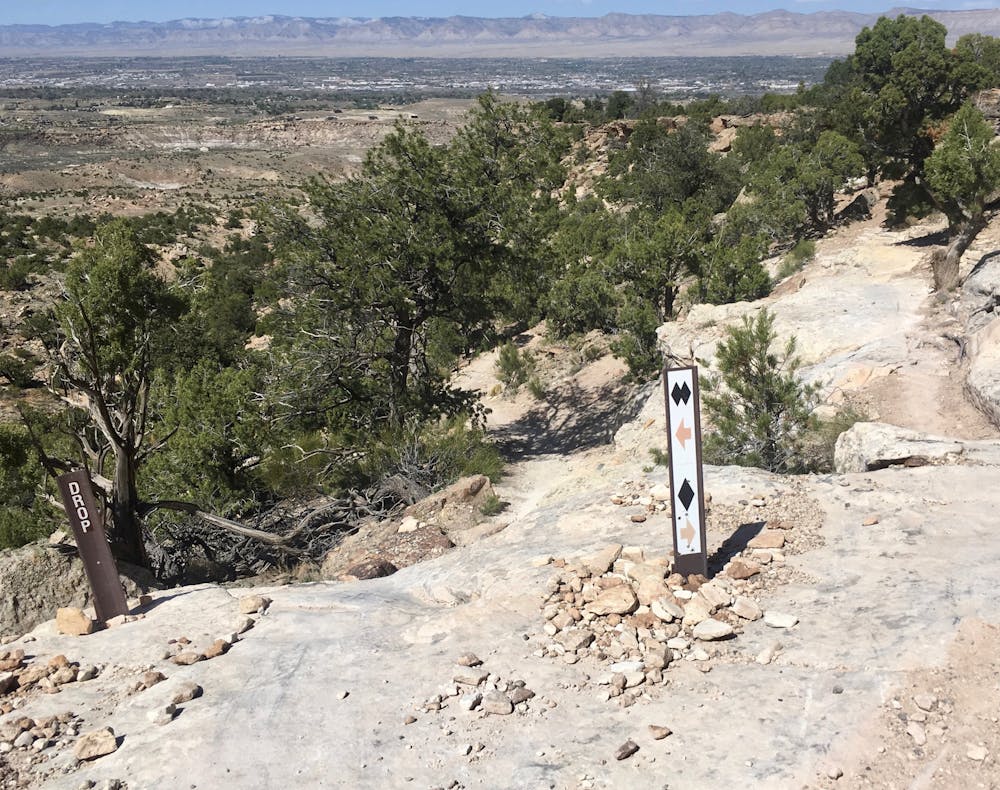
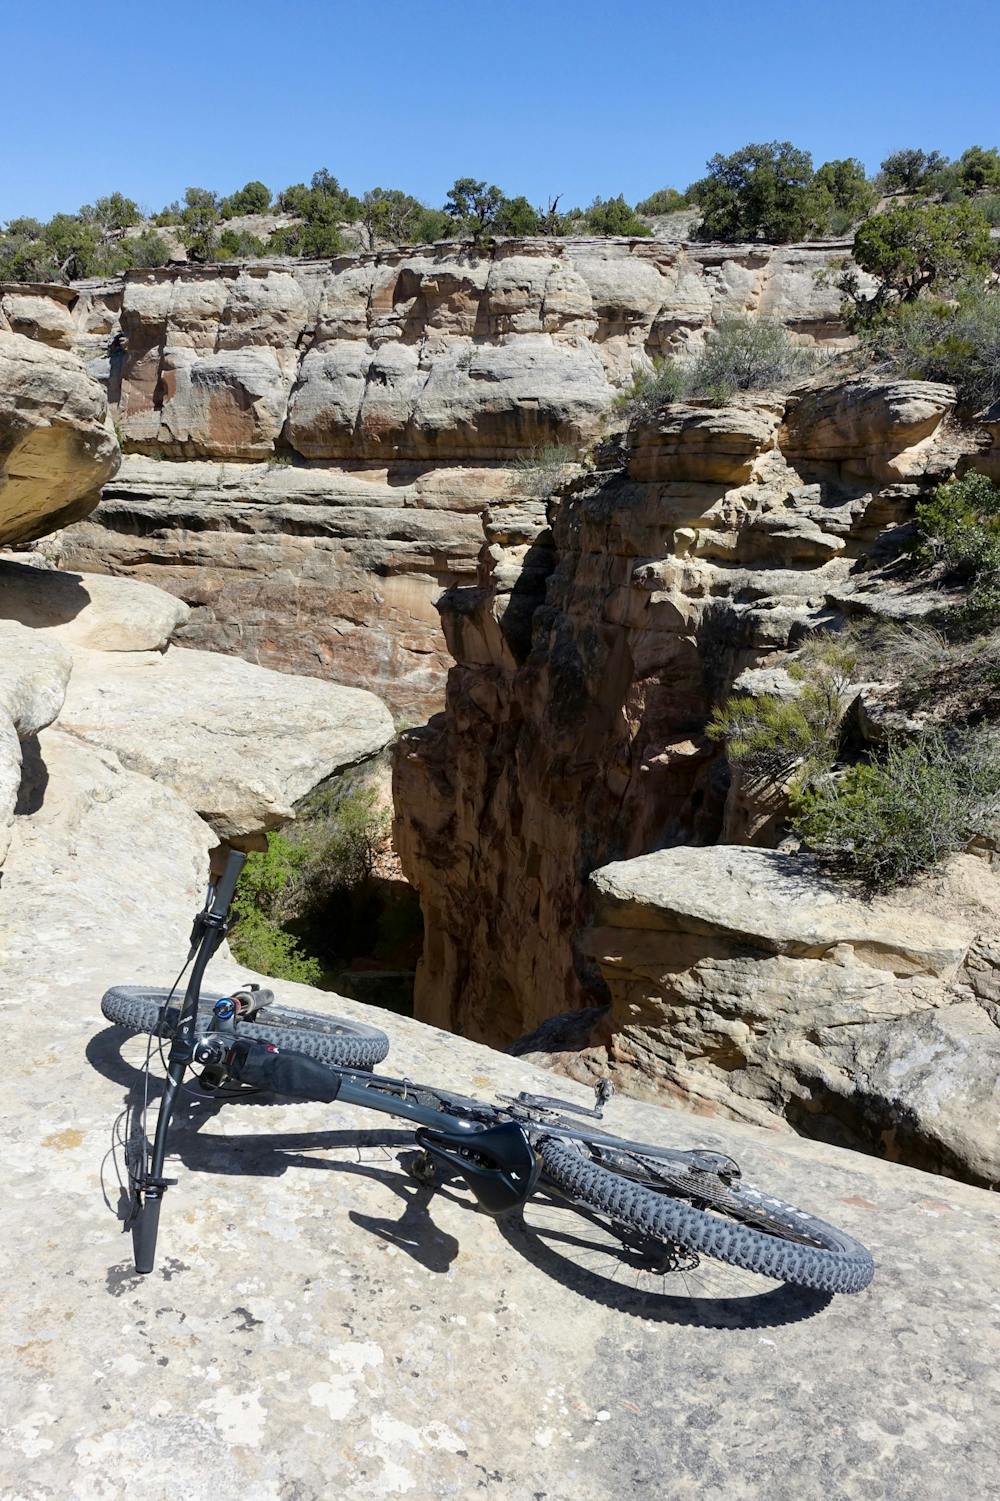
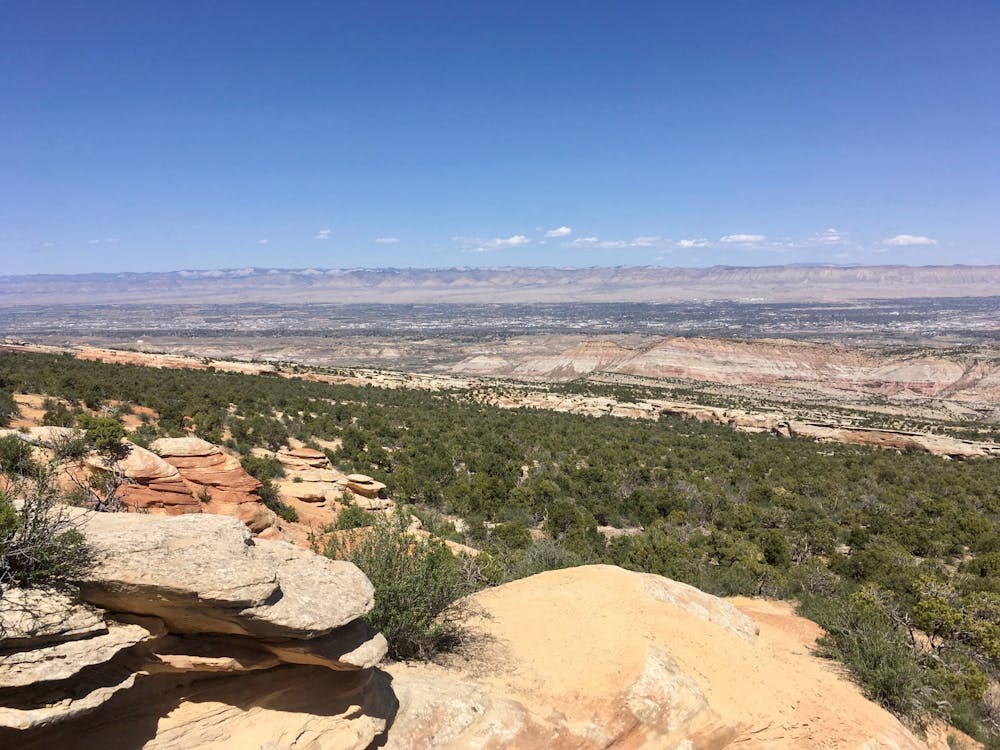
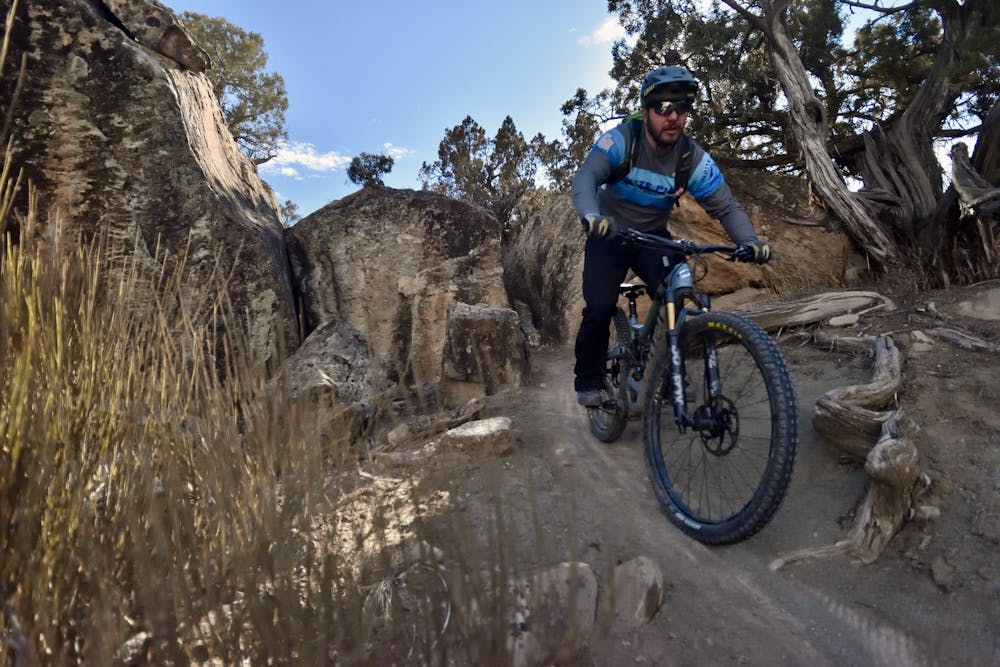

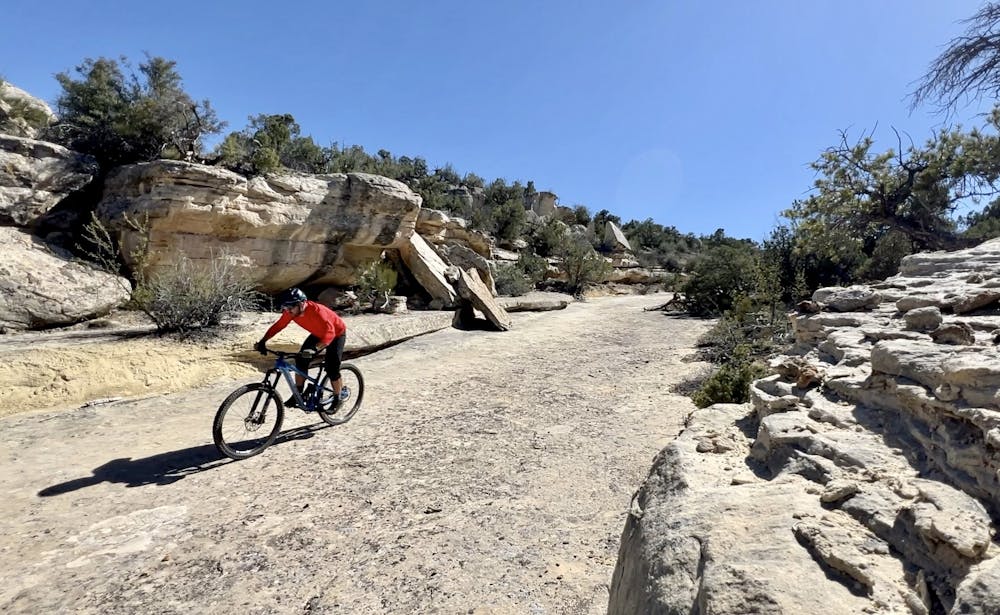
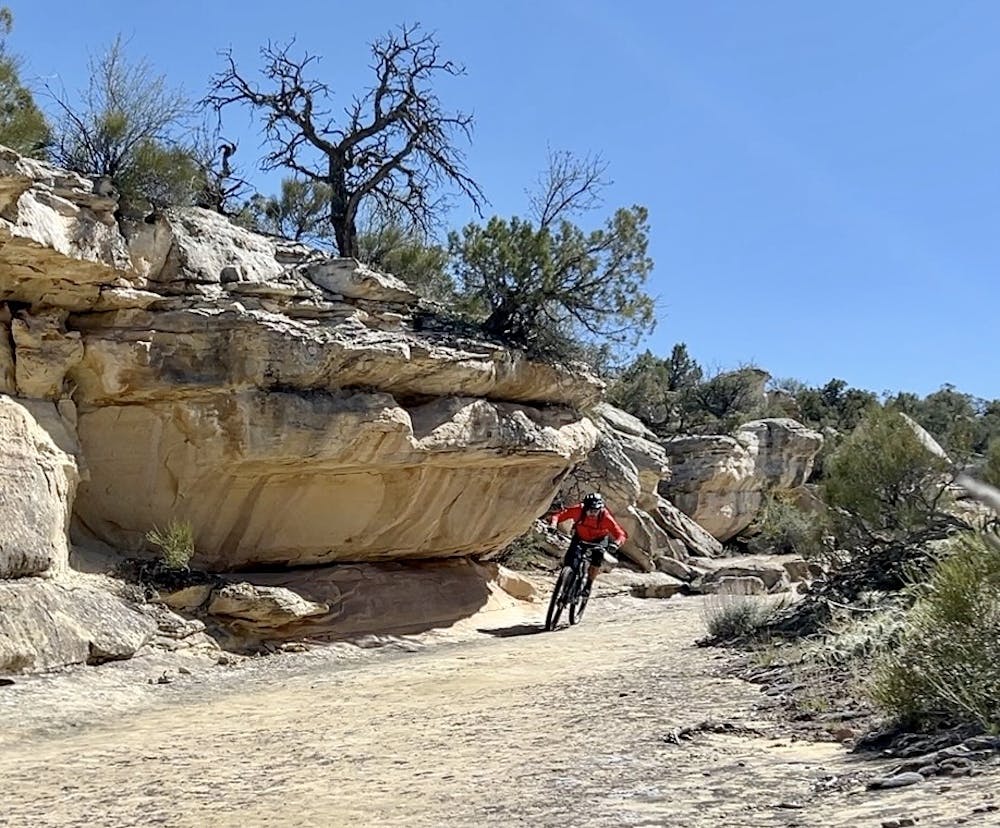
The top of the route begins with a bang, with high-speed two-wheeled surfing down a wide-open slickrock slab set on an angle, with speeds easily topping 30 or 40 miles per hour! Watch closely for the end of the slab, as most of the slab ends in a vertical rock cliff. Flying off of it could mean death. However, there is one rideable descent off the slab through the Toilet Bowl rock roll, but even that descent is very tricky. Walking is always an option if you're uncomfortable.
Once off the Ribbon's classic slab, the slickrock surfing continues down the bottom of a gully. It feels like you're riding a ribbon of rock (hence the name) as the scenery blurs by at around 40mph! Watch for the singletrack splitting off of the Ribbon, as passing that departure point will lead to another sheer cliff and, again, possible death.
One of the most technical sections of the entire route takes place after the Ribbon concludes—a gnarly, rocky, fall-line descent with big drops and huge chunk. Again, walking is advisable for riders who aren't expert-level.
Eventually, the Ribbon shuttle route enters the main Lunch Loops trail system, with numerous route options. Riders of the expert variety will want to head for Free Lunch to continue the gnar-filled descent. The evac heli pad at the top of Free Lunch gives a hint of what's in store, with the easy bailout lines in Free Lunch easily black diamond level, and the double black lines serving up 10 to 15-foot rock drops to flat, and other technical insanity. If you had trouble higher up on Ribbon, other than the two uber-technical spots described above, it's best to choose a different route down through the Lunch Loops and skip Free Lunch.
After Free Lunch there's no end of options to conclude the ride, but flowing into Holy Cross creates a great route, with more bouldery rock drops and rock gardens aplenty.
The Ribbon has grown into a legend through Youtube videos of pros blasting down the rock at high speeds and launching off of cliffs, and for the intrepid mountain biker who isn't afraid to walk every once and a while, this is the ride of a lifetime! But be honest with yourself about your abilities, as the Ribbon spares no one.
Extreme
Very steep, difficult, narrow singletrack with widely variable and unpredictable trail conditions. Unavoidable obstacles could be 15in/38cm tall or greater, and unavoidable obstacles with serious consequences are likely to be present. Obstacles could include big rocks, difficult root sections, drops, jumps, sharp switchbacks, and more. Ideal for expert-level riders.
11 m away

The shortest version of this iconic shuttle run.
Extreme Mountain Biking
6.9 km away
While easily accessible from the town of Grand Junction, the Lunch Loops provide rocky, technical singletrack to challenge even the best of mountain bikers.
Severe Mountain Biking
6.9 km away
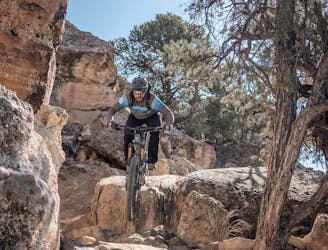
A perennial crowd pleaser that winds through beautiful rock formations.
Severe Mountain Biking
6.9 km away
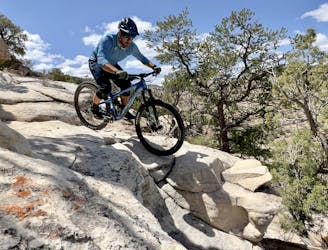
Hands-down the best double black diamond pedal ride in the Lunch Loops trail system.
Extreme Mountain Biking
6.9 km away
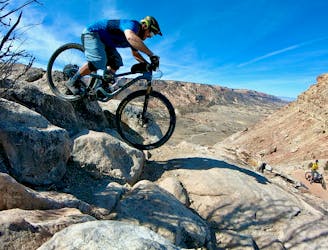
A steep, exposed double black diamond descent from Lunch Loops' high point.
Extreme Mountain Biking
7 km away

The easiest trails at the Lunch Loops.
Easy Mountain Biking
7 km away
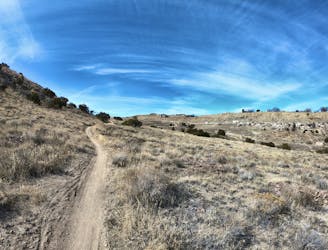
A short beginner-friendly ride through the Lunch Loops Trail System.
Moderate Mountain Biking
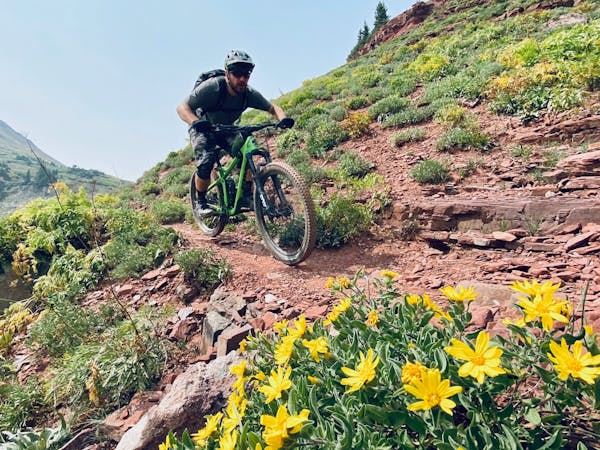
25 routes · Mountain Biking
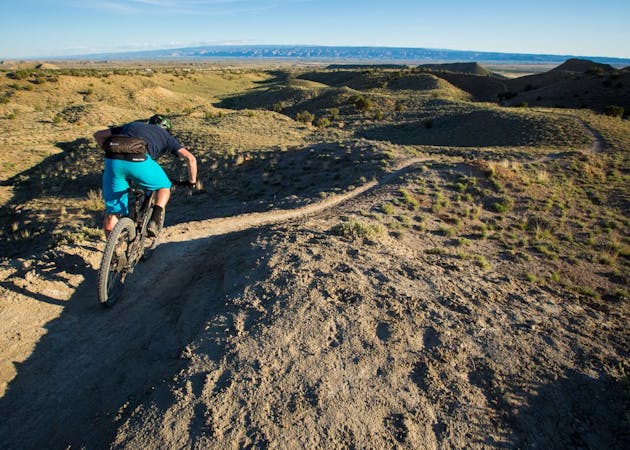
12 routes · Mountain Biking
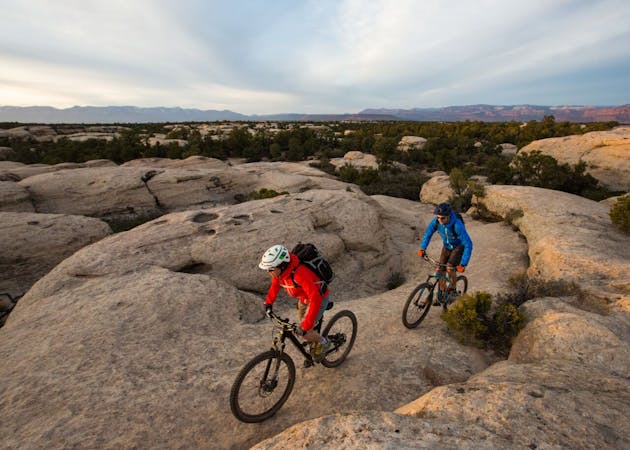
37 routes · Mountain Biking
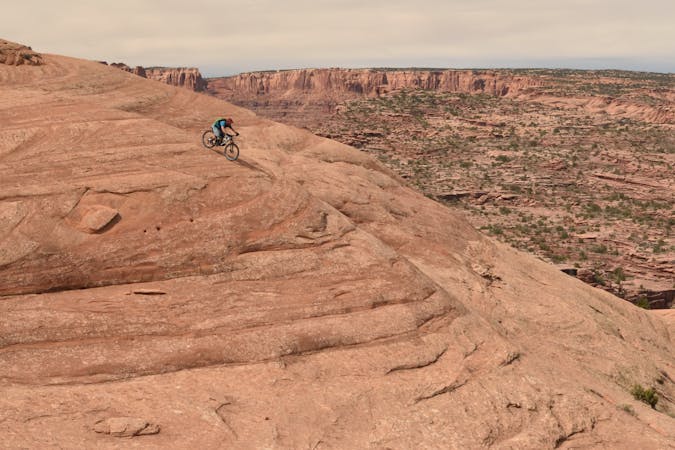
25 routes · Mountain Biking
11 routes · Mountain Biking
4 routes · Mountain Biking
7 routes · Mountain Biking
10 routes · Mountain Biking
8 routes · Mountain Biking