59 m away
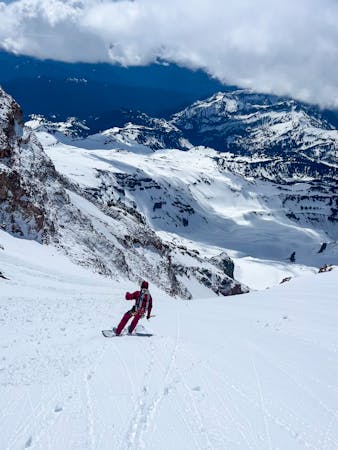
Nisqually Chute
A stunning Southwest-facing line onto the Nisqually Glacier
Moderate Ski Touring
- Distance
- 14 km
- Ascent
- 1.4 km
- Descent
- 1.9 km
A 4 day traverse through Mount Rainier National Park
Ski Touring Difficult

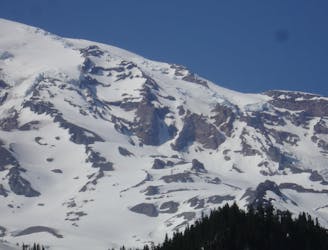
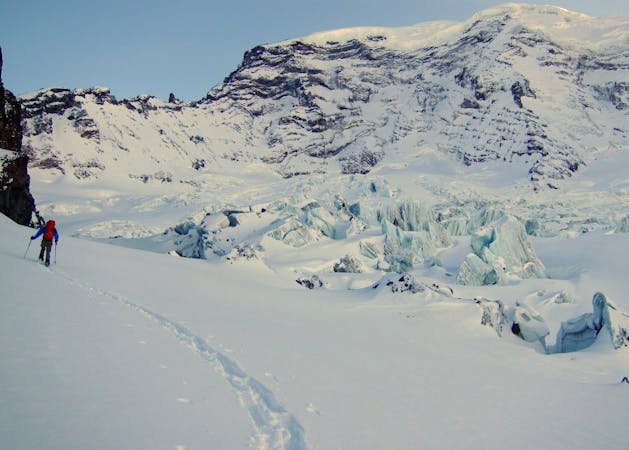
Talking about traversing from Paradise to Crystal is one thing but doing it is another thing entirely. Just looking at the maps you can easily see why this is an amazing tour but also challenging from numerous different aspects. The first and possibly most important thing is that you need good weather for 3 days as you will be traveling in alpine. The second thing is that the avalanche forecast must be low as you will be going on some steep routes and if they did slide being hurt is the best of outcomes. The third thing is you need to be 100% self sufficient as there is no one out there and if your skin glue fails not even the strongest of people is going to make it out without loosing a few toes. Now that we got all of this out of the way let’s start talking about the route.
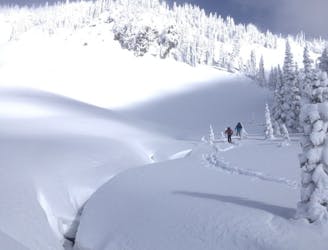
First off you need to register with the Park Ranger who will think you are nuts but since you are staying in the park for the most part you need to get camping permits. Once that is out of the way leave the Paradise Parking lot and head down the snow covered road until arriving in Edith Basin and start climbing northeast through the forest before arriving on the ridge. Keep gaining elevation and before long you are climbing up a mellow basin just below the Paradise Glacier before turning east at the low col with Cowlitz Rocks to the South. This is the moment you feared as from here on out you are on your own.
Drop East into the basin below the Cowlitz Glacier then start climbing up a semi mellow ramp that brings you into towards the Whitman Glacier. Heading north find a suitable camping spot then call it a day as the next one will be a long one.
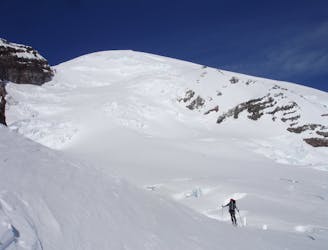
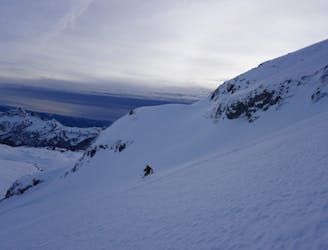
Waking up enjoy an amazing sunrise before climbing up to Whitman Crest and make sure you are willing to continue. If you just answered yes then strap in and start heading east down a mellow ridge. Before long what was mellow comes up to a rollover and yes the slopes below it are really steep. The Northeast bowl would be a slab avalanche nightmare so proceed with a tremendous amount of caution but once you are committed make it fast and ride into the lower alpine bowl, make sure to transition a ways away from the main drainage incase it does slide. Now you need to traverse East slowly gaining elevation to gain the ridge, just before reaching said ridge you have to traverse on top of a steep headwall which is scary and a bit exposed so don’t say I didn’t warn you.
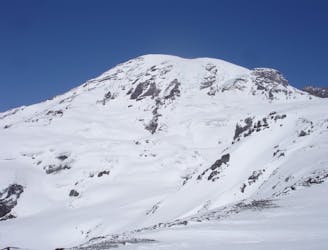
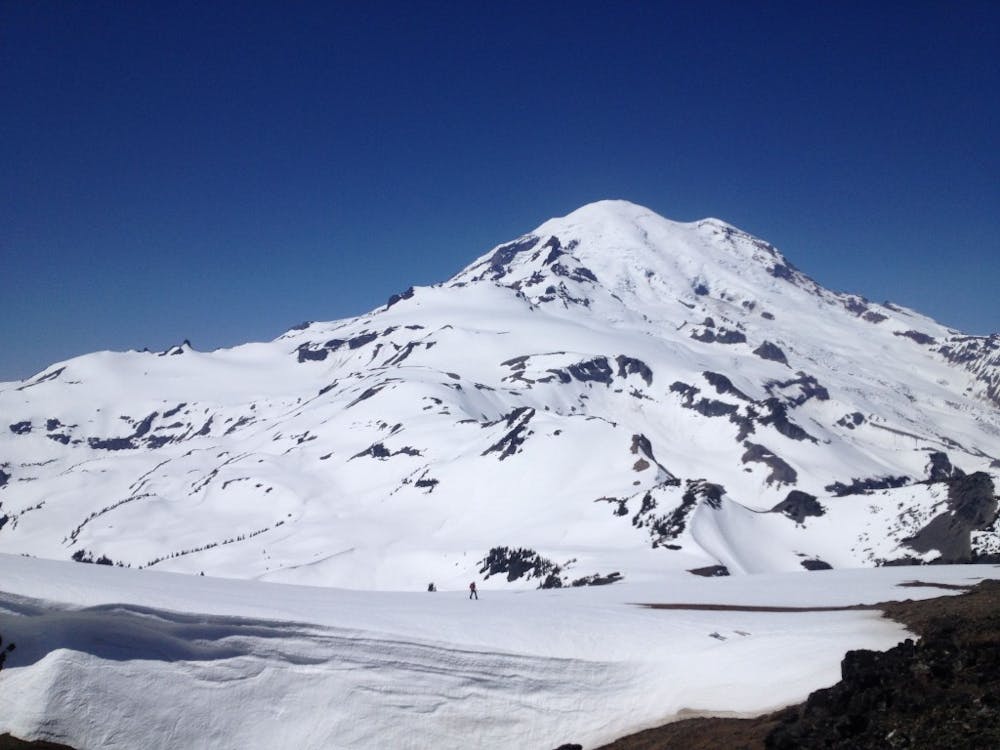
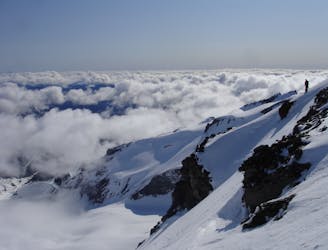
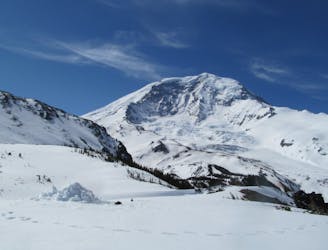
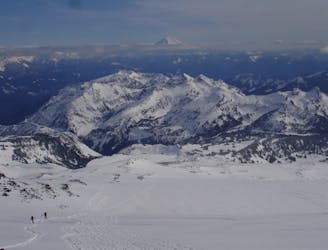
Form here keep heading East along the mellow ridge but make sure to occasionally look back as you just can’t beat this view of Mount Rainier. Once at the high point it is impossible not to spot the Banshee Couloir which drops down to the Sarvant Glacier. Drop in and only ride down as much as you are willing to climb. now that this run is out of the way start climbing south up the Sarvant before arriving at a low col where you need to wrap east into the Cowlitz Chimneys.
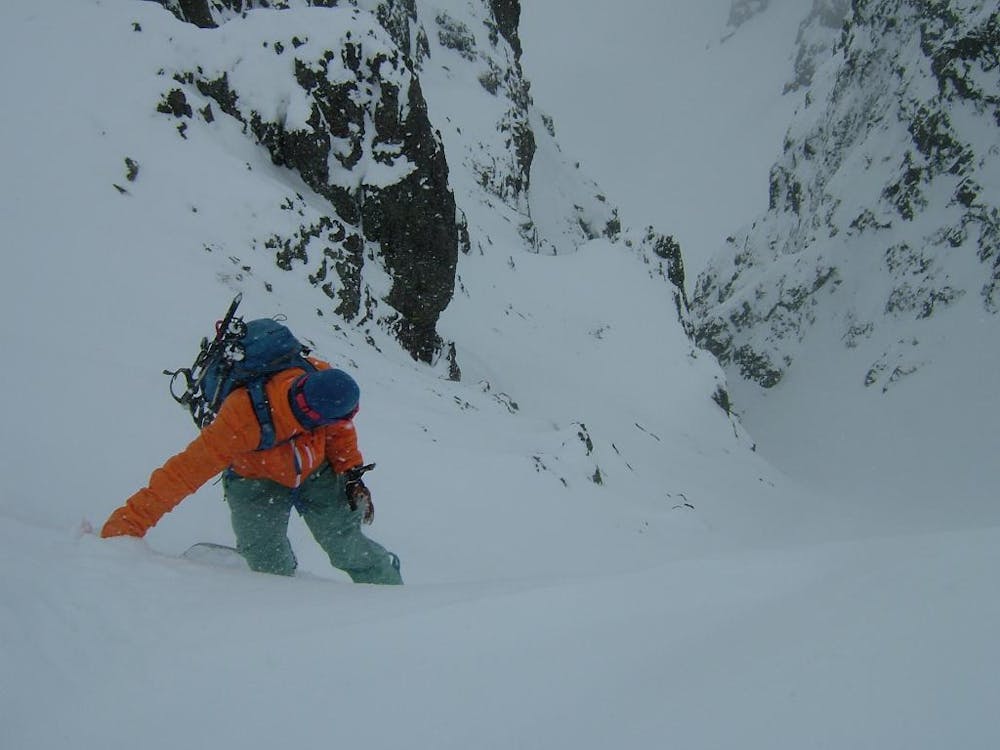
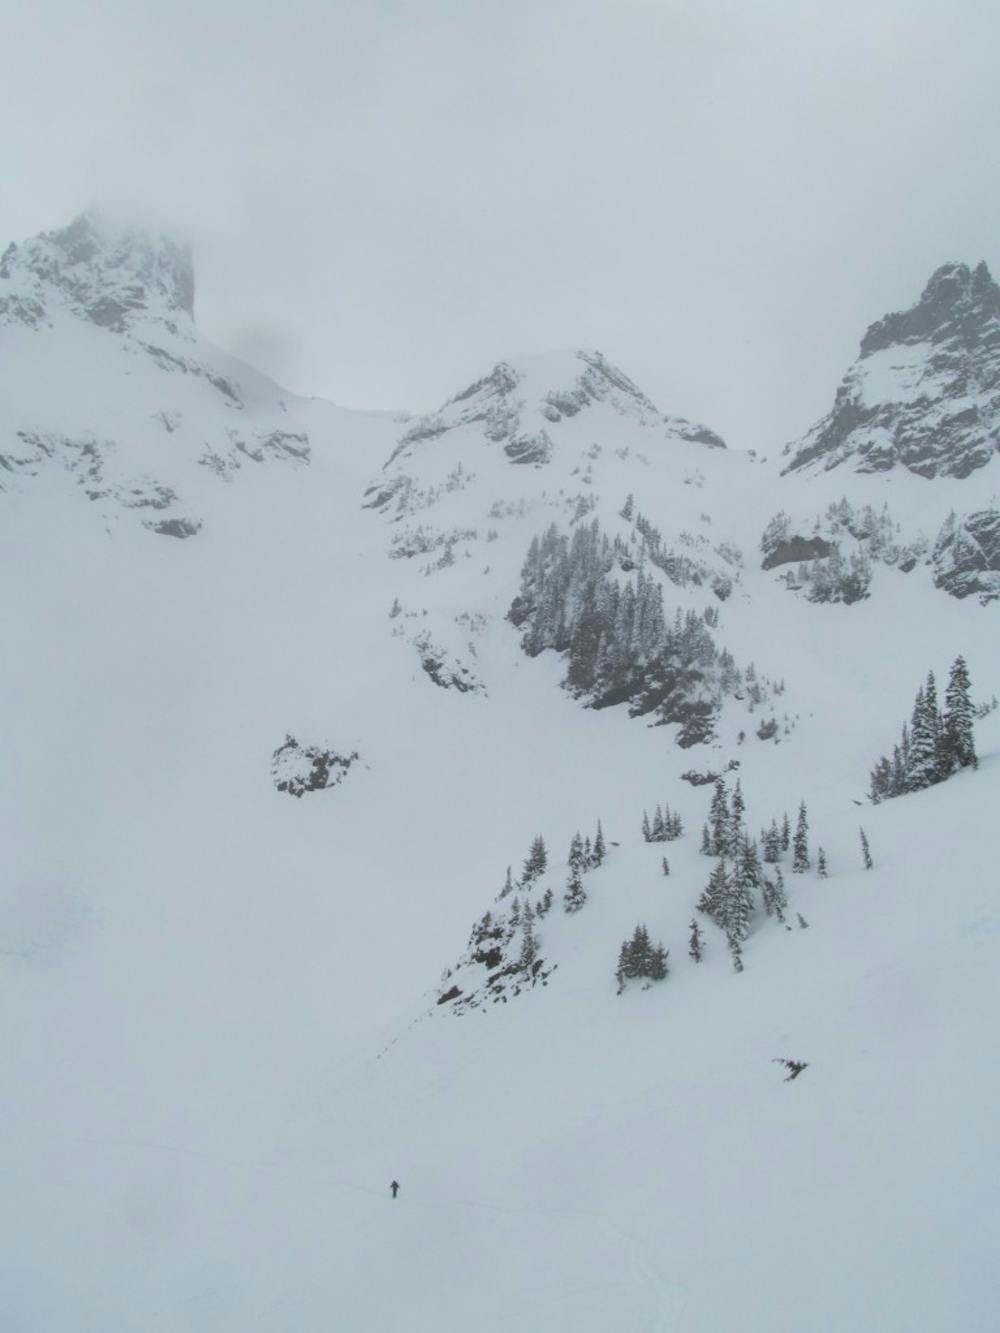
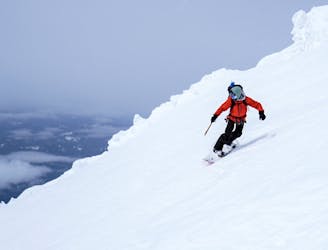
Now is the moment we’ve all been waiting for, that line you’ve been looking at for years wondering how you can get there. It is time to ride down the COWLITZ CHIMNEYS!!!!! You are committed in so many aspects but be careful as this line obviously gets wind loaded so play it smart ski cut first then let go down one at a time until arriving in the flats of the basin. Now you need to climb north over a small ridge then descend a few hundred feet in Owyhigh Lakes Basin. Once at the lake which will be buried in snow start heading east up and over Governor’s Ridge. We chose to camp up on the ridge as you just can’t beat the views.
After watching the morning alpenglow over Mount Rainier it is time to start moving. Drop into the Southeast bowl and make sure you are constantly heading skiers left. Before long you will need to do a quick climb and descend down to Cayuse Pass. If you’ve had enough just head down to 410 but if you are a sucker for pain follow the road north for a bit before starting to climb up through semi dense trees into Yakima Basin. Now you need to climb north up to Deadwood ridge and ride down into Deadwood Basin. It’s time for one long traverse slowly gaining elevation and heading north until you arrive at the col just west of Crystal Peak. By now you should start seeing ski tracks in the distance as you are back in the Crystal Mountain backcountry.
Descend down into Crystal Lakes Basin before climbing up the valley and heading to the base of 3 Way Peak. Wrap around the peak on the north side and descend down into Silver Basin before making your way to the top of Quicksilver. Now it is time to ride all the way down to the ski resort base or you could do what Hummel and I did. Since we were pass holders and the Forest Queens chair was still open we decided why not go for a victory lap. Yeah it sucked riding up the chair with an oversized backpack but those final turns were oh so sweet.
At the base of Crystal Mountain make sure to walk skiers left over a small bridge then walk into a door labeled Snorting Elk. Now walk to up to the bar and order a Pint of Elk frost and a huge plate of Nachos. Enjoy the taste of non dehydrated food before proceed to the car and make sure to call the Rangers office and let them know all turned out okay. While that description was long remember that this trip is way longer…
Click here for a trip within the area and much more photos https://www.whereiskylemiller.com/mt-rainier/paradise-crystal-mountain-ski-resort/
Difficult
Serious gradient of 30-38 degrees where a real risk of slipping exists.

As well as the slope itself, there are some obstacles (such as rock outcrops) which could aggravate injury.

In the high mountains or remote conditions, all individuals must be completely autonomous in every situation.
59 m away
A stunning Southwest-facing line onto the Nisqually Glacier
Moderate Ski Touring
67 m away
Two separate zones within a single ski tour
Moderate Ski Touring
67 m away
Riding down a stunning line within view of the Muir Snowfield
Severe Ski Touring
88 m away
A classic ski descent off the southern summit of Mount Rainier
Severe Ski Touring
98 m away
A power paradise just next to Paradise
Moderate Ski Touring
103 m away
A great alternative to the Muir Snowfield
Moderate Ski Touring
107 m away
A multiday traverse exploring some seldom traveled areas within the park
Severe Ski Touring
384 m away
One of the most classic and longest ski descents in North America!
Severe Ski Touring
392 m away

One of the longest continuous ski descents in the continental US!
Severe Ski Touring
411 m away
The Birthplace of Turns All Year
Moderate Ski Touring
9 routes · Ski Touring
11 routes · Ski Touring