6.4 km away
Breithorn South Face to the Guide d'Ayas Hut
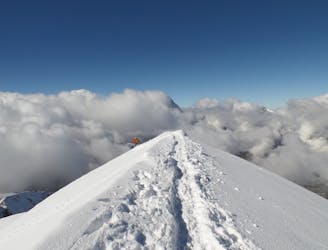
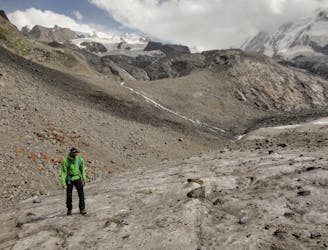
A popular route on a beautifully positioned peak.
Moderate Alpine Climbing
- Distance
- 6.3 km
- Ascent
- 388 m
- Descent
- 817 m
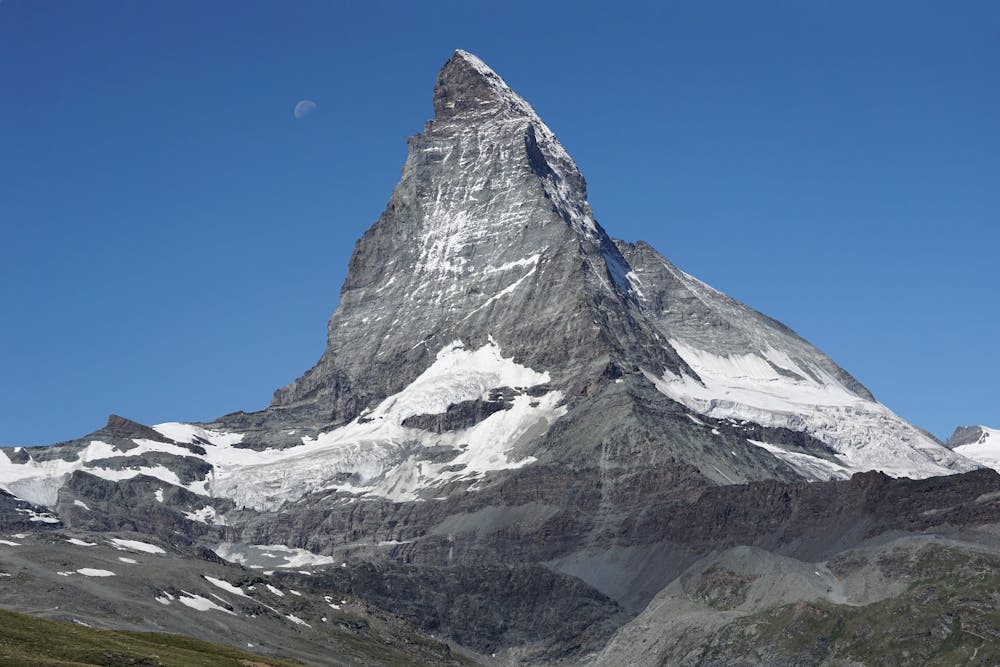
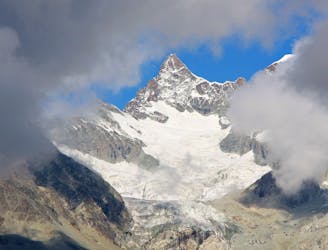
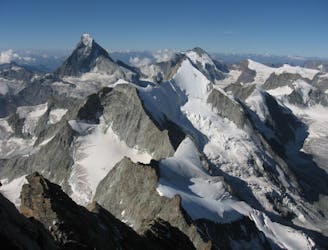
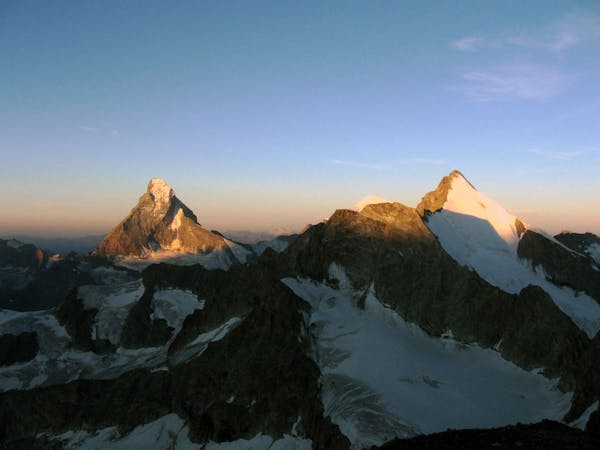
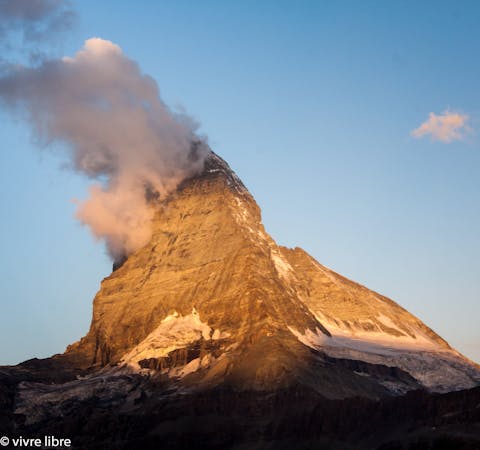
The least difficult route up the most famous mountain in the Alps, if not the world.
Alpine Climbing Difficult

The Matterhorn is iconic. It has fascinated alpinists from all over the world for generations, and, despite the fixed ropes and this being a well-travelled route, it remains a challenge requiring fitness, acclimatisation, slick ropework and good conditions. The Hörnli Ridge is the route of the first ascent, and that in itself was a tragic epic, phenomenal in difficulty for its time, with one of the great legends, Whymper, being amongst the first ascentionists. Bear in mind it takes as long to descend as ascend, as, though never too difficult, it is never too easy either, so you need to impose strict turnaround times in your mind before you set off. Equally be aware there are numerous wrong turnings, some very well-travelled, so a recce the night before up as far as you can reasonably go, will pay dividends in the morning, in the dark, when people scatter in all directions. The mountain is intrinsically loose, so if you stray off the route into this loose terrain be sure to backtrack quickly, to put yourself on track, and to minimise the ever-present risk of stonefall to others. Major rockfalls are not uncommon, so the exact route changes slightly from year to year, and sometimes within the season. A helmet is absolutely essential.
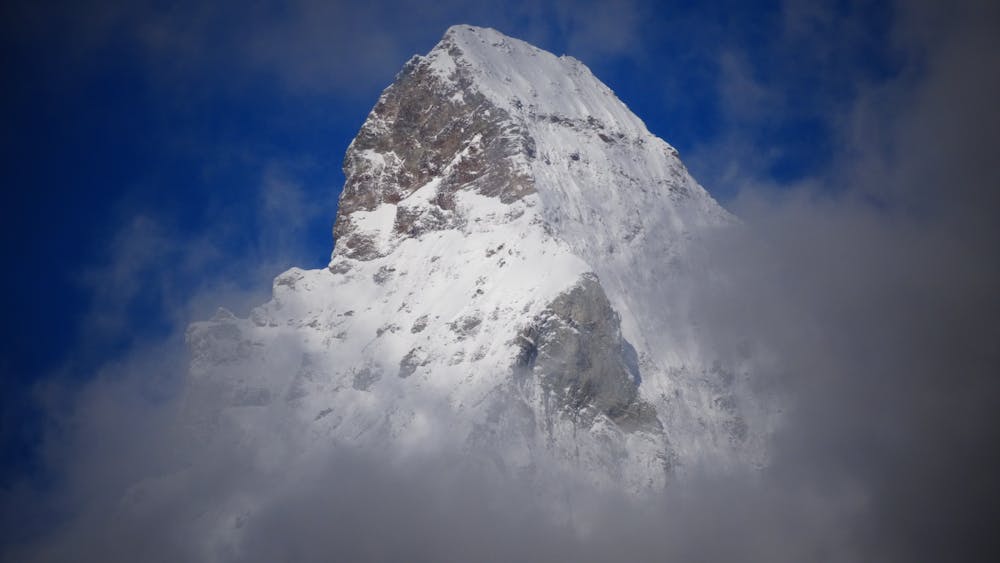
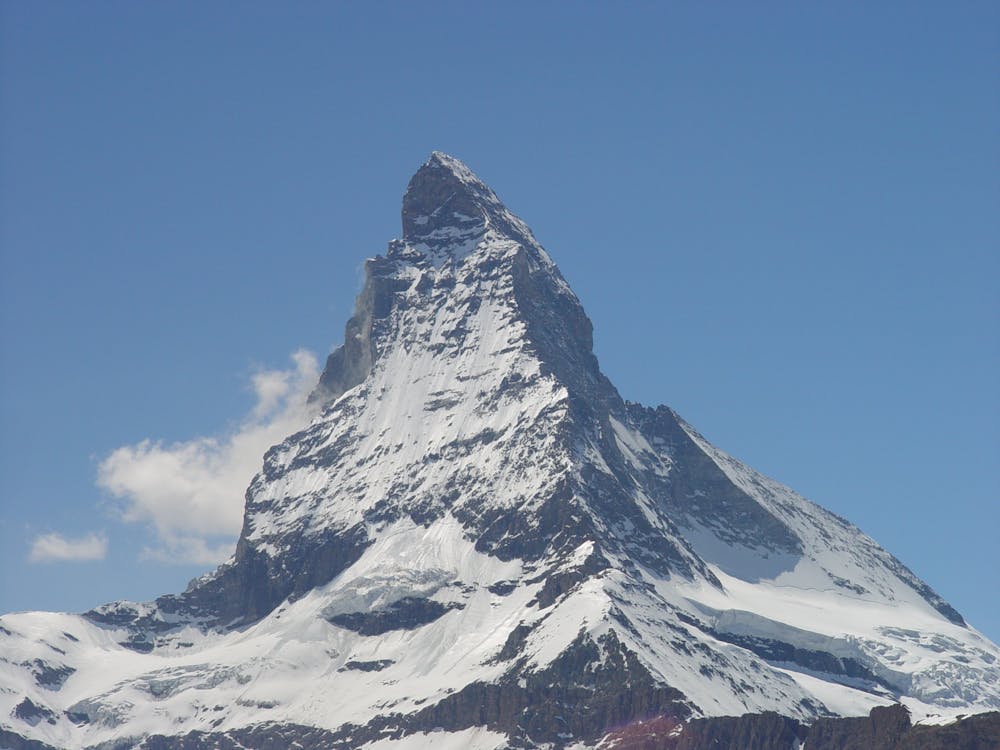

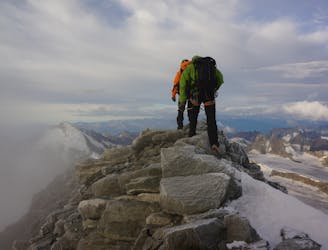
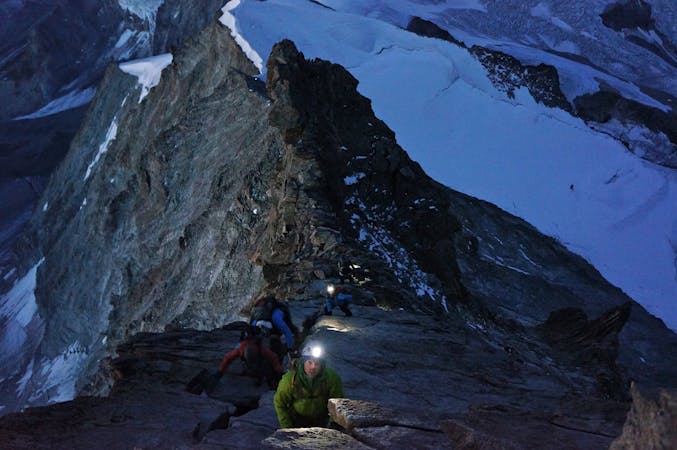
Allow the Zermatt guides right of way as they will set a blistering pace up the mountain, congested though it is, particularly first thing. The route itself begins a very short walk from the hut, passing some old plaques to commemorate the pioneers. The exact detail of the route is so complex, and changing, it is misleading to try and micronavigate from a text. Broadly from the Hörnli Hut to the Solvay Hut you are staying on the L side of the ridge itself, passing to the L of some towers in ascent, taking a few wider loops out onto the E Face to the L, before returning to the ridge each time. At more exposed sections there are very occasional short sections of fixed rope, but in general, the vast majority of the time, you are moving together, the guided partied short roping. Just below and above the Solvay there are slightly steeper sections known as the Lower and Upper Moseley Slabs, where typically a couple of short pitches can be done, and there are again some fixed ropes leading up to the shoulder. Here there is a great sense of exposure as you begin to look onto the N Face and you commonly need crampons from here, making use of the occasional iron stanchions as runners. These lead you up to the final section of the mountain, which is much steeper and entirely climbed by using the fixed ropes. From the top of these there remains the final exposed summit slopes to crampon to the top. Descent is the same in reverse, taking great care to avoid knocking stones down, and also to give those in ascent priority. Occasional rappels can be done, but in general it is quickest to minimise these and move together where possible. The fast teams will make it down below the hut to catch the last lift down to Zermatt. This is a very special mountain day, that you will never forget.
Difficult
The beginning of truly technical terrain which might involve pitched climbing on rock and/or ice, exposed terrain and complex route finding in ascent and descent. Equivalent to AD, AD+

Much of the route is difficult to protect and a fall could be disastrous at certain points.
Little chance of being seen or helped in case of an accident.
6.4 km away
A popular route on a beautifully positioned peak.
Moderate Alpine Climbing
6.5 km away
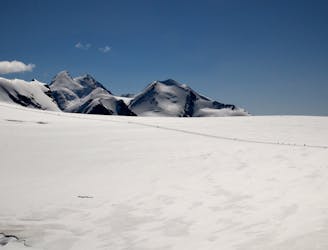
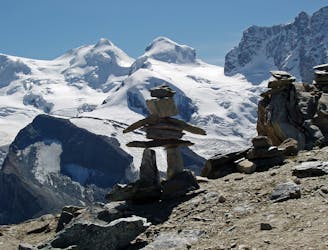
A simple but beautiful glacial journey
Easy Alpine Climbing
6.9 km away
A brand new route to the hut, taking a beautiful but easy glacial mountain journey
Easy Alpine Climbing
7.3 km away
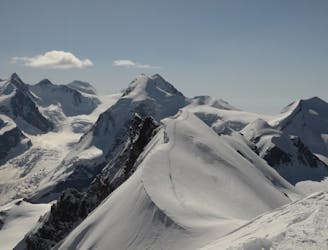
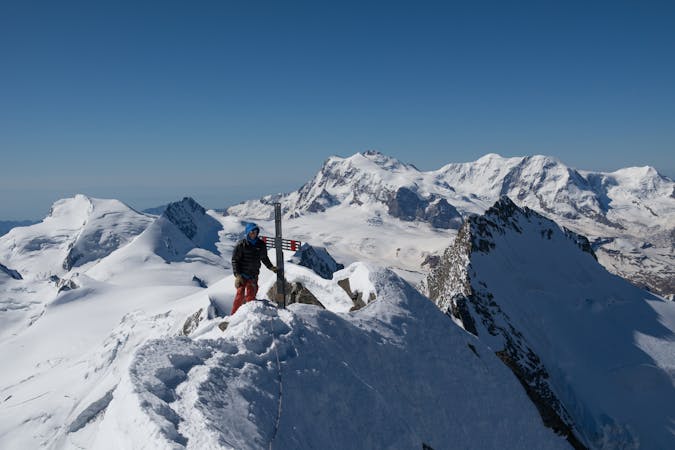
A true alpine classic with utterly spectacular views across the other 4000ers of the Swiss Valais.
Difficult Alpine Climbing
7.5 km away
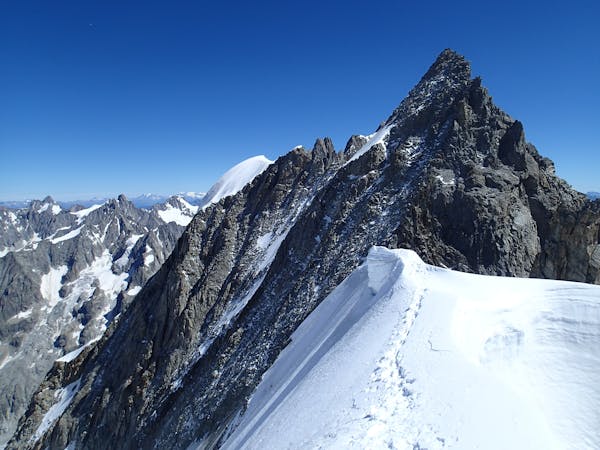
A justifiably popular traverse of a beautiful mountain, on very good rock.
Difficult Alpine Climbing
7.6 km away
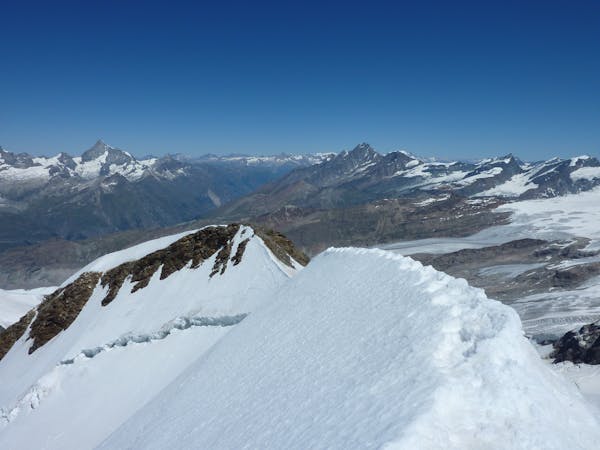
A beautifully shaped mountain, unusual in having its least difficult route via another summit.
Difficult Alpine Climbing
9.3 km away
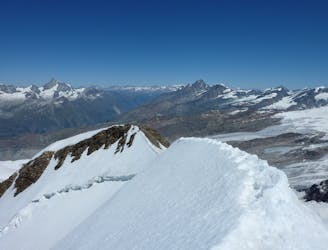
One of the best easier 4000m ridge traverses in the Alps
Difficult Alpine Climbing
9.8 km away
A classic high traverse of a major 4000m peak
Moderate Alpine Climbing
9.8 km away
A relatively minor summit, but a 4000m peak nonetheless, surrounded by others.
Moderate Alpine Climbing
6 routes · Alpine Climbing · Hiking
6 routes · Alpine Climbing
11 routes · Alpine Climbing · Hiking
10 routes · Alpine Climbing · Hiking
6 routes · Alpine Climbing

6 routes · Alpine Climbing · Hiking
10 routes · Alpine Climbing · Hiking
9 routes · Alpine Climbing · Hiking
20 routes · Alpine Climbing · Hiking